Email marketing is considered as one of the effective marketing tools to grow your website. However, it is quite tough to build a customer base but retaining them costs far less than searching a brand new customer. Email marketing is a great way to keep customers engaged with your brand.
Luckily, the SocialEngine Newsletter/Email Marketing plugin makes this task super easy and fast. You can create professional emails from your SocialEngine dashboards. Newsletters can be the best medium to build relationships with your customers through regular communication and high-quality information. You can use this plugin to send unlimited newsletters and emails to your customers to make your brand image.
Some remarkable benefits of having an email newsletter plugin:
- Email Campaigns have high open rates.
- Instant Email Delivery.
- The availability of personalized emails and mailing lists.
- You can create unlimited mailing lists.
With the help of this plugin, you can add a newsletter subscription form to your SocialEngine site. Every new subscriber will be added to your mailing list. It allows sending marketing and transactional emails. This plugin has some more amazing features, including Unlimited Newsletters, Specific User Targeting, Customized Layouts, Integrated with Third Party Plugins, Email Marketing, Subscribers with Email verification option, Scheduleable Newsletters, Compatible with all our themes, etc.
Here, we are providing an interactive and easy to follow Newsletter/Email Marketing Plugin setup & installation guide which will help you to explore its exciting features and maximize the efficiency of your website. With this help-guide, you will get a better sense of usage when you actually install this theme on your website.
Installation of this plugin is very easy, but if you still need our expert to install this plugin for you, then you can purchase the service by Clicking Here.
Step-by-Step Tutorial Guide for Users:
** This tutorial assumes that you are already logged in to the Admin Panel.**
If not, then you have to log in first to the admin panel after filling the admin account credentials on your website.
1. Installation of Newsletter/Email Marketing Plugin
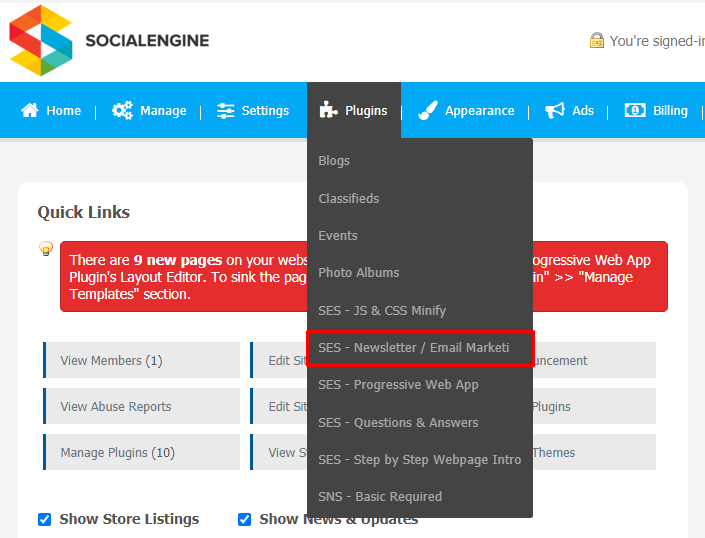
In the Main Menu section,
- Click on the tab Plugin and select “Newsletter/Email Marketing Plugin” to install this plugin.

As shown in the above image, first choose plugin and a new tab will appear in “Newsletter/Email Marketing”. Click on it for all plugin settings configuartions.
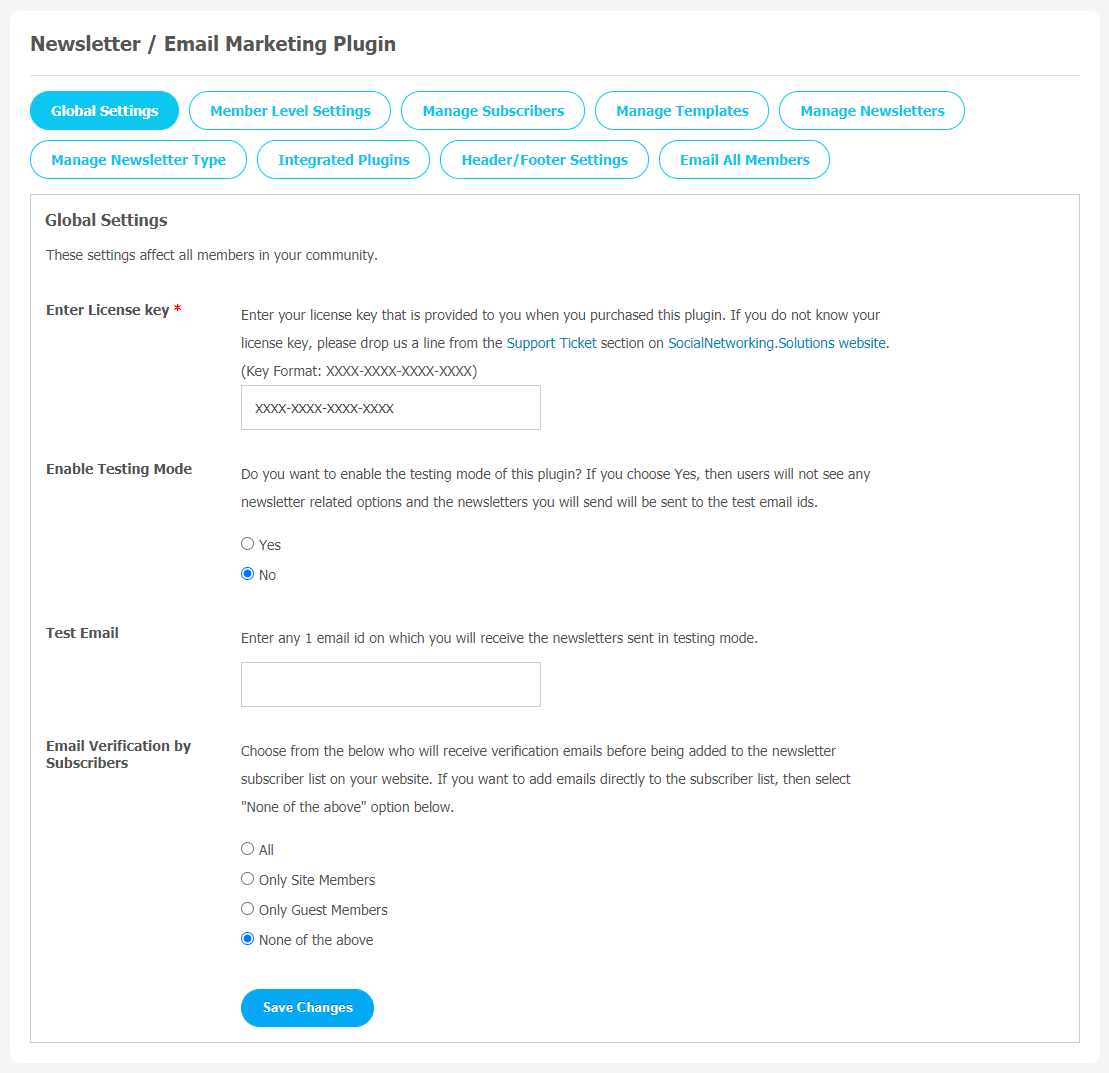
2. Global Settings
After a successful installation, a new Global Setting tab will appear where all the plugin settings can be managed easily. First, click on Global Settings. Then,
- Enter the required license key in the box.
- Enable Testing Mode.
- Email Verification by Subscribers.
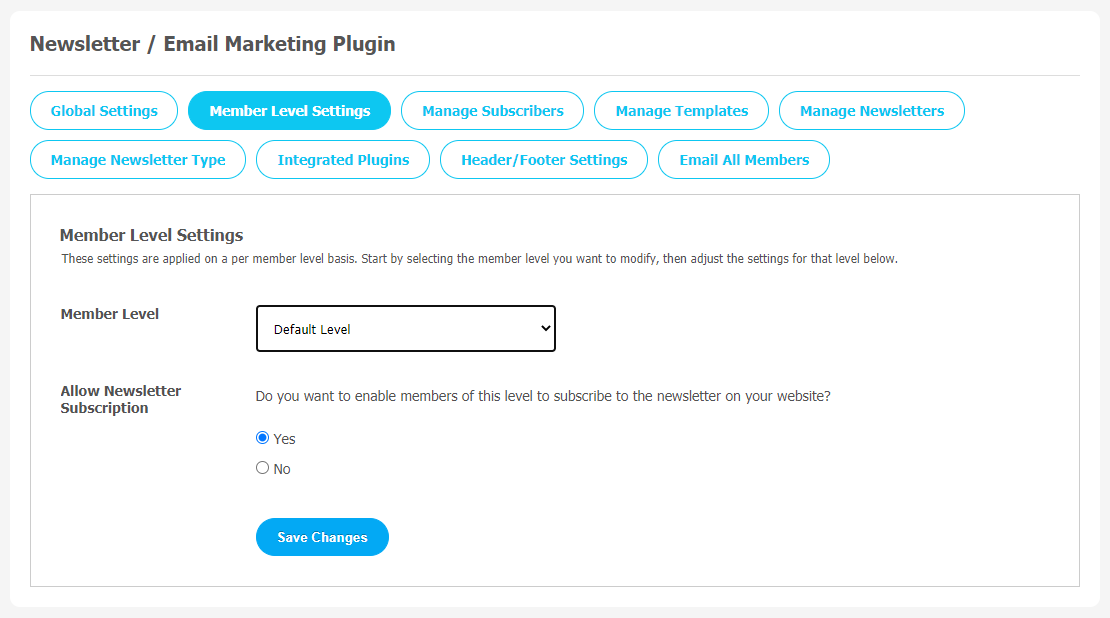
3. Member Level Settings
This section is used to manage Member Level Settings. Here are some important features of the Plugin that can be managed by the site admin for different member levels are as following:
- Allow Newsletter Subscription.
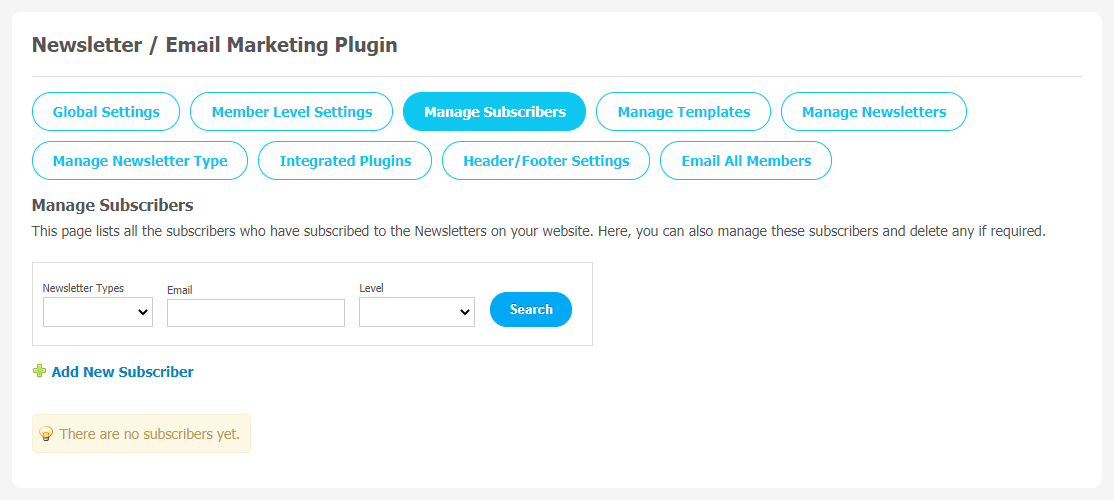
4. Manage Subscribers
This page records all the subscribers who have subscribed to the Newsletters on your website. All the subscribers can be managed and monitored through this page. If you find some offensive material on your website, you can delete it. Click on “Add a New Subscriber” to add new subscribers to your website.
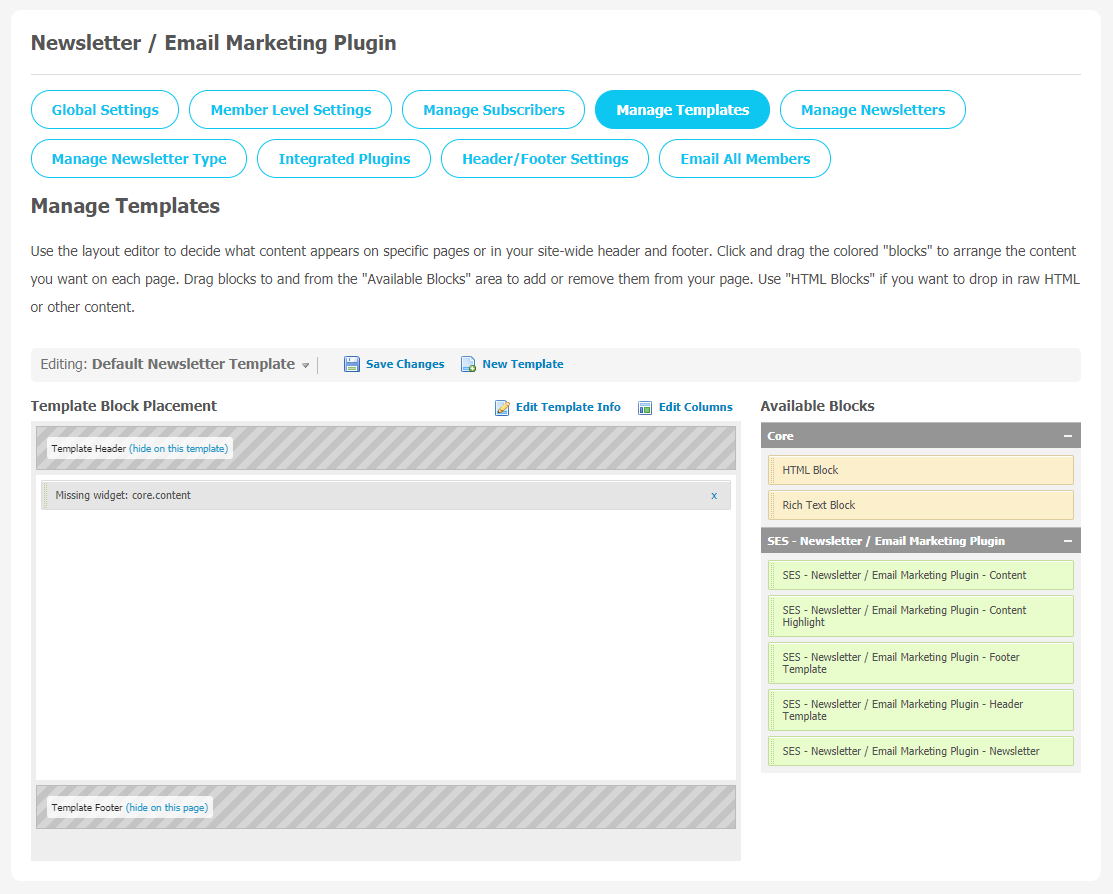
5. Manage Templates
Layout Editor is a very important tool to manage what content appears on specific pages either on header or footer. To manage these settings, click and drag the colored blocks to arrange the content you want on each page.
Drag blocks to and from the “Available Blocks” area to add or delete them from your page. If you want to drop in raw HTML or other content, you can use HTML Blocks.
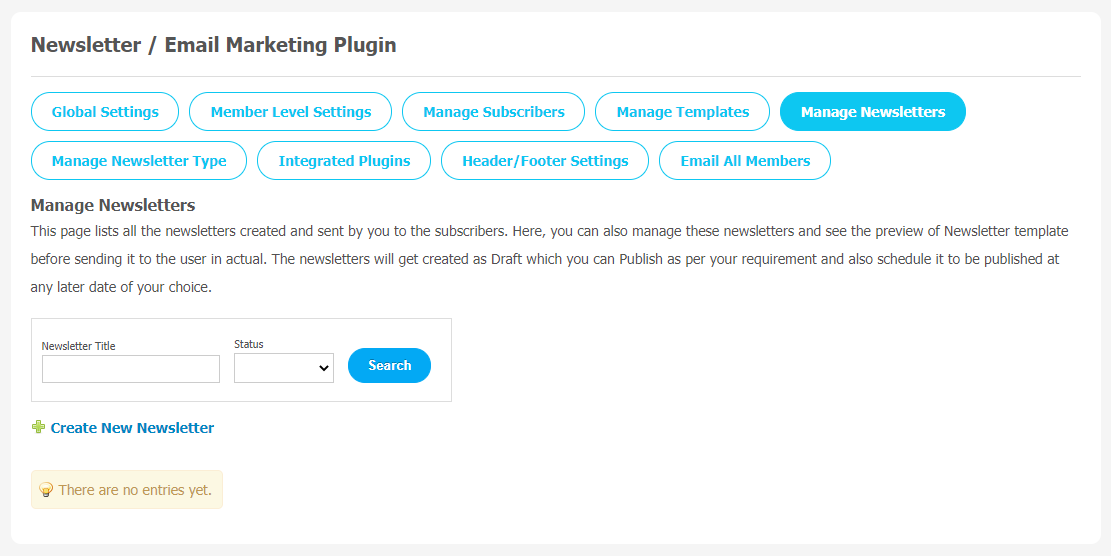
6. Manage Newsletters
This page is used to save all the newsletters that have been created and sent by you to the subscribers. Manage and see the preview of these newsletter templates before sending them to the specific subscriber.
When you create any newsletter, it will be saved as Draft. You can publish it based on your requirements and also set a time-schedule for later publishing.
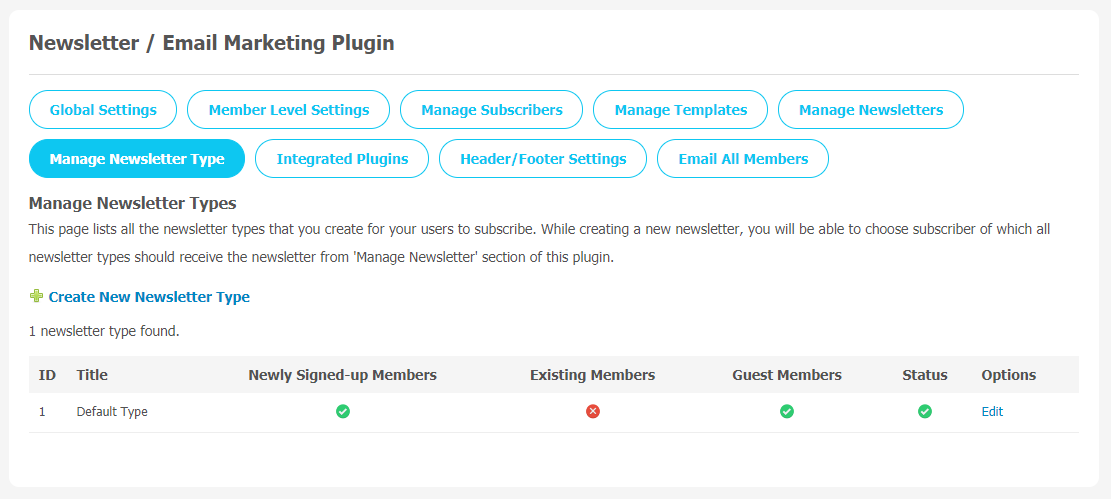
7. Manage Newsletter Type
You can manage all the newsletter types that you create for your users to subscribe to. When you create a new newsletter, you have the option to choose a subscriber to whom all newsletter types should receive the newsletter from the “Manage Newsletter” section of this plugin.
Use the “Create New Newsletters Type” link to create a new newsletter.
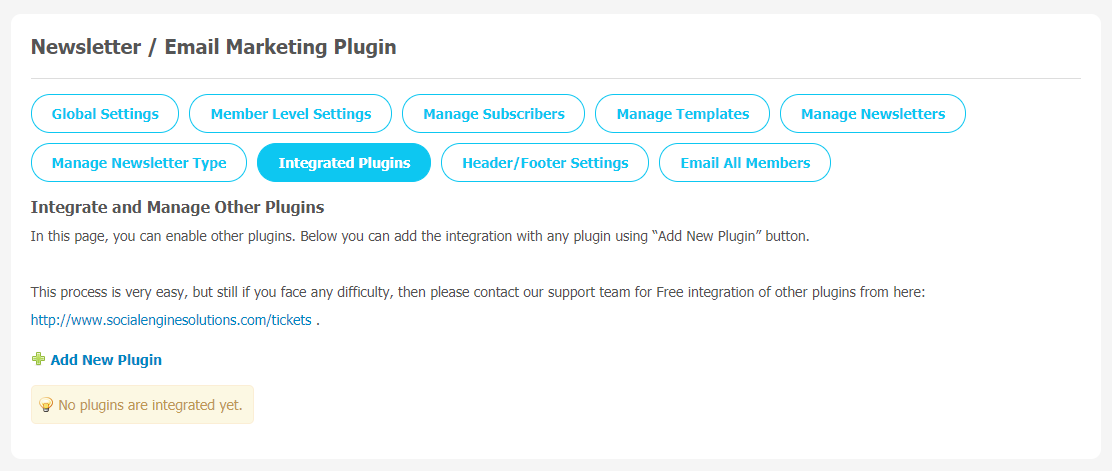
8. Integrated Plugins
You can activate the other plugins from this section by adding the modules that are installed on your website. You can add as many modules as you want from here.
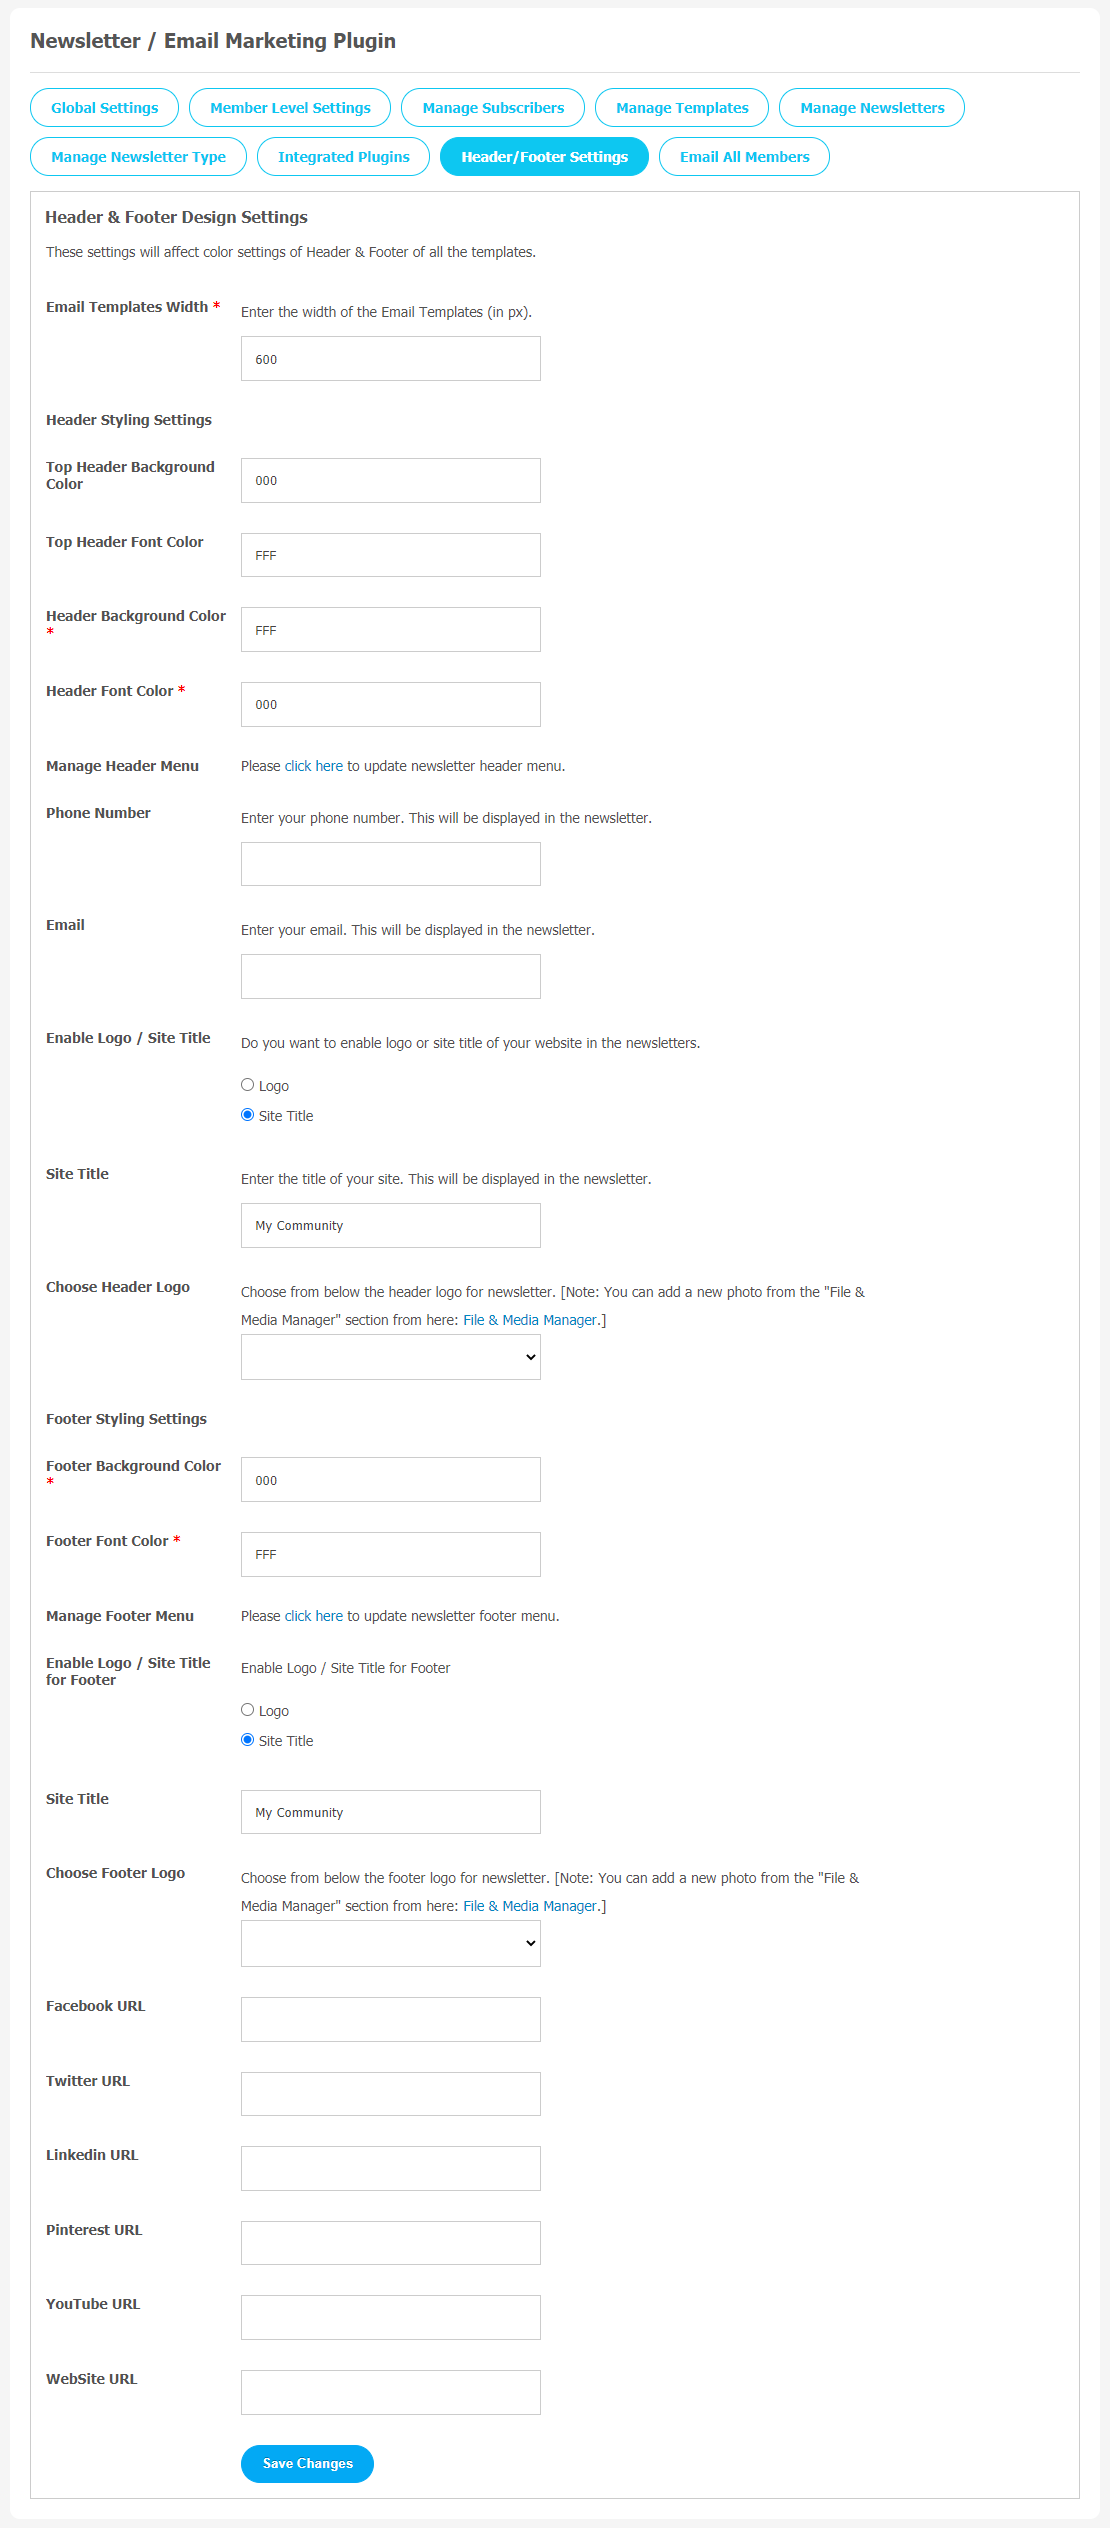
9. Header/Footer Settings
Through this page, you can manage different Header and Footer settings. Any changes in this page will affect the color settings of header and footer of all the templates.
- Email Template Width
- Header Styling Settings
- Manage Header Menu
- Phone Number/Email
- Enable Logo/ Site Title
- Footer Styling Settings
- Facebook/Twitter/Linkedin URL
Don’t forget to “Save Changes” when done.
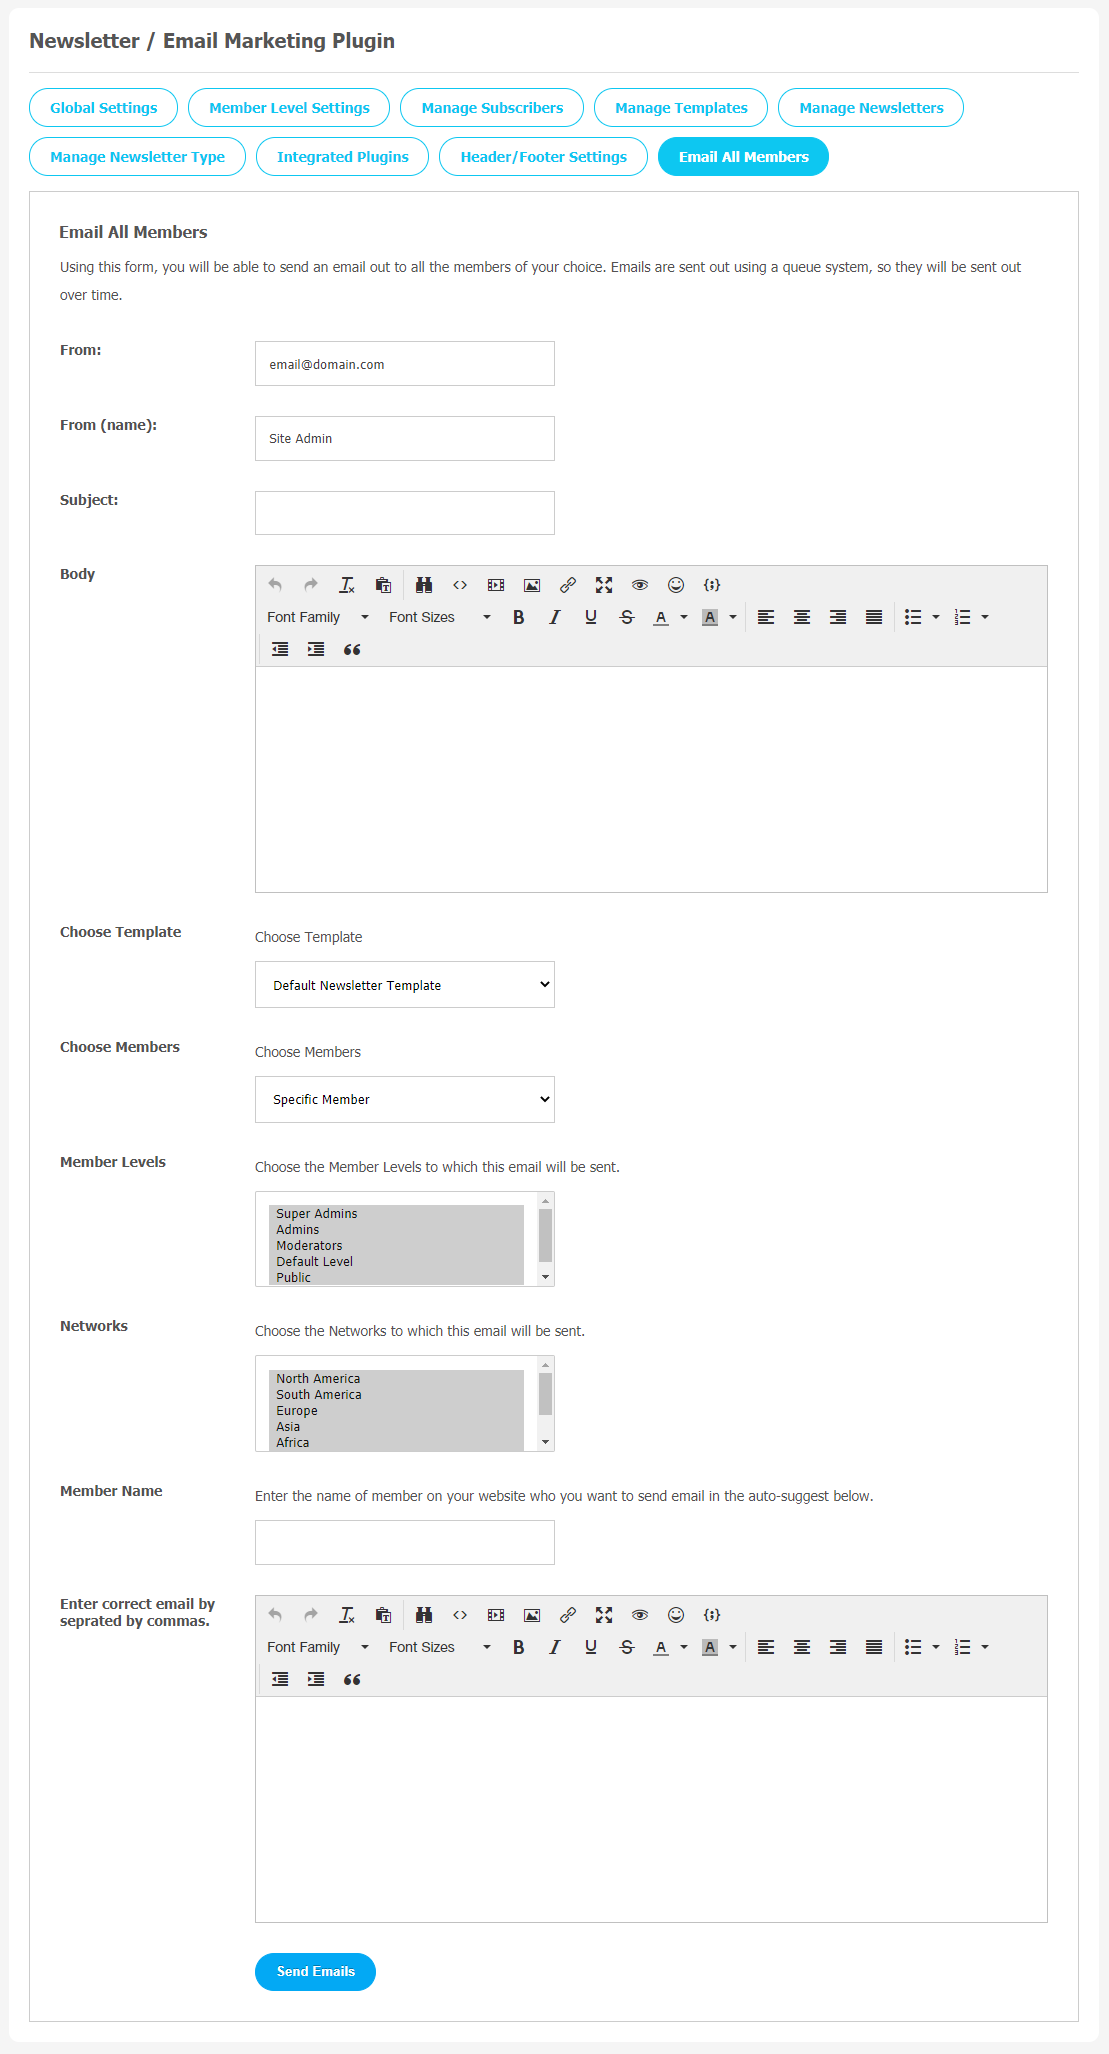
10. Email All Members
You can use this form to send an email to all the required members. In this method, Emails will be sent by using a queue system, so they will take some time, and emails will be sent sequentially. Manage the template, choose members, and members’ names through this page, and send an email to the website members you need.
Finally!! You have successfully completed the installation procedure and also explored various exciting features of this Newsletter/Email Marketing Plugin. Now, your visitors and website members will be able to access & use your website with new features.
Installation of this Plugin is very easy, but if you still need our expert to install this Plugin for you, then you can purchase the service by Clicking Here.


