For creating the Client ID & Client Secret Key for the Documents Sharing Plugin, follow the steps:
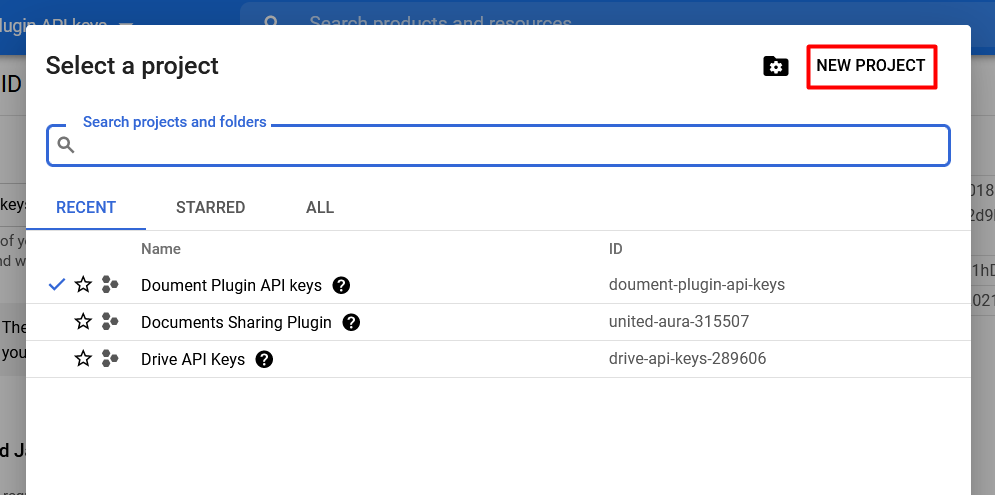
1. Go to Google Cloud & sign in with your Google account.
After that, click on “New Project” to create the Project. (For project name, don’t include spaces or special characters.)
2. Then select the created Project from the above dropdown in the header.

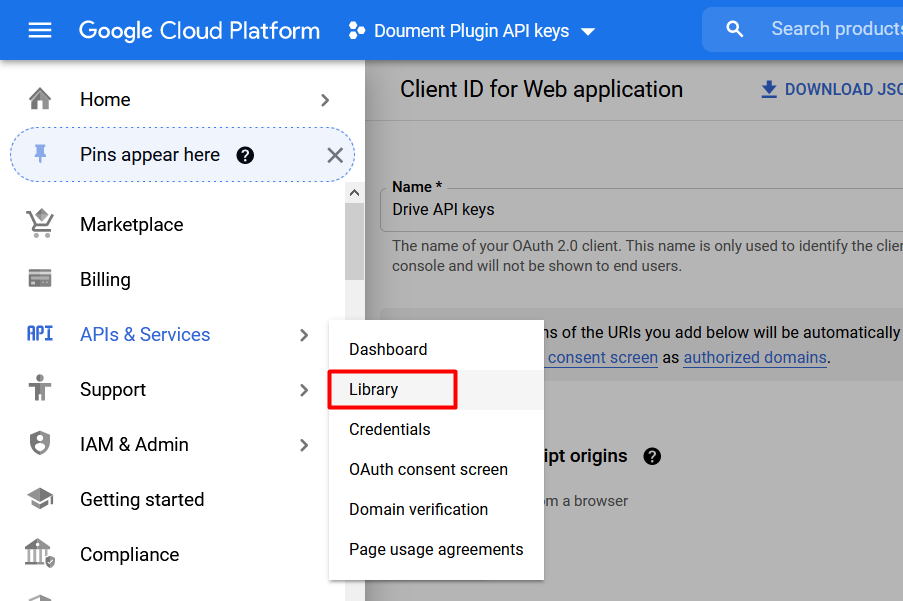
3. Go to “Library” from the left sidebar menu & Enable “Drive API” to activate the Drive API Services
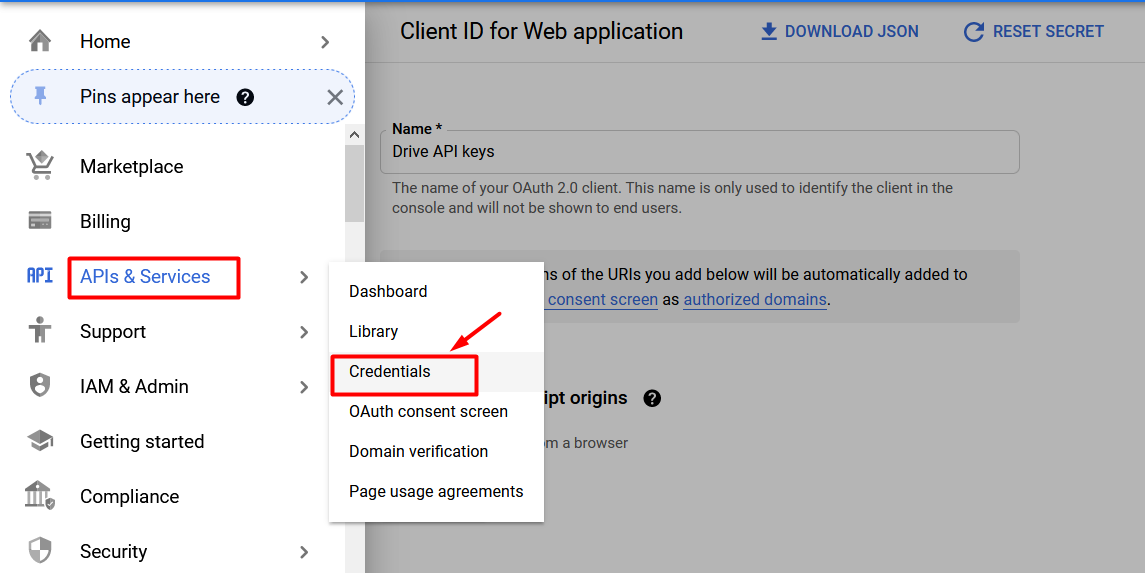
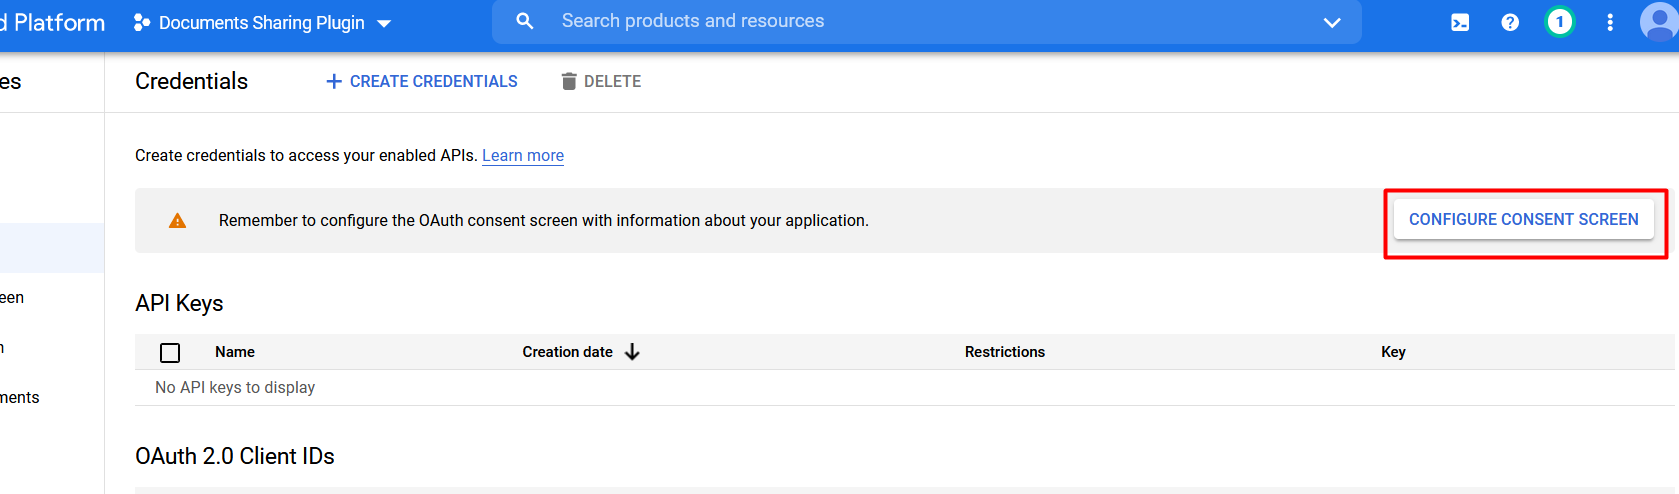
4. After that, go to the “Credentials” on the left sidebar menu.
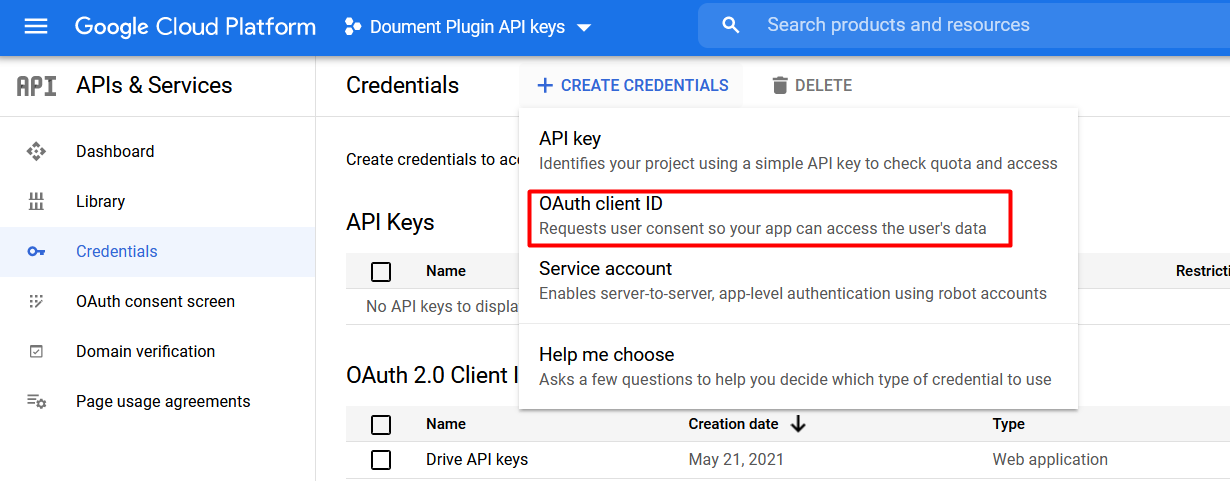
5. Now, click on “Create Credentials” and select “OAuth client ID”.
6. To create an OAuth Client ID we must first need to set a product name on the consent screen. To do so,Click on “Configure Consent Screen” and fill all the required details.
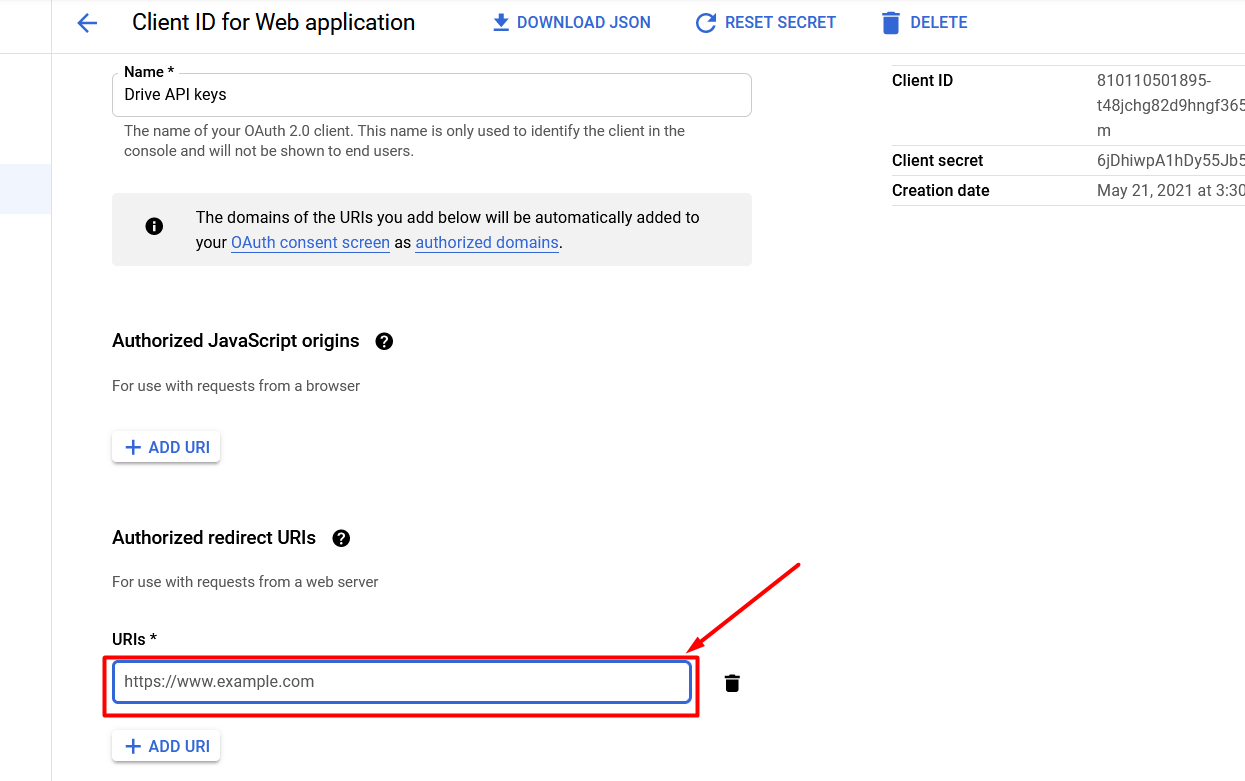
7. After configuring the consent screen, select “Web Application” in the Application type. Fill in the required details like the name of the web application & authorized redirect URIs.
Format for Authorized redirect URIs: Click Here
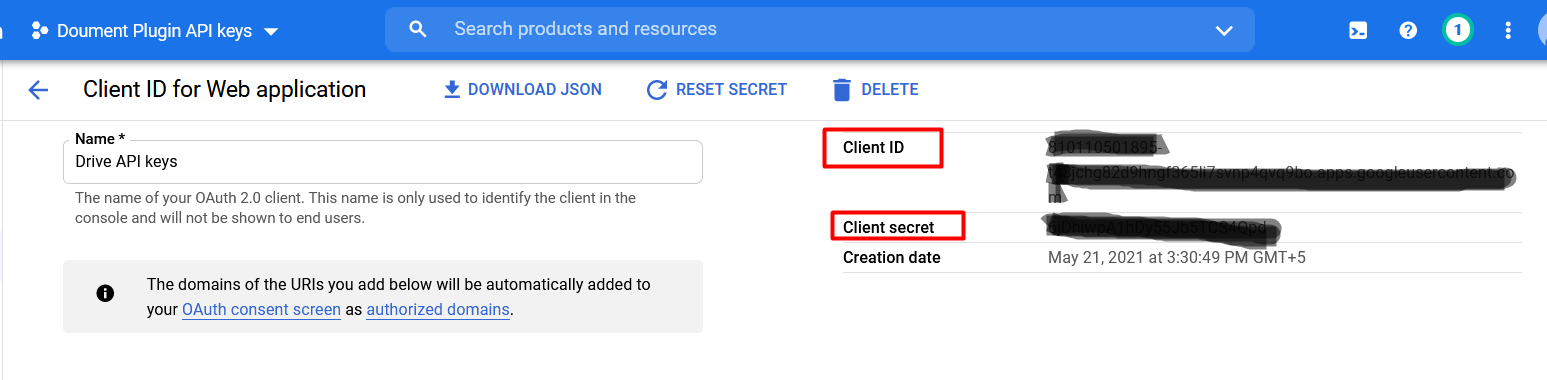
8. Now open the Web Application you have created & copy the “Client ID” & “Client Secret Key”.
9. After that, you need to verify your app from the OAuth Consent Screen as explained here under the “Verification for apps” section: Click Here
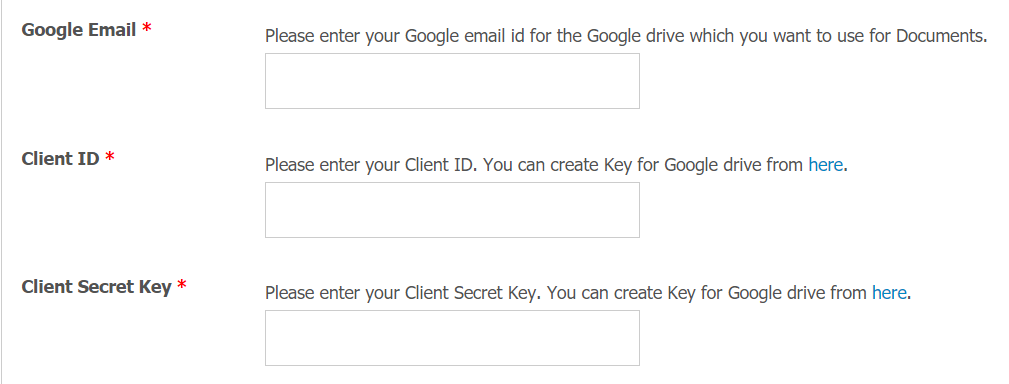
10. After activating the plugin, paste the copied Client ID & Client Secret key with the Email ID (From which you have created the API keys) in the admin panel under Global Settings of the plugin & click on the “Save Changes” button.
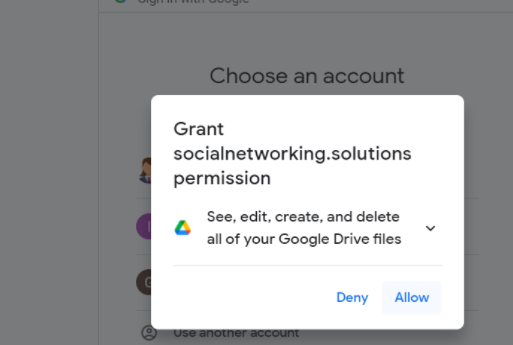
11. After clicking on the Save Button, you will get redirected to the gmail sign in screen from where you have to login with your Gmail Account details & grant various permissions of the website such as to see, edit, create and delete all the Google Drive Files created by the users on your website.
12. You will get redirected to the Global Settings again & after that click on the “Save Changes” button once again to make the API keys run well.
Watch Video


