If you own a SocialEngine based website and are wondering how you can also change the look for your website. Your website user-interface matters a lot because it takes a few milliseconds for a new visitor to make an opinion about your website.
We are here with our new Responsive Vertical Theme for our users. This theme is compatible with the latest version of SocialEngine Self-Hosted has new configurations which will help to transform your website into a completely new look.
Give a simple and attractive look to your website with Responsive Vertical Theme. It comes with features like multiple configuration settings, beautiful header, and pre-built color schemes. The key feature of this theme is you can manage your landing homepage menu vertically as well as horizontally. It is fast, easy to use and easily customizable with multiple configuration settings.
Here, we are providing an interactive and easy-to-follow Responsive Vertical Theme setup & installation guide, which will help you to explore its exciting features and maximize the efficiency of your website. With this help guide, you will get a better sense of usage when you install this theme on your website.
1. Installation & Setup for Professional Responsive Vertical Theme
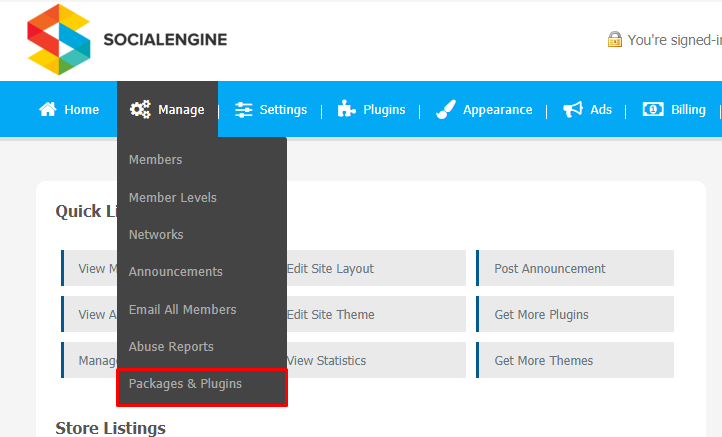
In the Main menu, click on the tab Manage and select “Packages & Plugins“.
- Our theme is based on SE standards, so this will get installed on your website as any standard theme can. Please read the tutorial on installing themes and plugins in SE by Clicking Here.
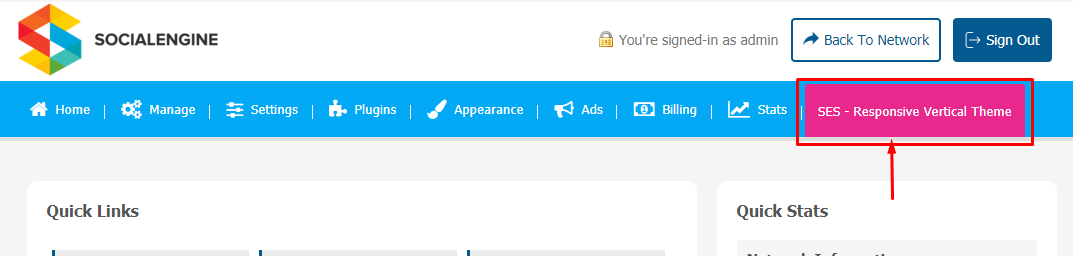
- After the successful installation of the theme as in Step 2 above, in the right of the admin panel dashboard menu, click on “Responsive Vertical Theme“.
2. Global Setting
After clicking on “Responsive Vertical Theme“, a new window will be opened where you can activate your theme by entering the license key as shown in the image below.
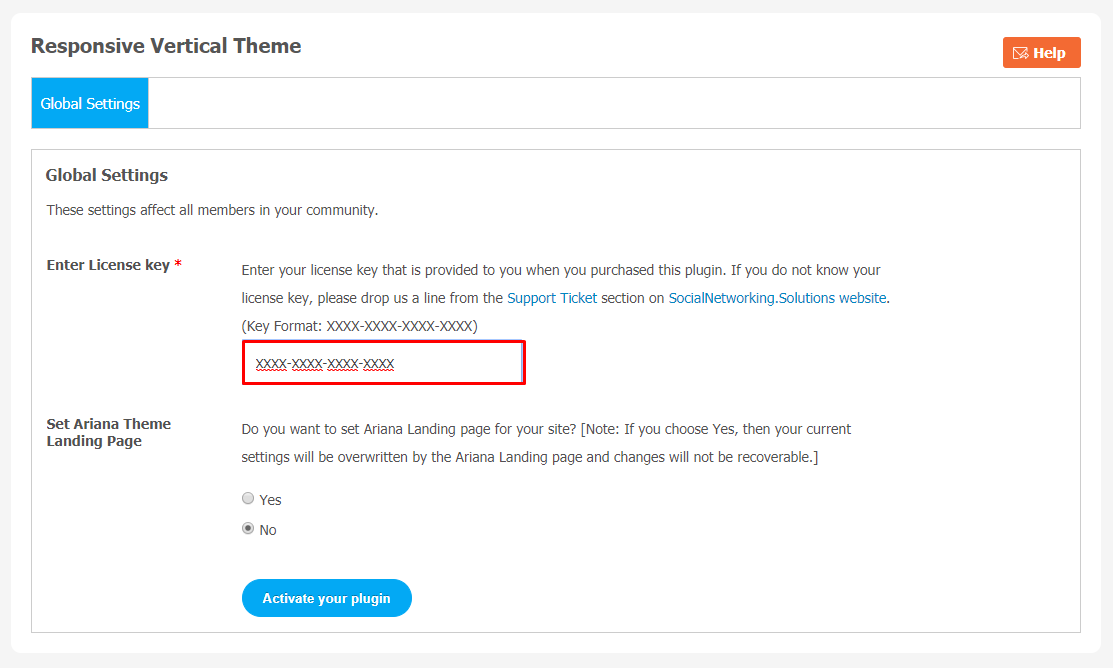
- Go to Global Settings.
- Enter the required license key and activate your Responsive Vertical Theme.
3. Manage Landing Page
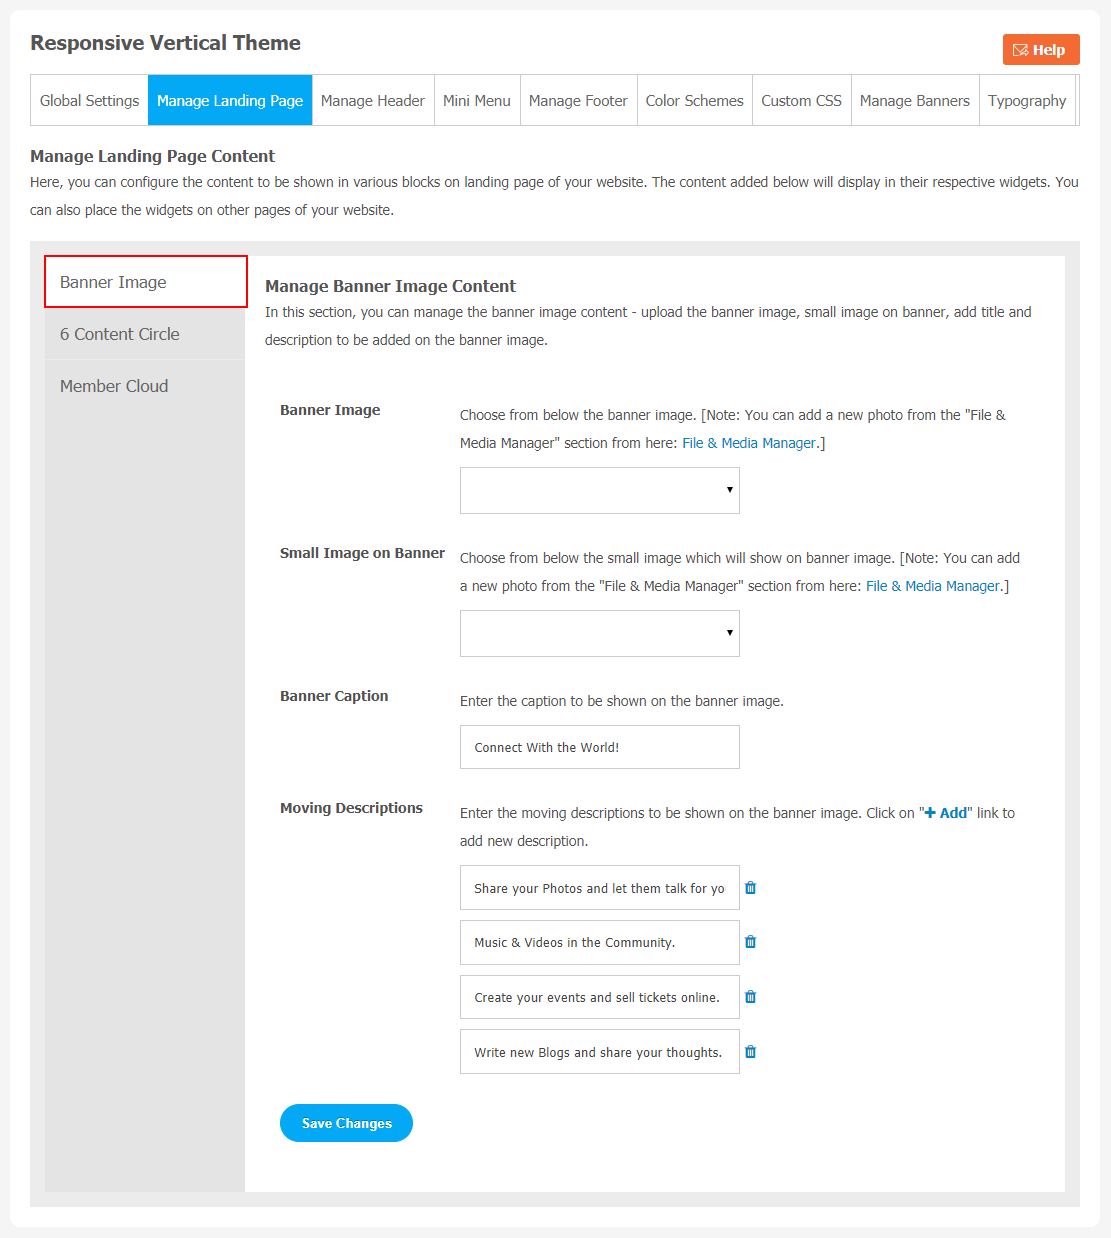
(a) Banner Image Setting
You can manage your landing page directly by clicking on Manage Landing Page.
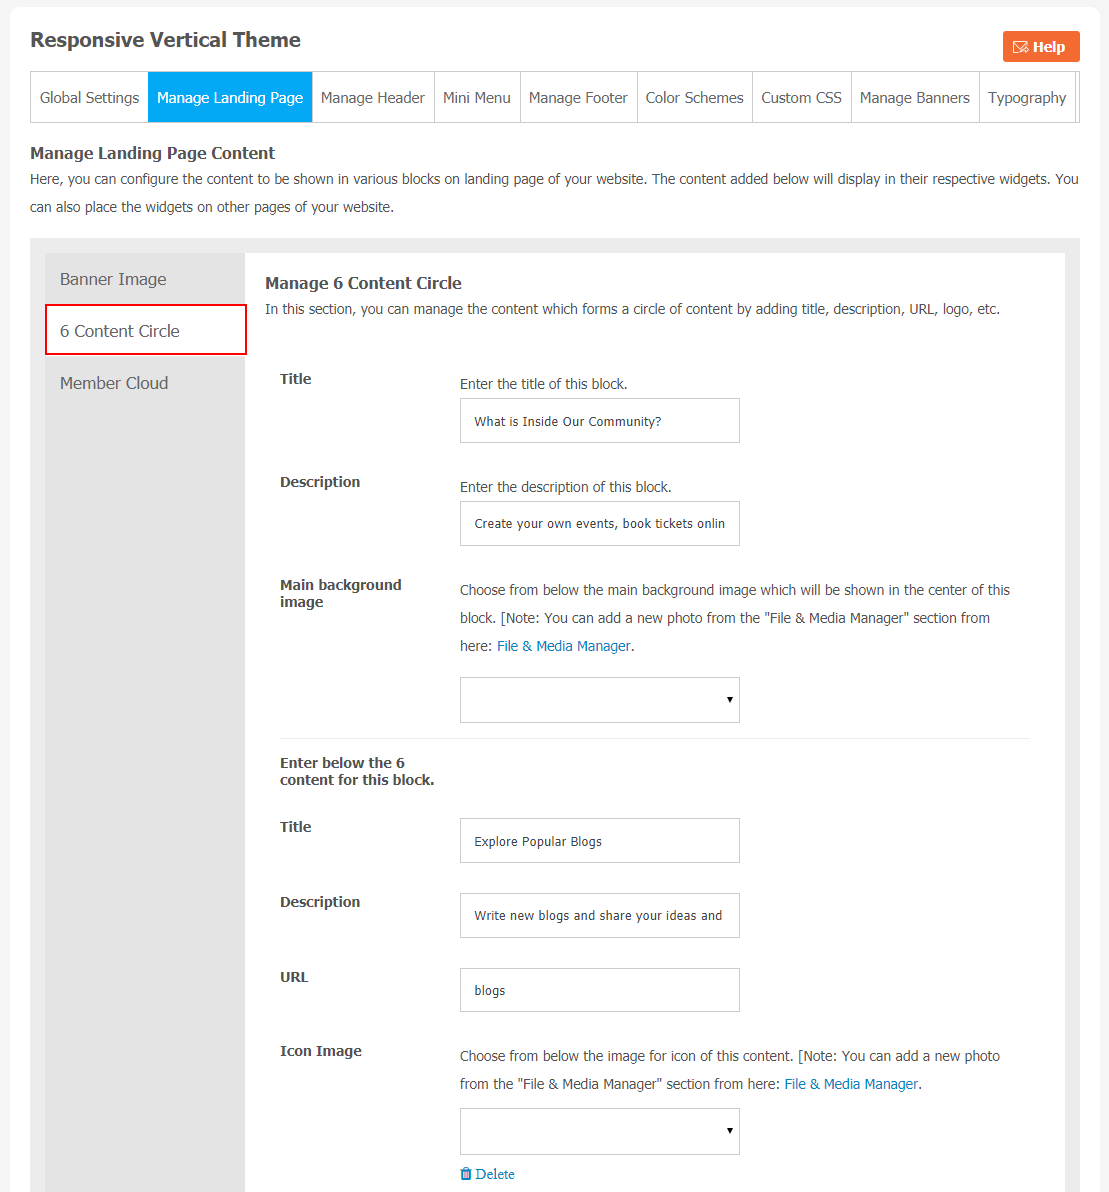
(b) 6 Content Circle
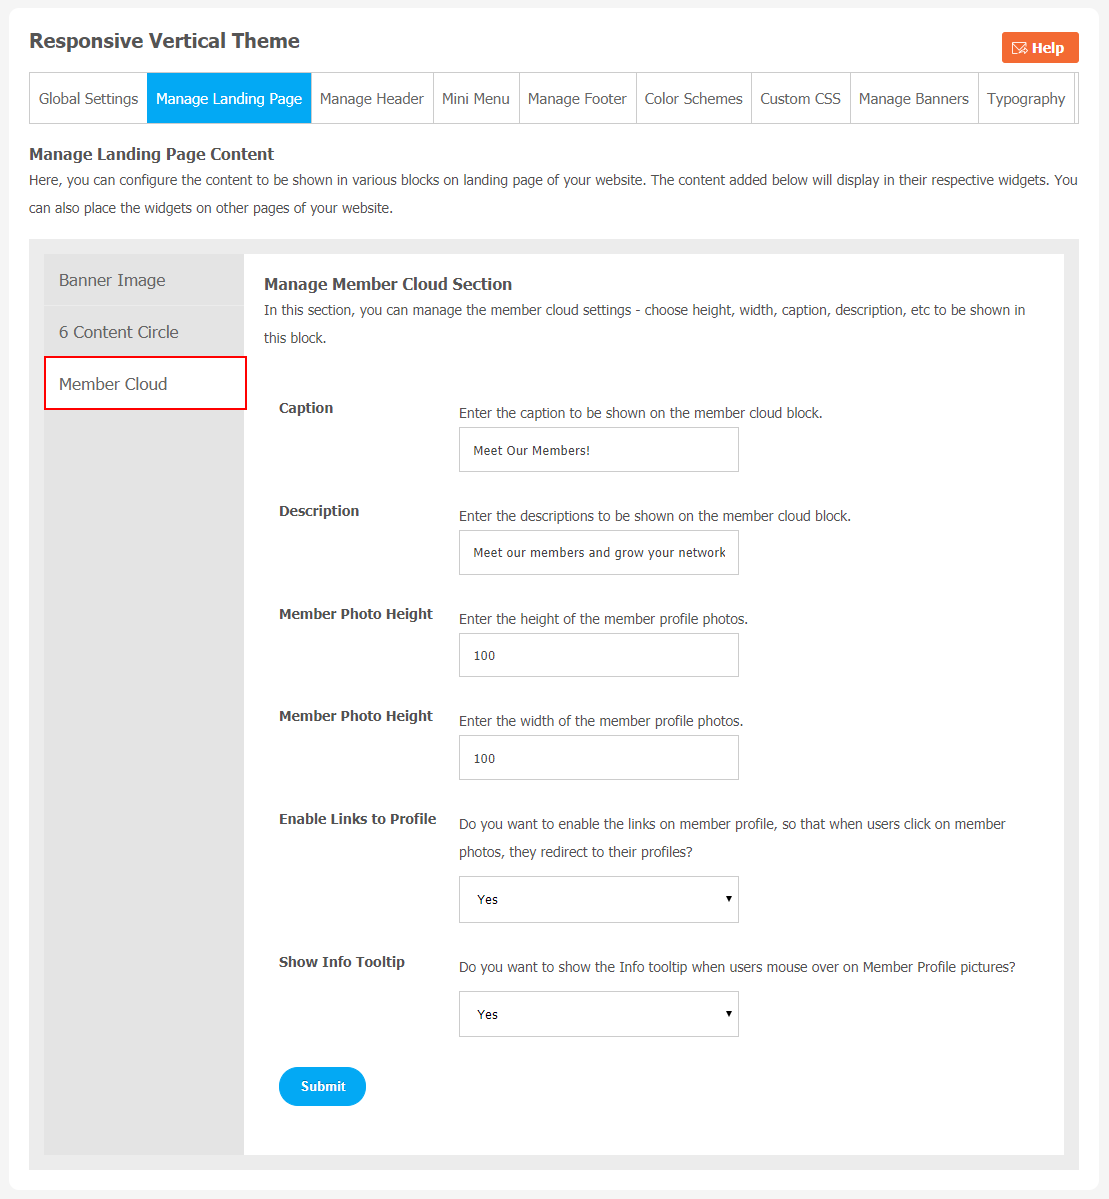
(c) Member Cloud
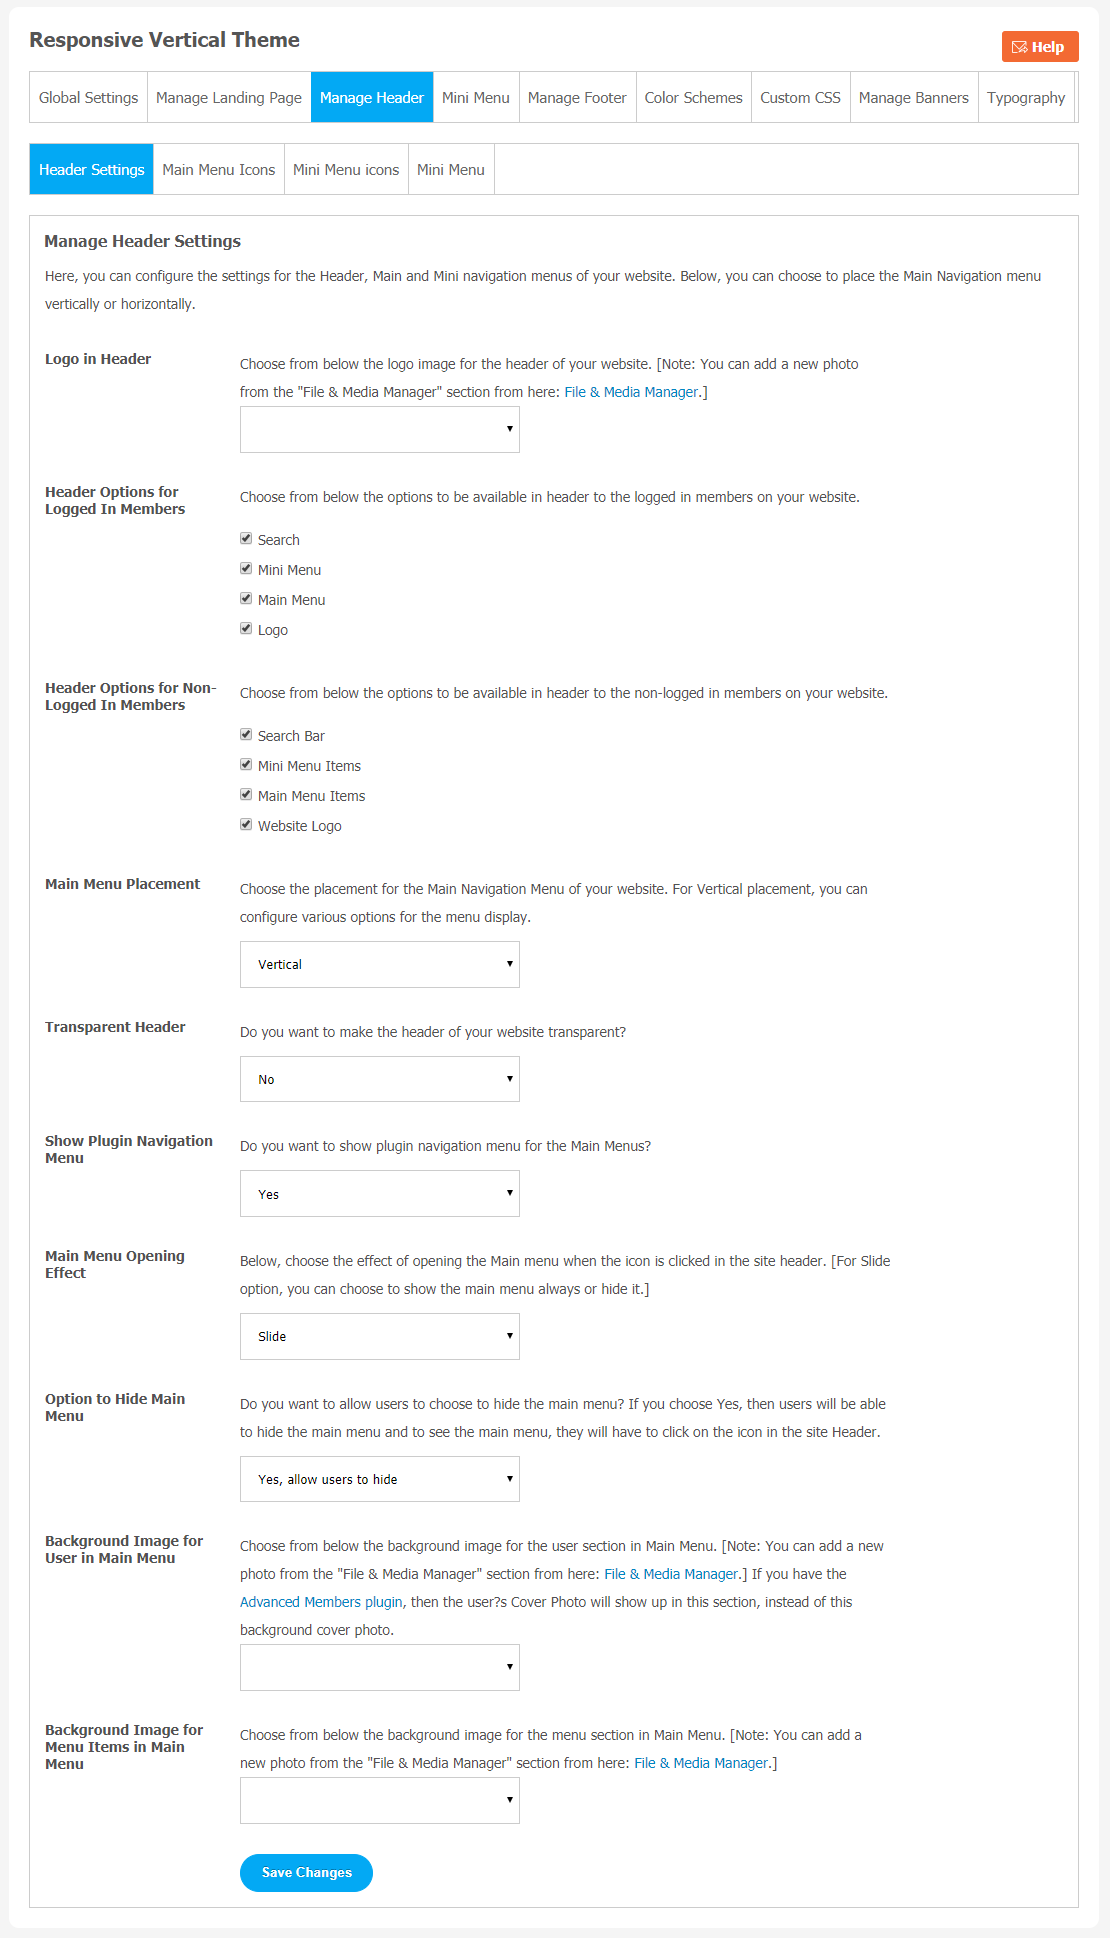
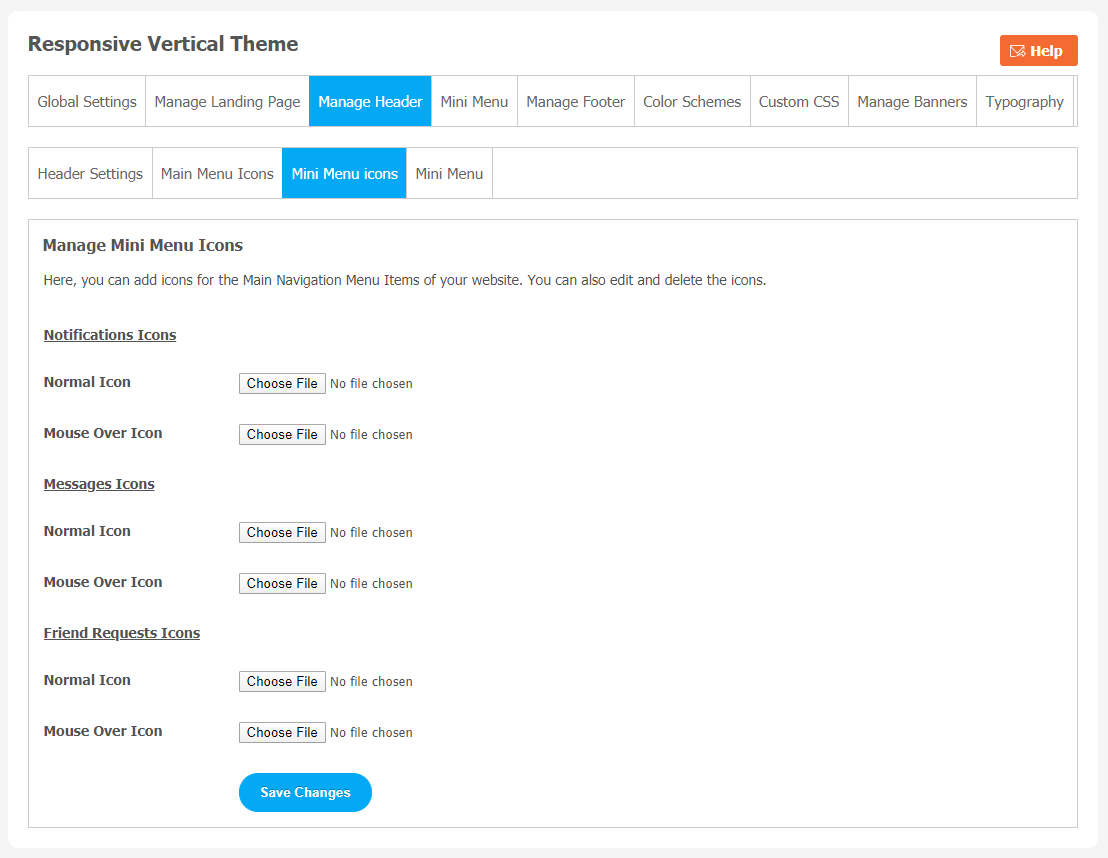
4. Manage Header
(a) Header Settings
(b) Main Menu Icons
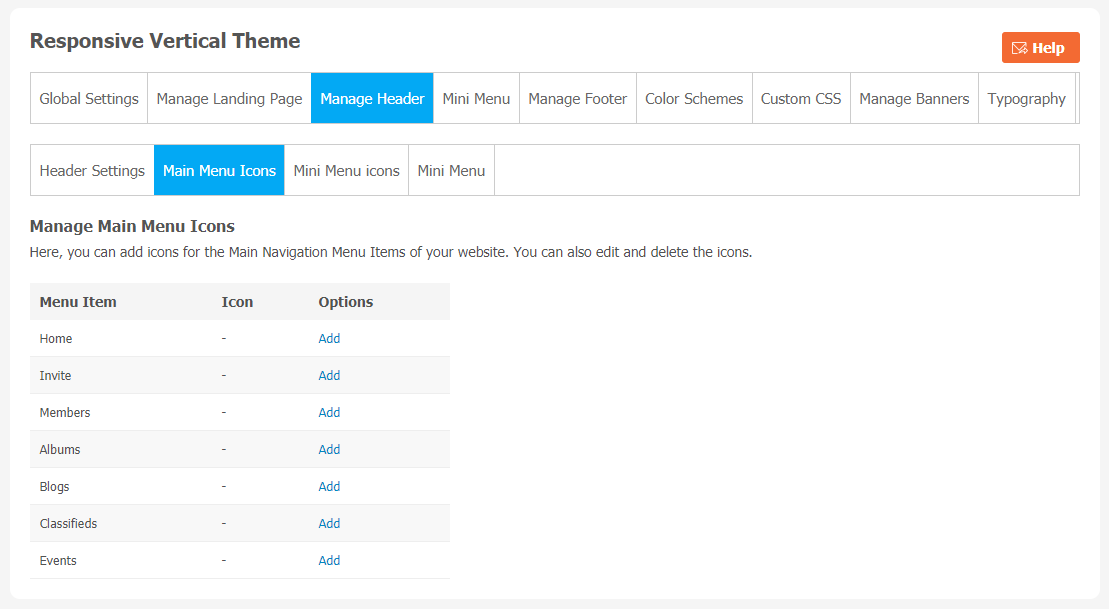
(c) Mini Menu Icons
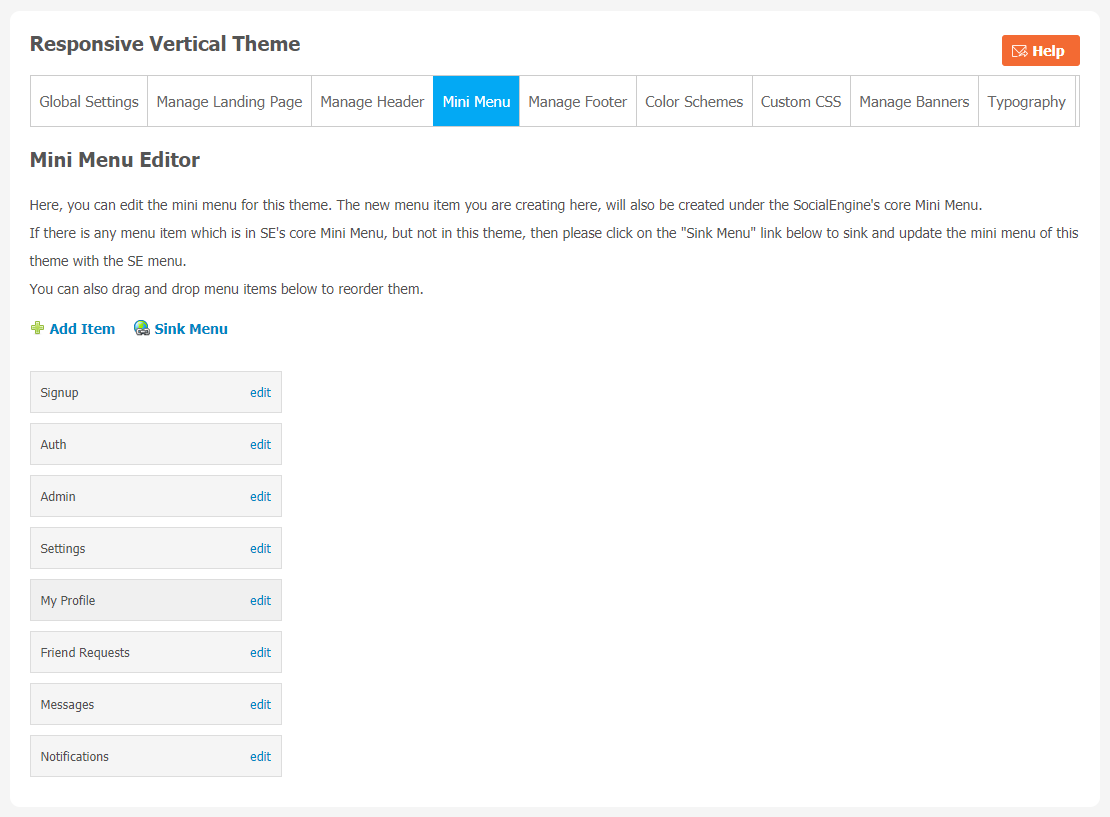
5. Mini Menu
Click on Mini Menu, drag and drop menu items as per your requirements.
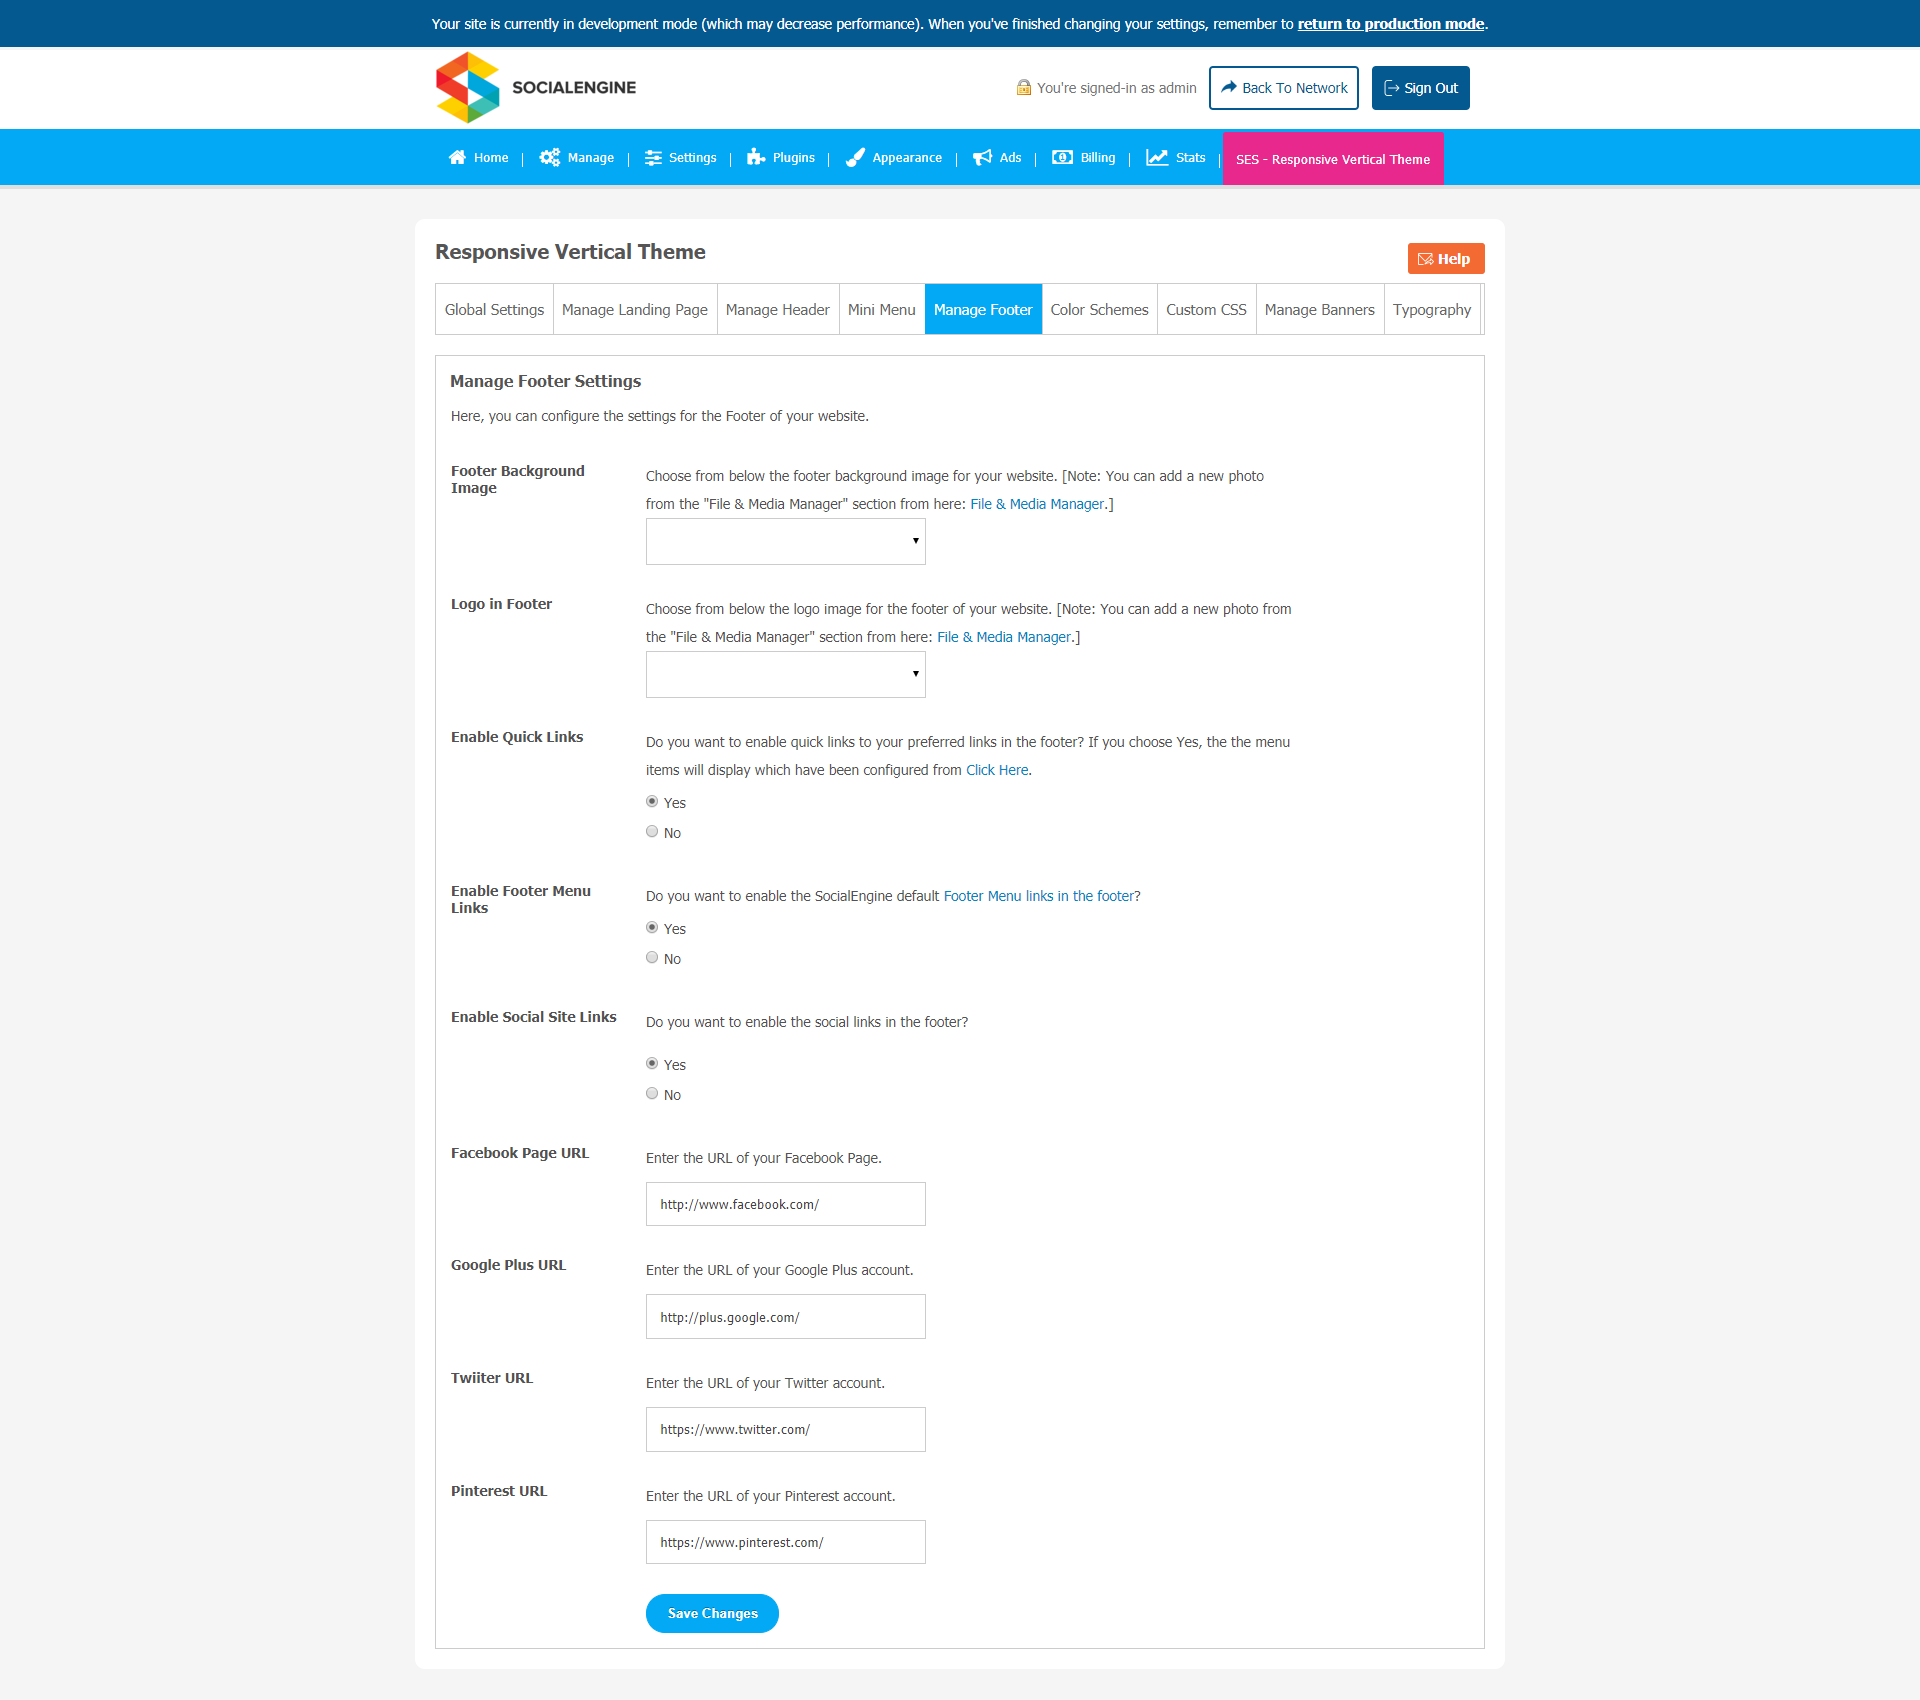
6. Manage Footer
In the footer section, you can make text changes and also control who can see those changes. Make your website footer more unique and appealing for your online audience with this amazing feature. You can also manage the footer background image.
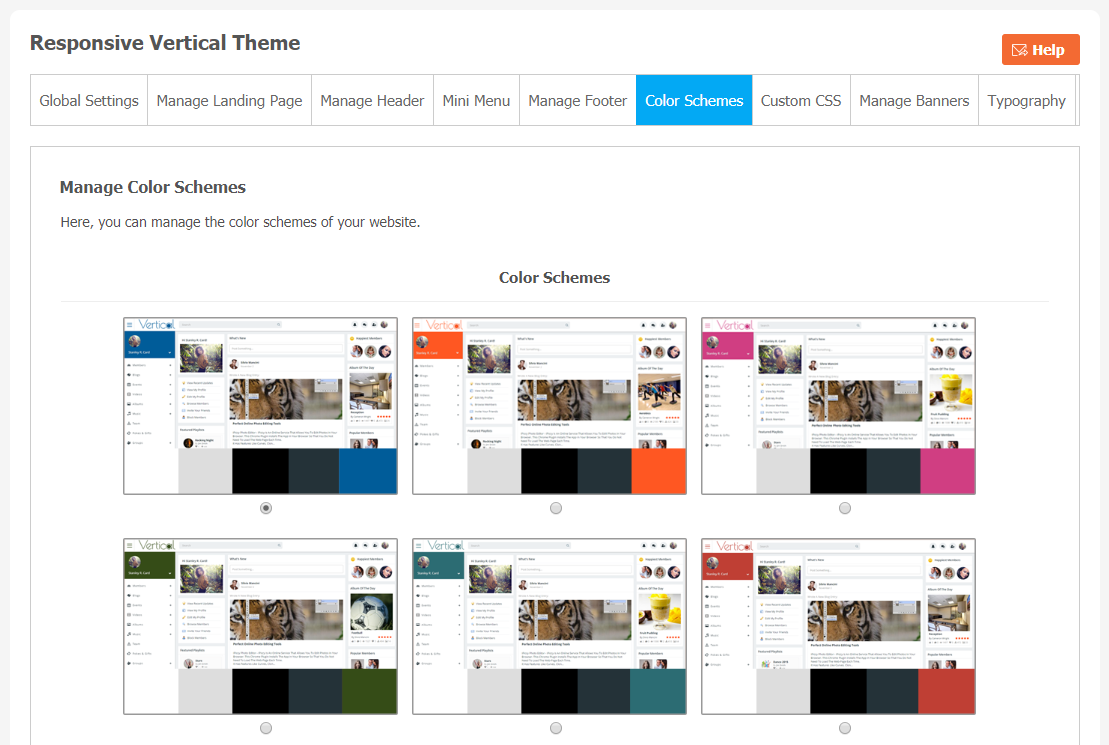
7. Color Schemes
Choosing a different theme color makes your website more refreshing and attractive for your users. We have provided multi-color options to make your Twitter more engaging. Also, you can make your own color combination for Responsive Vertical Theme.
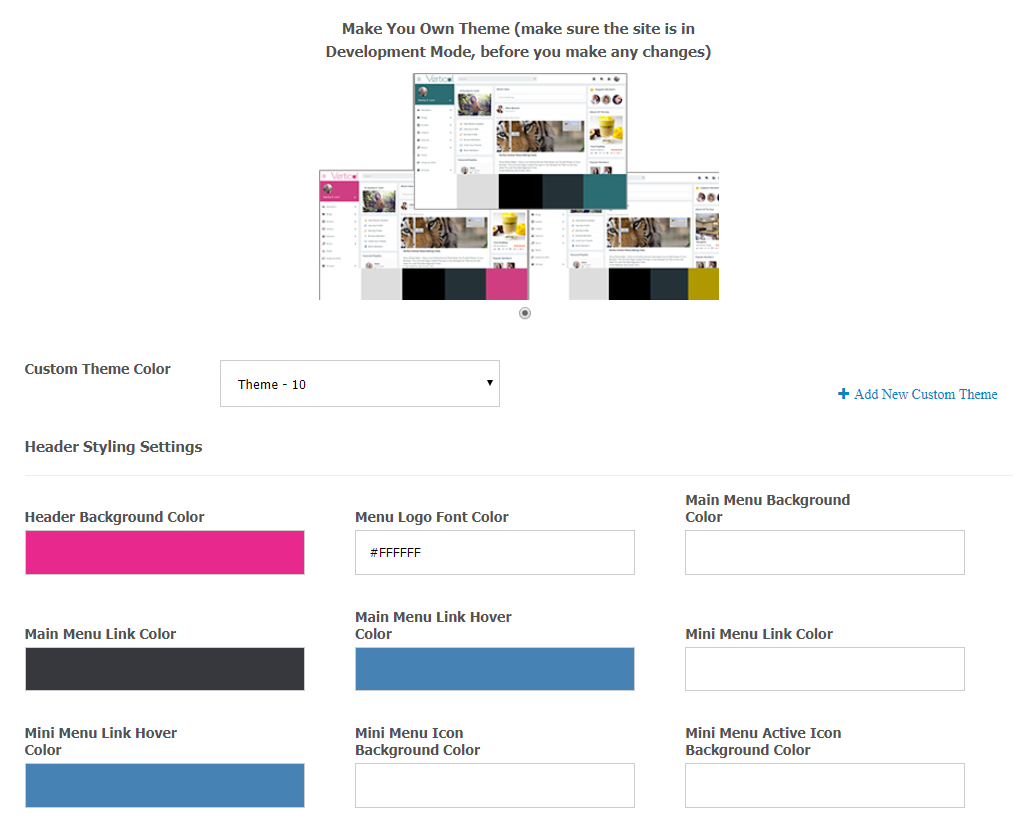
(a) Make Your Custom Theme Color
With this Responsive Vertical Theme, the user can manually customize theme color options. There are many color options available to make your website theme more interesting and appealing to your community audience.
- Select “Make your Theme”.
- Now make your own customized theme color combinations.
- Don’t forget to Save Changes.
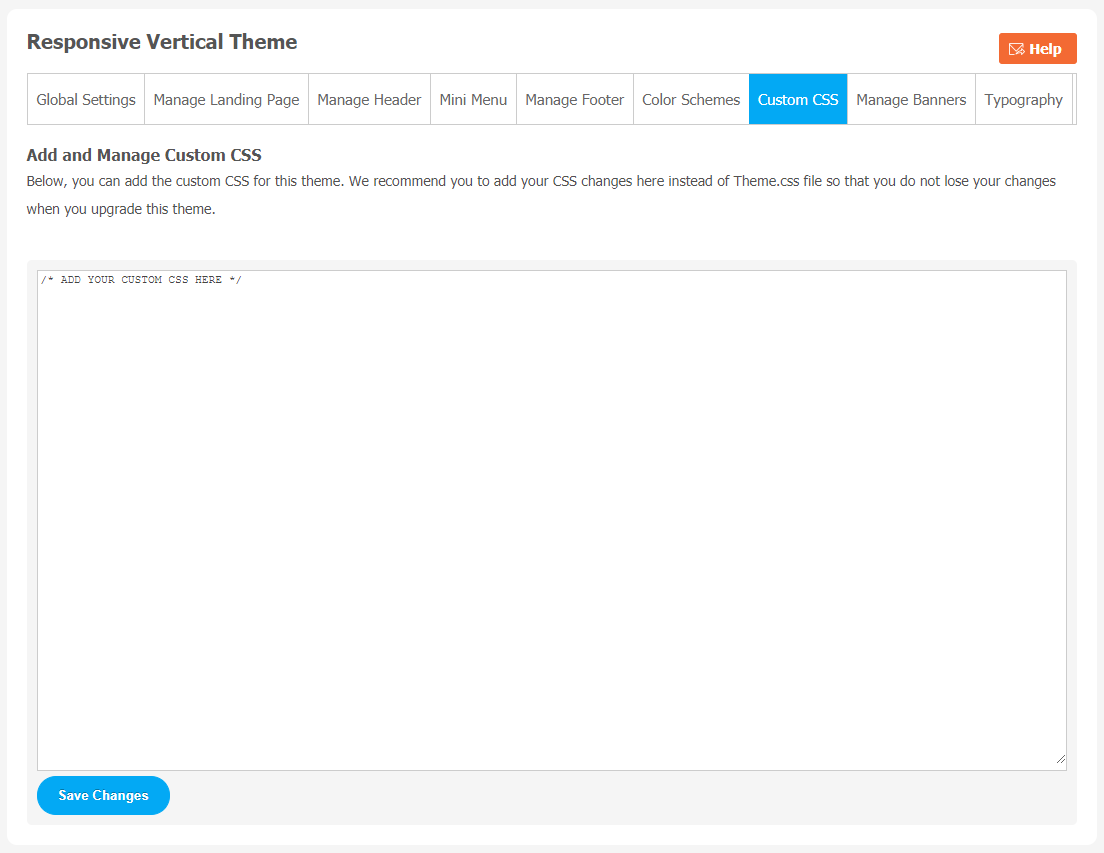
8. Custom CSS
Add custom CSS in Responsive Vertical Theme with a single click. We suggest you add your CSS changes here instead of Theme.css file so that you do not lose your changes when you upgrade this theme. These changes will nicely show on your website.
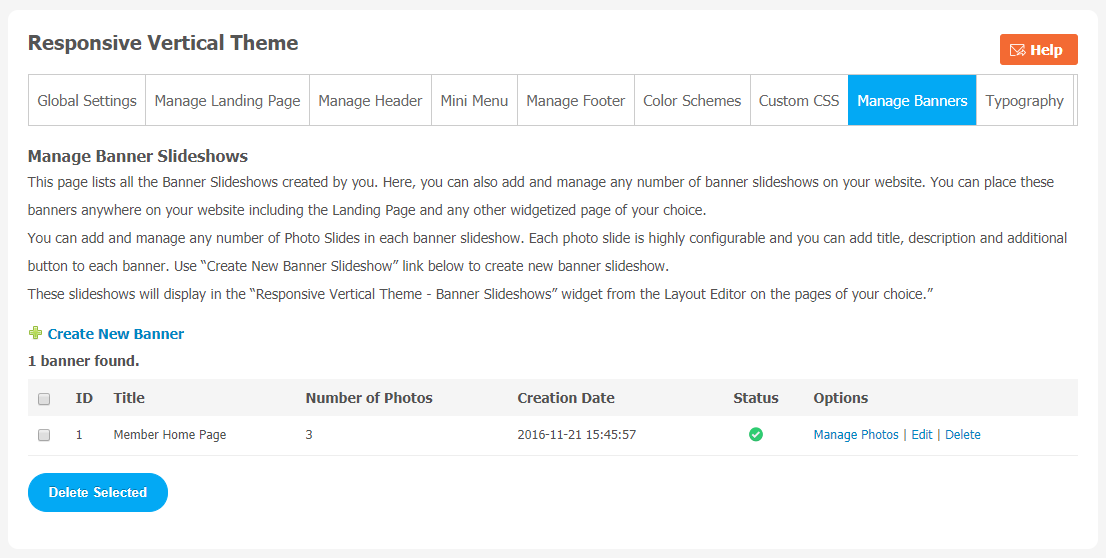
9. Manage Banner
If you want to change the banner image on your landing homepage, you can choose a suitable image from your system storage. You can choose more than 1 image for your banner slideshow. Each page is highly configurable, and you can add a title and description to each banner.
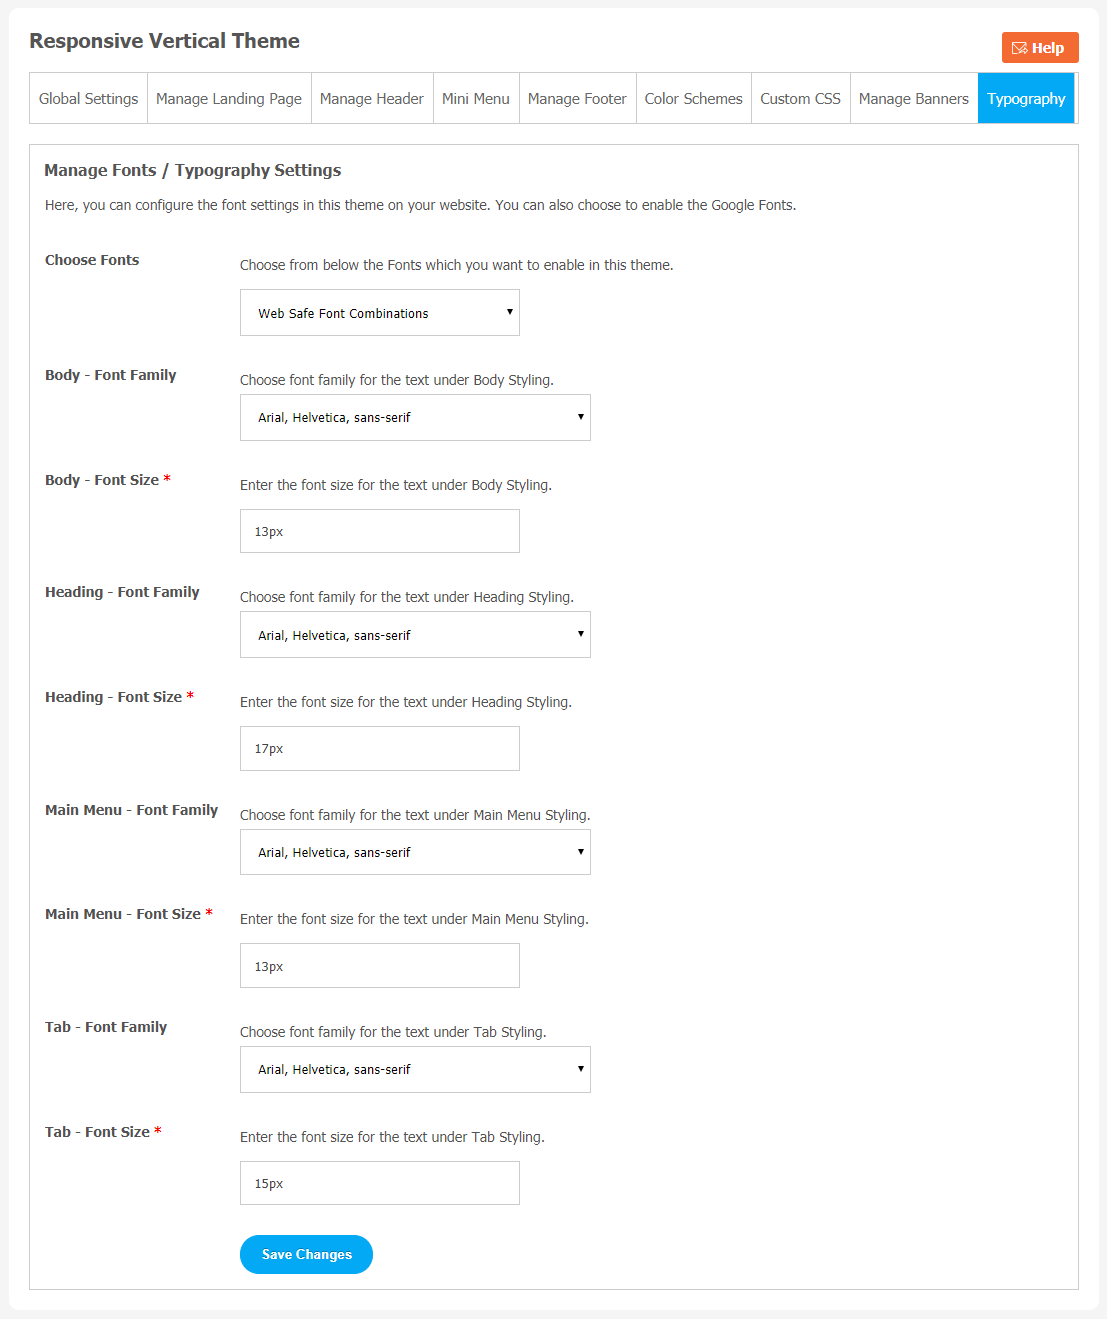
10. Typography
From this section, you can configure various font settings for this theme on your website. You can also select to enable the Font Combinations from this section.
You can easily manage family & size in a single click for the following elements on your website:
- Body – Font Family & Size
- Heading – Font Family & Size
- Main Menu – Font Family & Size
- Tab – Font Family & Size
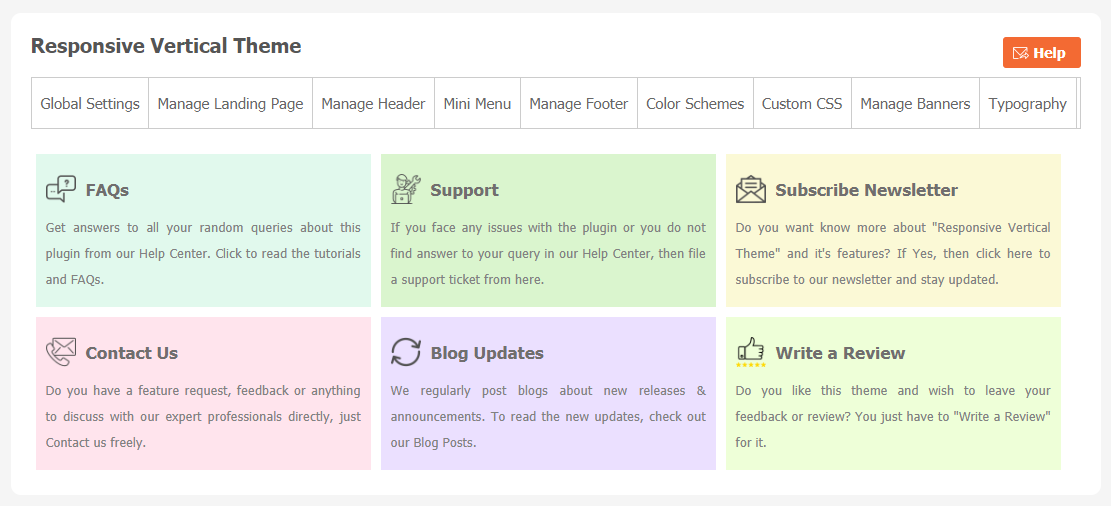
11. Help and Support
If you are facing any difficulties related to installation, setup, or any kind of support for this theme while exploring its new features, you can click the “Help and Support” tab. A new window will appear with different options. You can choose any option depending on your requirement.
Finally!! You have successfully completed the installation procedure and also explored various exciting features of this Responsive Vertical Theme. Now, your visitors and website members will be able to access & use your website with a new refreshing look.
Installation of this Theme is very easy, but if you still need our expert to install this theme for you, then you can purchase the service by Clicking Here.


