Do you know that Error pages could increase your conversion rate and boost business revenue? We understand that it sounds good, but with some effort, like investing in a good Error Pages Plugin, you can turn lost visitors into loyal customers.
Now, you must be curious about how this plugin can be beneficial for your SocialEngine platform. So, here is the answer. We know this fact that website links get bad at times. When a visitor clicks on a link to a deleted page, they will see an error page. Hence, we need an interesting error page plugin which can help your visitors to keep them engaged.
You can create custom, beautiful, and responsive error pages for your website with the help of this amazing plugin. Here, we are providing an interactive and easy-to-follow Advanced Error Pages Plugin setup & installation guide, which will help you to use & configure it properly on your website & maximize the efficiency of your website by showcasing the exciting features. With this help guide, you will get a better sense of usage when you install this plugin on your website.
Installation of this plugin is very easy, but if you still need our expert to install this plugin for you, then you can purchase the service by Clicking here.
Step-by-Step Installation & Tutorial Guide:
** This tutorial assumes that you are already logged in to the Admin Panel.**
If not, then you have to log in first to the admin panel after filling the admin account credentials on your website.
1. Installation of Advanced Error Pages Plugin:
1. In the Main Menu section, click on the tab Manage and select “Packages & Plugins” to install this plugin.

2. Our Plugin is based on SE standards, so this will get installed on your website as any standard plugin can. Please read the tutorial on installing themes and plugins in SE: Click Here

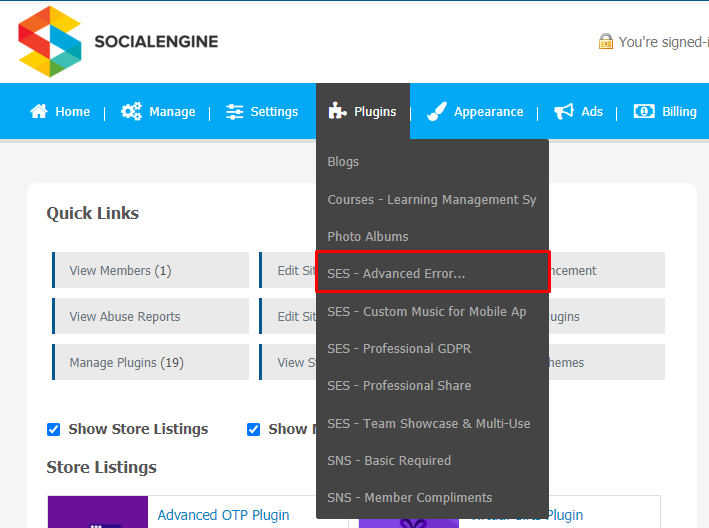
3. After the successful installation of the plugin as in Step 2 above, under the plugins section, click on “Advanced Error Pages Plugin“.
2. Global Settings
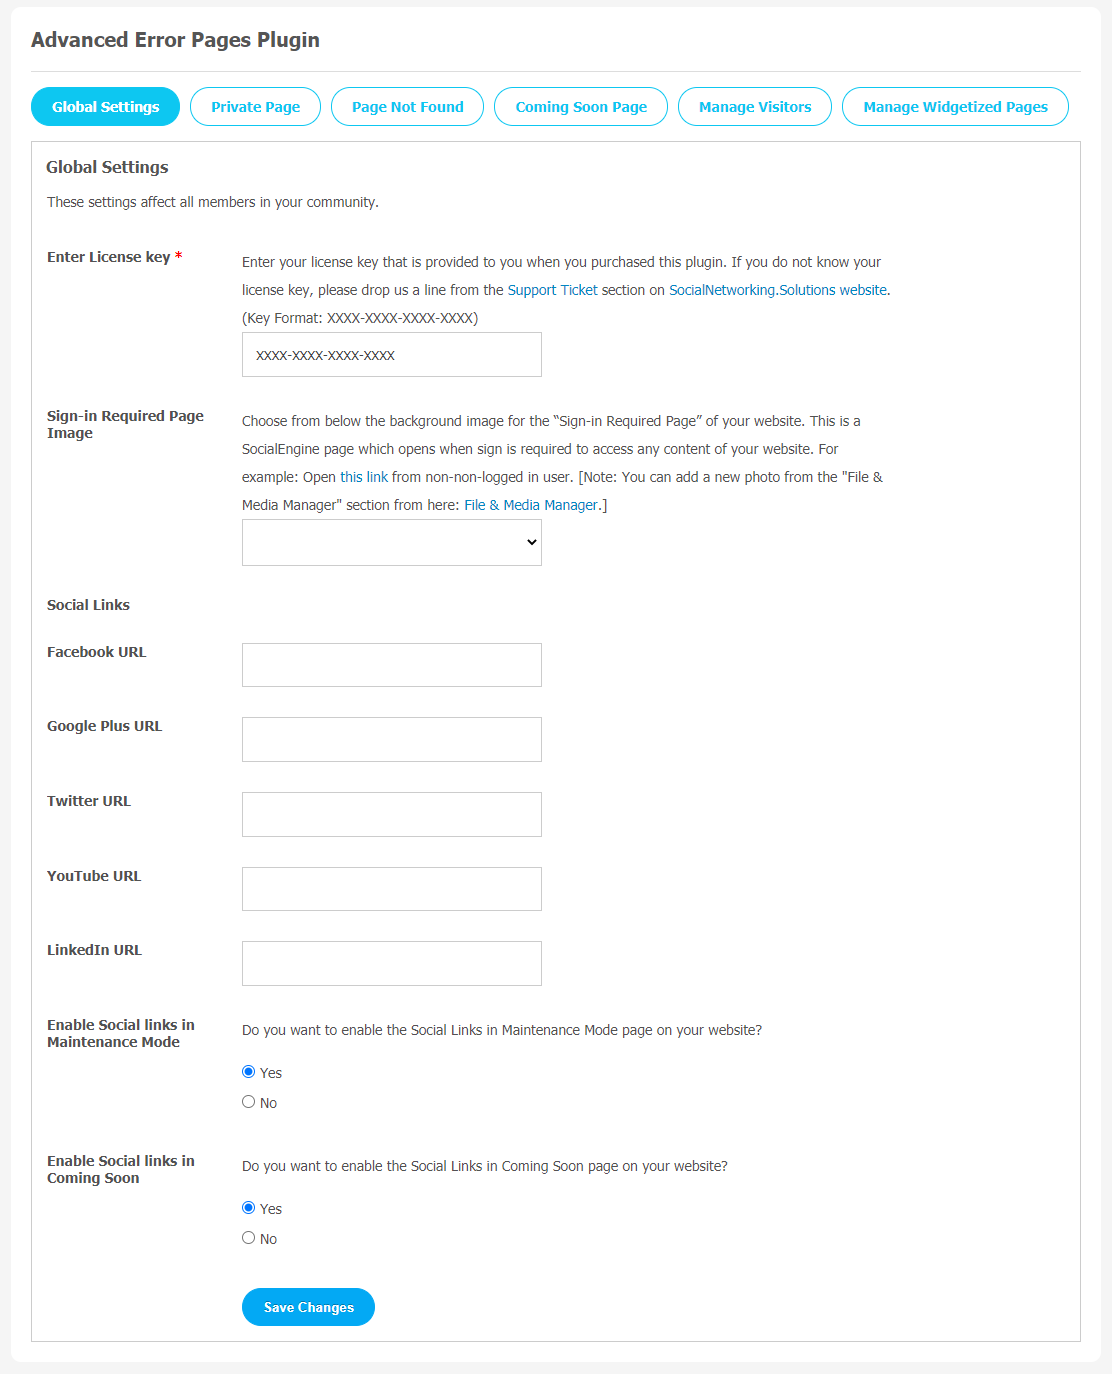
After a successful installation, a new Global Setting tab will appear where all the plugin settings can be managed easily. First, click on Global Settings. Then,
- Enter the required license key in the box.
- You can choose the Sign-in Required Page Image.
- Enter the URLs of Facebook, Google Plus, Twitter, YouTube, and LinkedIn.
- You can also enable social links in the coming soon.
3. Private Page
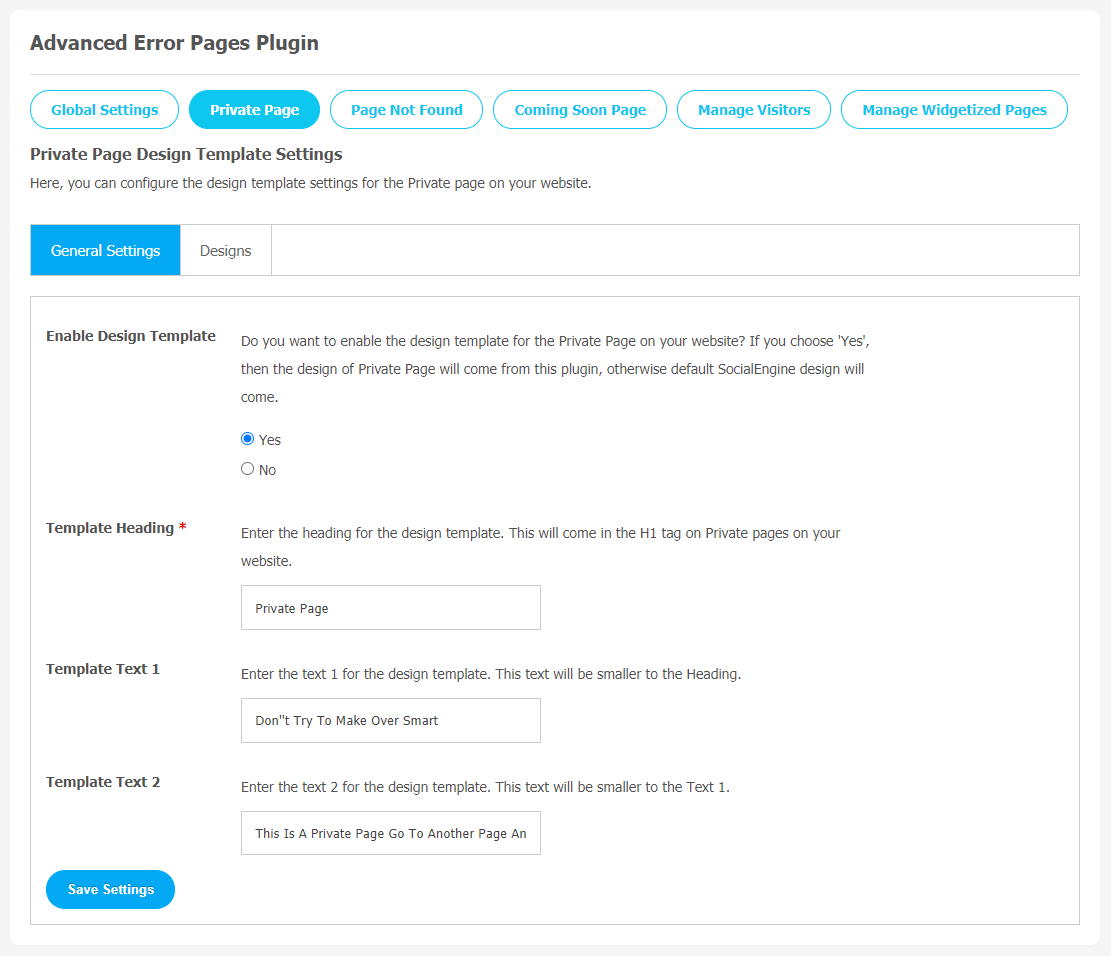
(a) General Settings
From this page, you can configure the design template settings for the Private page on your website.
- Enable Design Template
- Template Heading
- You can manage Template Text 1 and Template Text 2.
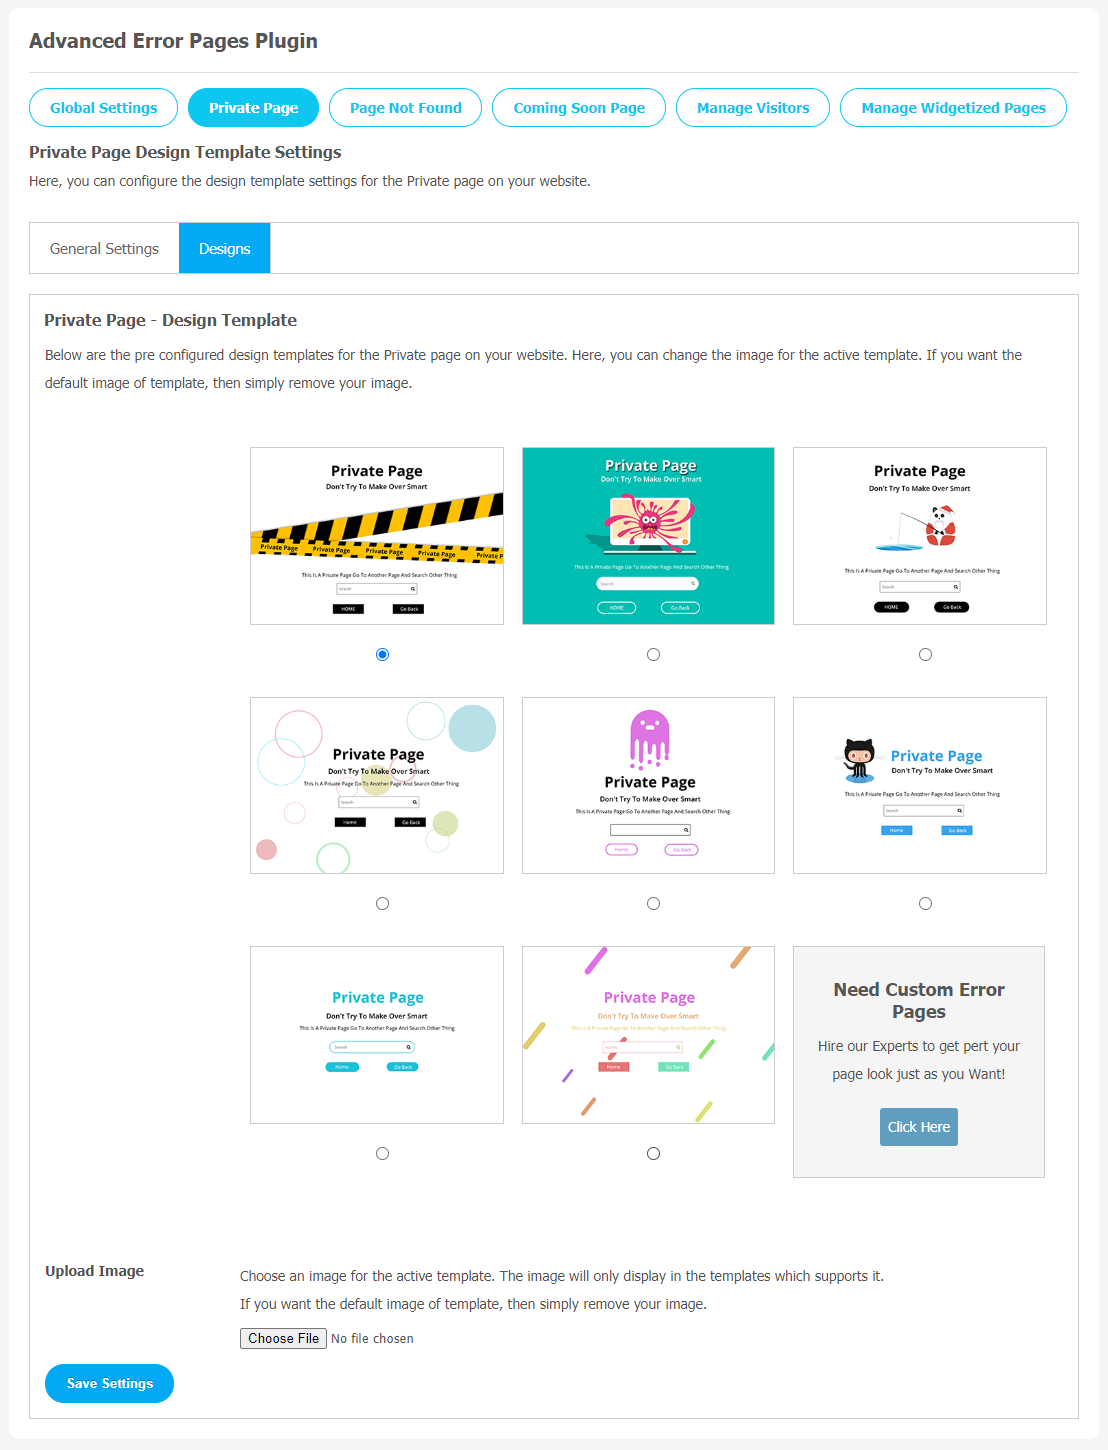
(b) Designs
In this page, you can configure design templates for the Private page on your website.If you want to change the image for the active template, configure the required template from here. Also, you can change the default image of the template, then simply remove your image.
4. Page Not Found
(a) General Settings
- You can enable 404 Redirect to Homepage
- Enable Design Template.
- Template Heading
Don’t forget to “Save Changes” when done.

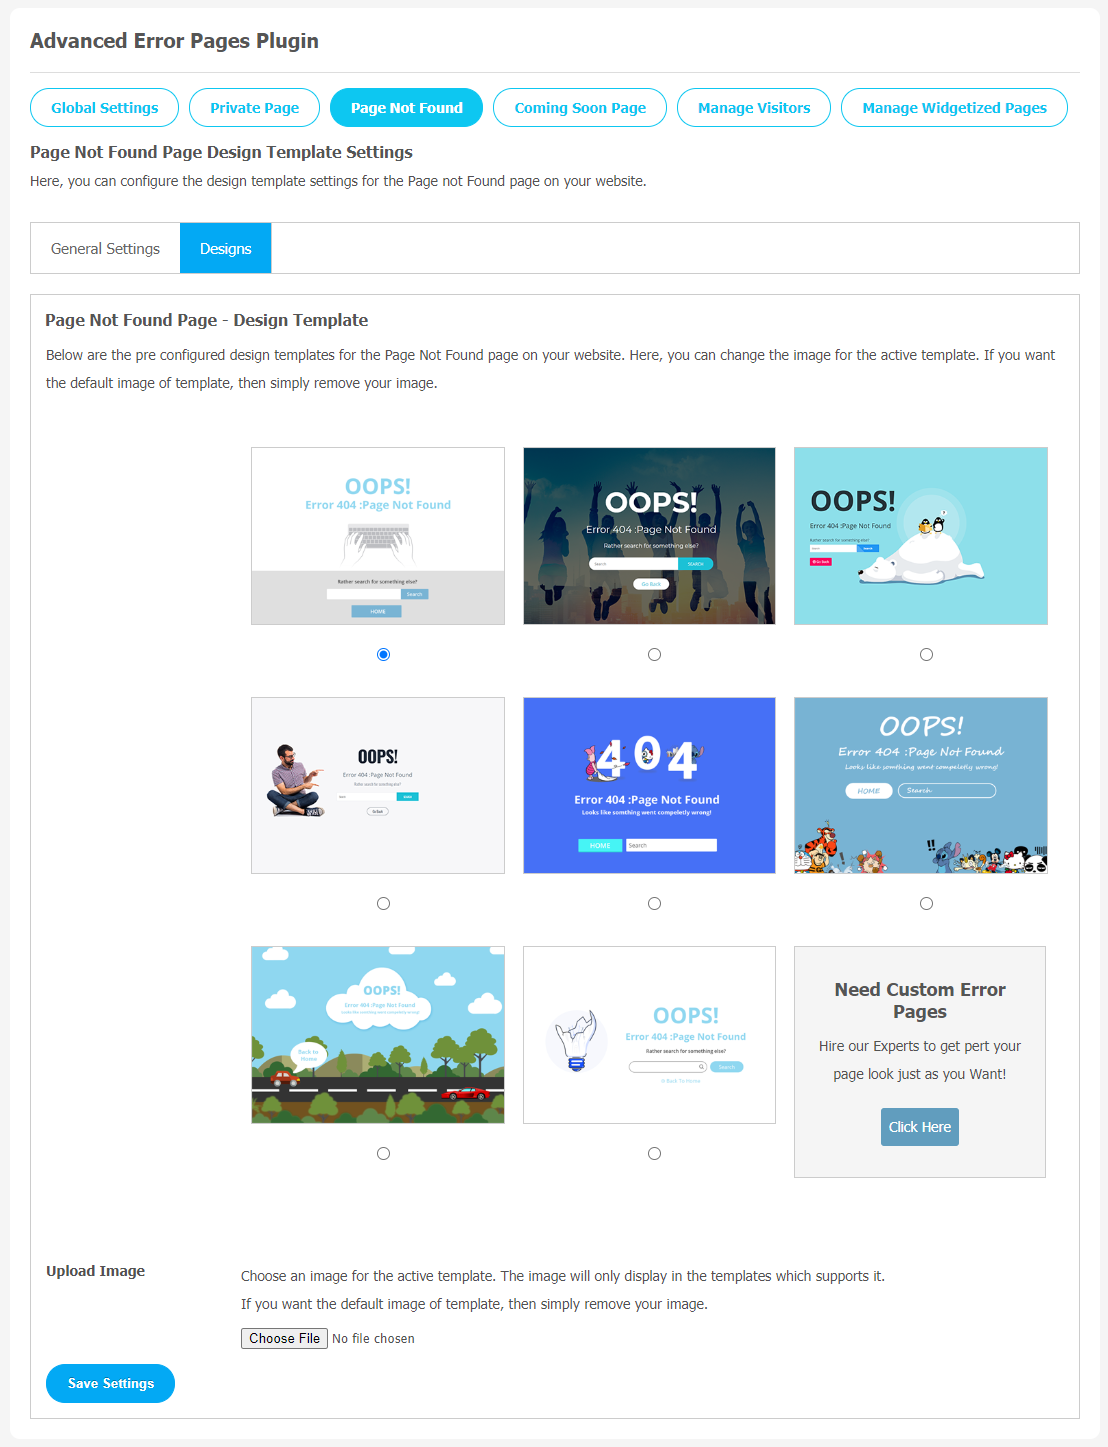
(b) Designs
From this page section, you can pick pre-designed templates when a “Page Not Found” message appears on your website.
5. Coming Soon Page
General Setting
This page is used to configure the settings for “Coming Soon Page”. Some features like Enable Coming Soon, End Date for Coming Soon Page, Enable Contact Us, Template Heading can be managed from here.

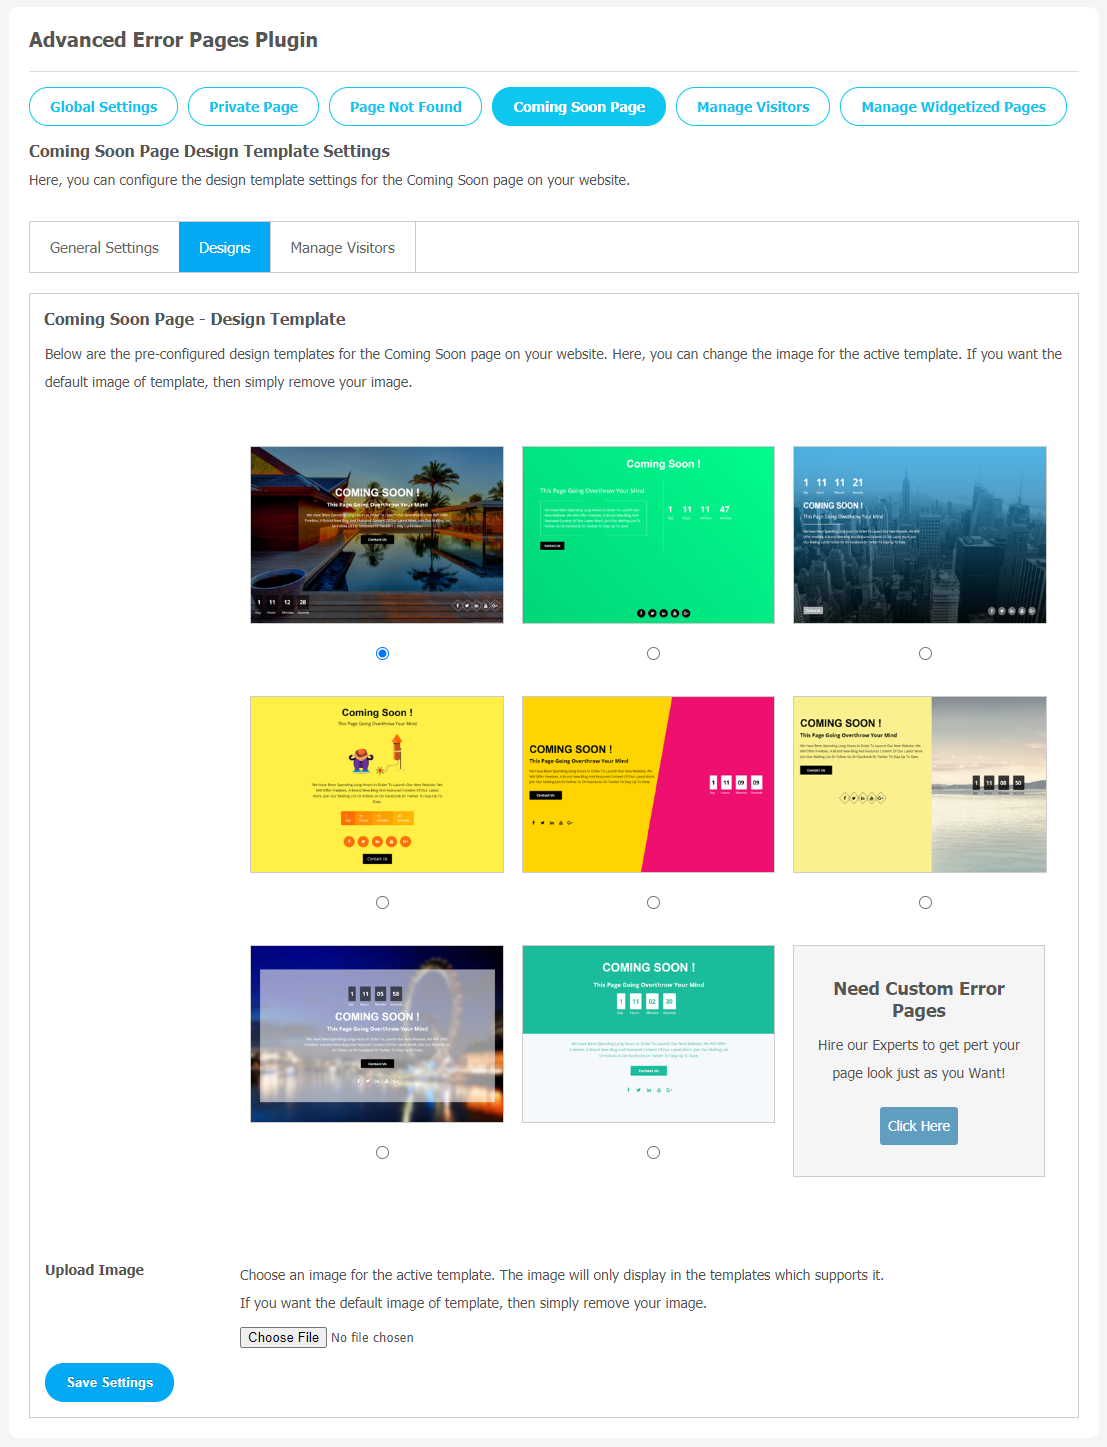
(b) Designs
This page contains multiple pre-configured design templates for the Coming Soon for your website.
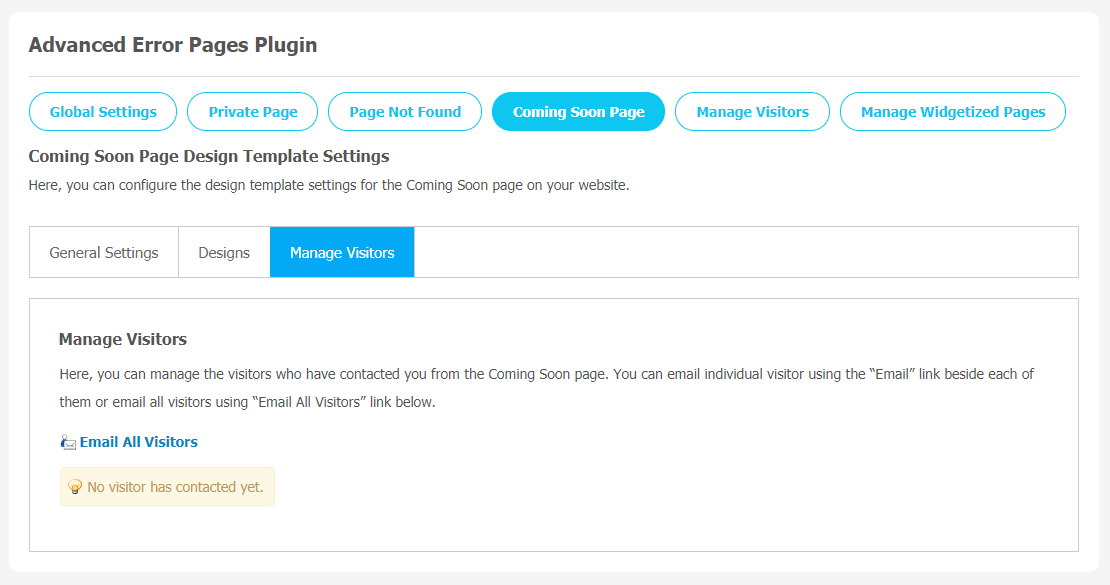
5. Manage Visitors
Managing website visitors is always a time-consuming process, but this page makes this process so easy for the site admin. You can manage visitors who have contacted you from the Coming Soon Page. You can send an email to individual visitors using the “Email” given below, as well as you can use “Email All Visitors” to send an email to all visitors.
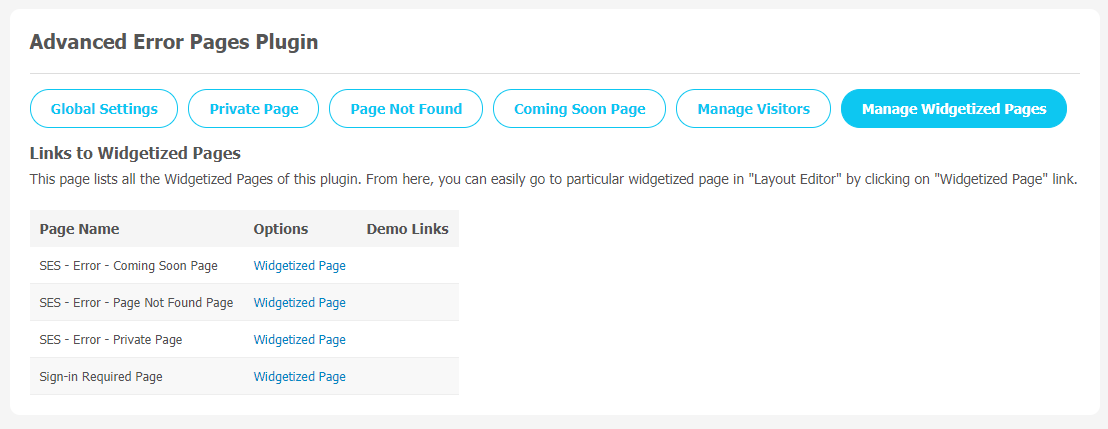
6. Manage Widgetized Pages
All the widgetized pages are shown in this section. You can go to “Layout Editor” by clicking on the respective Widgetize Page Link.
Finally!! You have completed the installation procedure and also explored various exciting features of this Advanced Error Pages Plugin. Now, your visitors and website members will be able to access & use your website with new features.
Installation of this Plugin is very easy, but if you still need our expert to install this Plugin for you, then you can purchase the service by Clicking Here.


