Have you ever thought about what makes your audience stay engaged on your website with complete loyalty? Even if you are delivering the best market content but nothing new and appealing to your users, after a certain time the number of users starts falling. We all know that attracting an audience on our website requires a lot of efforts.
But small things can play a crucial role for your website business growth. Because small things draw the attention of your audience to your platform and you will see increased site visits ultimately increase average session duration with less bounce rate on your website.
Our Weather Plugin can do the wonders for your website and can add that extra element to your website. It can effortlessly integrate an upcoming weather forecast display on your SocialEngine website to keep your audience updated about the weather at your venue.
Key Features
- Dark Sky API
- Hourly & Weekly Forecast
- Background Image Support
- 19 Weather Conditions & SVG Animated Icons
- Four View Options
Here, we are providing an interactive and easy-to-follow Weather Plugin setup & installation guide which will help you to use & configure it properly on your website & maximize the efficiency of your website by showcasing the exciting features. With this help guide, you will get a better sense of usage when you install this plugin on your website.
Installation of this plugin is straightforward, but if you still need our expert to install this plugin for you, then you can purchase the service by clicking here.
Step-by-Step Installation & Tutorial Guide:
** This tutorial assumes that you are already logged in to the Admin Panel.**
If not, then you have to log in first to the admin panel after filling the admin account credentials on your website.
1. Installation of Weather Plugin
(a) In the Main Menu section, click on the tab Manage and select “Packages & Plugins” to install this plugin.

(b) Our Plugin is based on SE standards, so this will get installed on your website as any standard theme can. Please read the tutorial on installing themes and plugins in SE: Click Here

(c) After the successful installation of the theme as in Step 2 above, under the plugins section, click on “Weather”.
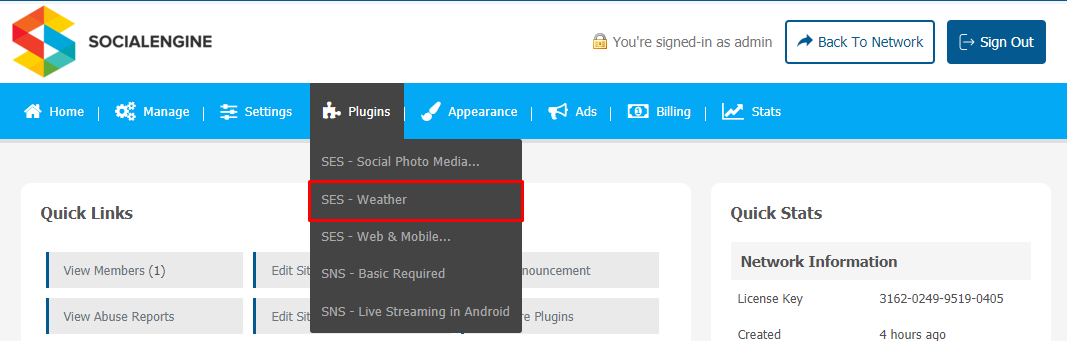
Now, you will be asked for plugin activation. You can activate this plugin by entering the right license key in the given box.
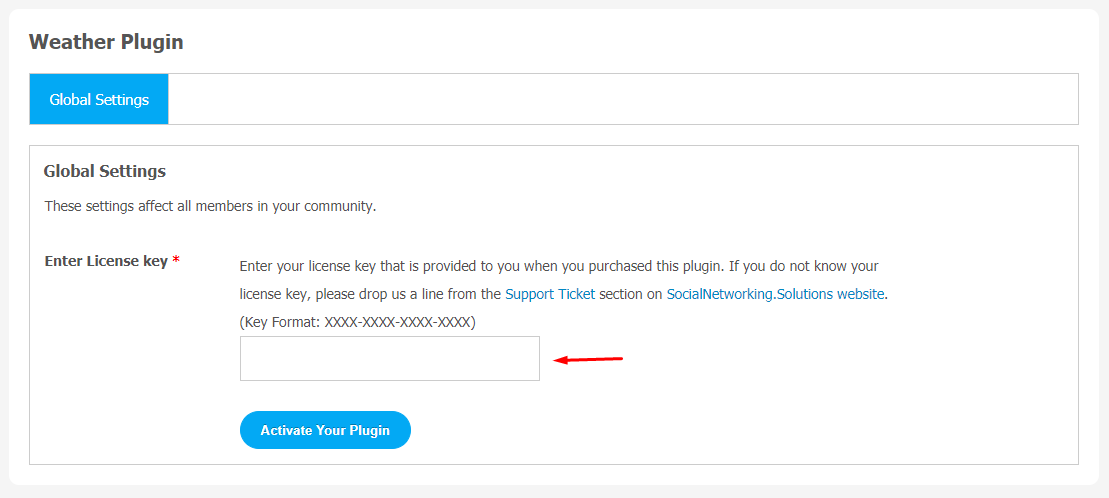
Once the plugin is installed and activated, click on Global Settings, and go straight to the plugin configuration page.
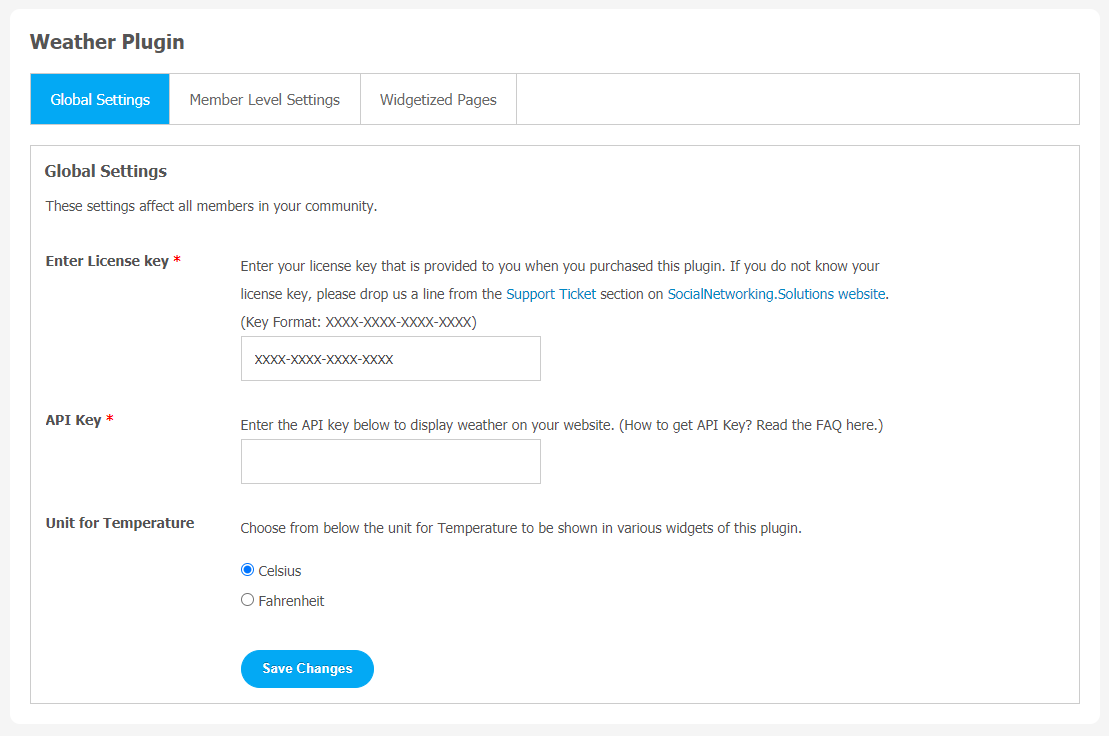
2. Global Settings
After a successful installation, a new Global Setting tab will appear where all the plugin settings can be managed easily. First, click on Global Settings. Then,
- Enter the API Key to display the weather on your site.
- Set the Unit of Temperature.
- Don’t forget to “Save Changes” when done.
Note: Any changes made here will be applicable to all your community members.
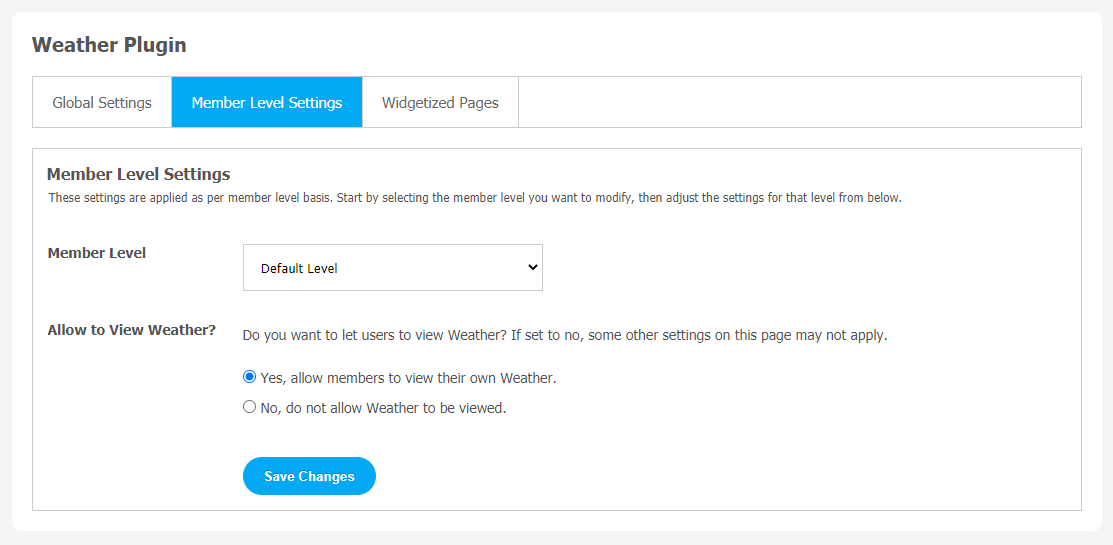
3. Member Level Settings
This section is used to manage Member Level Settings. Here are some important features of Plugin which can be managed by the site admin for different member levels.
- You can permit website members to view the weather.
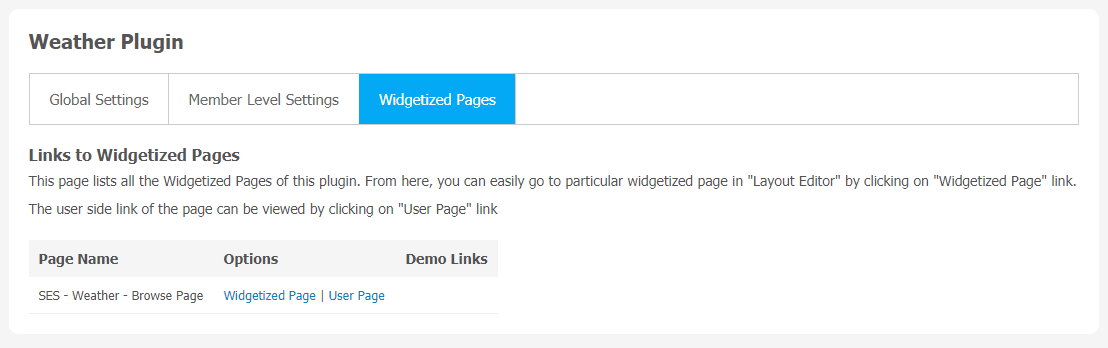
4. Widgetized Pages
All the widgetized pages are shown in this section. You can go to “Layout Editor” by clicking on the respective Widgetize Page Link.
With this step-by-step tutorial guide, we expect you to have successfully learnt how to use this plugin for your SocialEngine website. These are the key features of this Weather Plugin. We hope you have successfully completed the tutorial guide and ready to go. You can use this plugin and utilize the new opportunities of engaging with customers.


