Avatar is generally used for user profile images. They have become widely popular on the SocialEngine platform. If you observe closely the comments, the forum section of any site, you will see a photo next to the commenter. They are called avatars. It is a graphical representation of any user. It helps to build your brand image and makes your website more credible among new audiences. Having an avatar next to the profile image helps to look more professional and ultimately boosts user engagement on your website.
Custom Avatar Plugin allows you to choose your favorite Avatar among 50 pre-uploaded Avatars, manage Avatar Images, upload a Custom Avatar, edit your Avatar, etc. Also, some additional benefits, like this plugin, are simple and very lightweight. It will make no impact on your website’s loading time. You can allow your users to upload their avatars on your SocialEngine website. You also have the freedom to choose a default avatar for every user on your website.
Here, we are providing an interactive and easy-to-follow Custom Avatar Plugin setup and installation guide that will help you use and configure it properly on your website and maximize its efficiency by showcasing its exciting features. With this help guide, you will get a better sense of usage when you install this plugin on your website.
Installation of this plugin is very easy, but if you still need our expert to install this plugin for you, then you can purchase the service by clicking here.
Step-by-Step Installation & Tutorial Guide:
** This tutorial assumes that you are already logged in to the Admin Panel.**
If not, then you have to log in first to the admin panel after filling the admin account credentials on your website.
1. Installation of Custom Avatar Plugin:
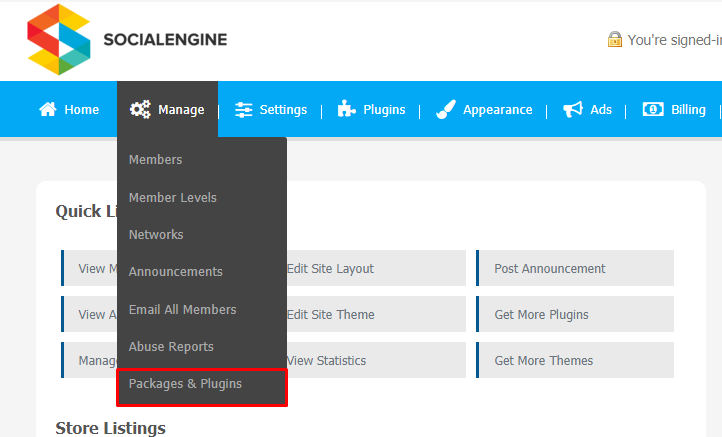
(a) In the Main Menu section, click on the tab Manage and select “Packages & Plugins” to install this plugin.
(b) Our Plugin is based on SE standards, so this will get installed on your website as any standard theme can. Please read the tutorial on installing themes and plugins in SE: Click Here
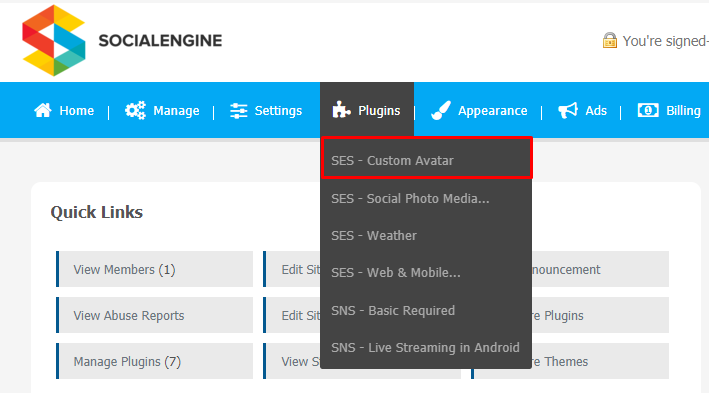
(c) After the successful installation of the plugin as in Step 2 above, under the plugins section, click on “Custom Avatar“.
Now, you will be asked for plugin activation. You can activate this plugin by entering the right license key in the given box.
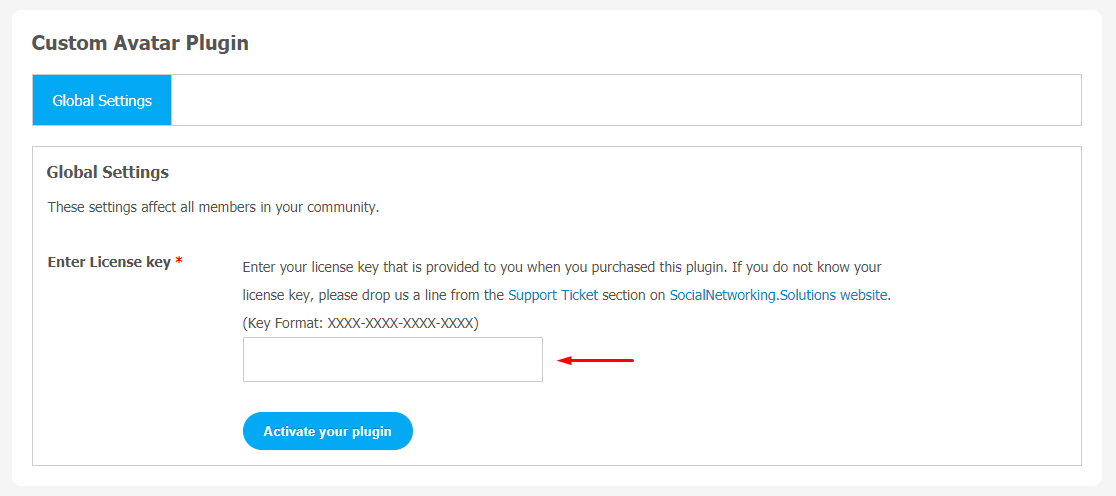
Once the plugin is installed and activated, click on Global Settings to head straight to the plugin configuration page.
2. Global Settings
After a successful installation, a new Global Setting tab will appear where all the plugin settings can be managed easily.
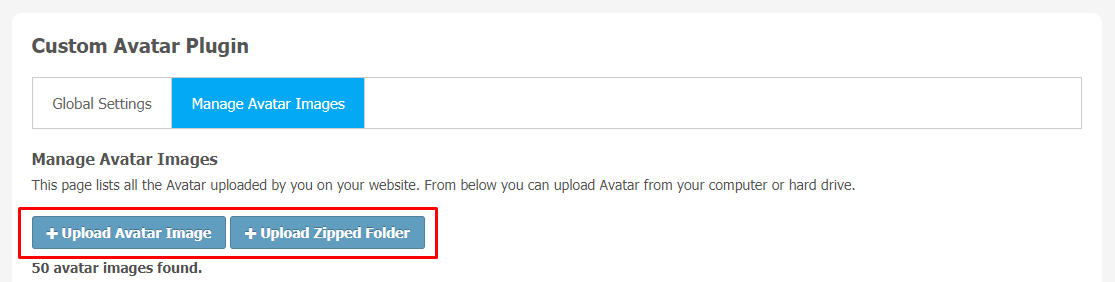
3. Manage Avatar Images
Here, you can see all the avatars uploaded by you on your website. This plugin enables you to upload an Avatar from your computer or the File Manager.
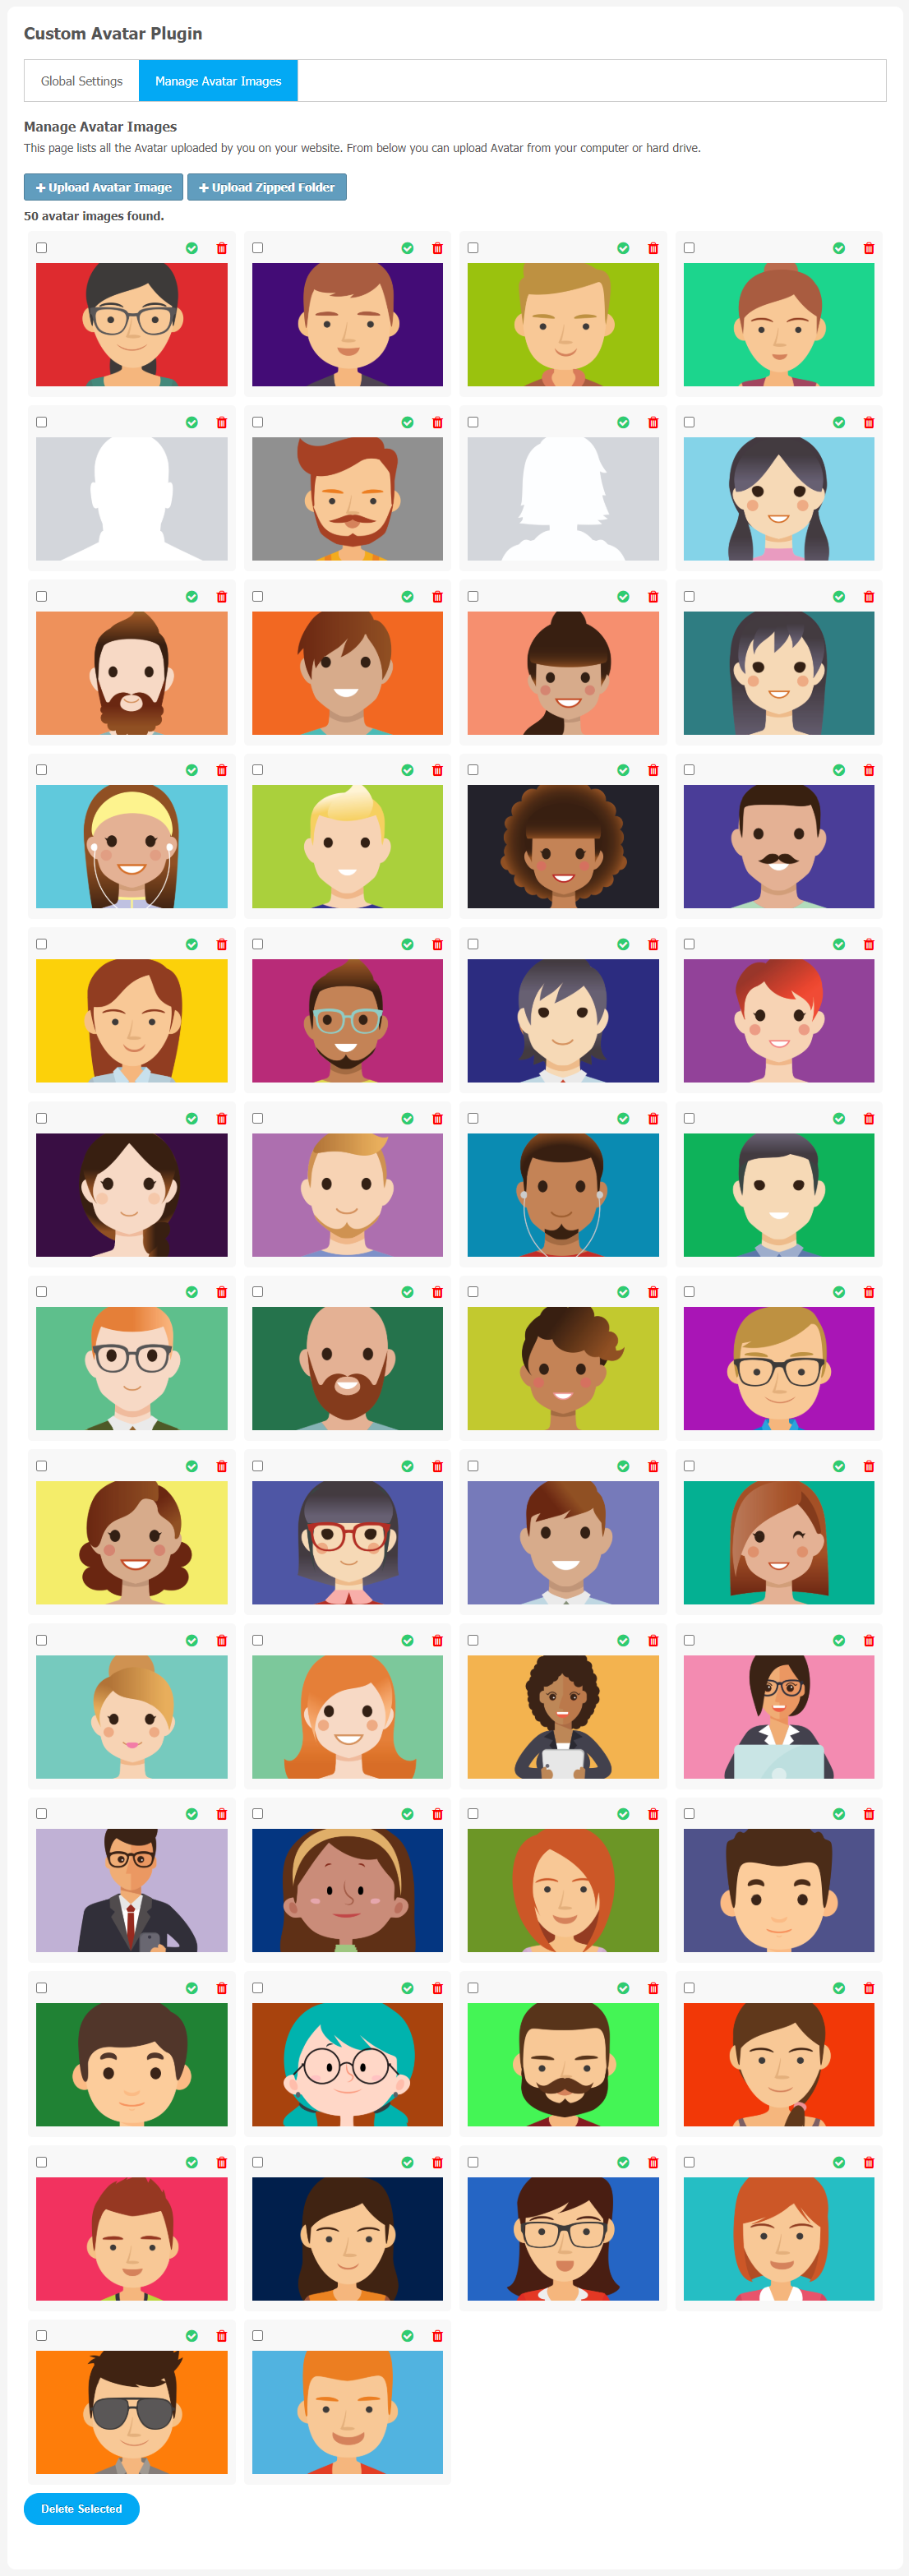
If you want to upload an Avatar Image, you can choose by clicking on the box as shown below in the image. You will get at least 50 pre-uploaded avatar images with this plugin. You can choose your favourite avatar as per your requirement.
It was so simple! You can now visit the front end of your website to see the changes you made. You can see that those anonymous comments that have been made by visitors with no avatar now have an avatar based on what you set through this Custom Avatar Plugin. We hope that this tutorial guide will help you to understand the features of this plugin better!


