People love engaging in online platforms where they can explore awesome things based on their interests. We feel so excited to connect with people of the same mindset and share our experiences with each other. If you own a similar SocialEngine website, you have the amazing opportunity to monetize your website. All you need to do is install our Interests Plugin in a few easy steps.
Once you install this plugin, you will be able to allow your users to add multiple interests for their profile during first signup. It will help you to boost the user engagement as this plugin will provide a common platform for people with similar interests. All these interests will appear on the Member Profile Page after they are added.
Interests Plugin enables its users to choose Interests, Enter Interests, Manageable Interests, Minimum Number of Interests, Skip Interests, etc. All these features can be configured directly from the admin panel.
Here, we are providing an interactive and easy to follow Interests Plugin setup & installation guide which will help you to use & configure it properly on your website & maximize the efficiency of your website by showcasing the exciting features. With this help-guide, you will get a better sense of usage when you actually install this plugin on your website.
Installation of this plugin is very easy, but if you still need our expert to install this plugin for you, then you can purchase the service by Clicking Here.
Step-by-Step Installation & Tutorial Guide:
** This tutorial assumes that you are already logged in to the Admin Panel. **
If not, then you have to log in first to the admin panel after filling the admin account credentials on your website.
1. Installation of Interests Plugin:
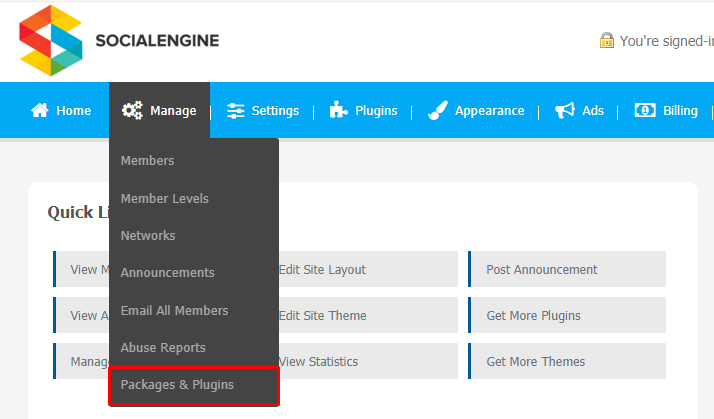
1. In the Main Menu section, click on the tab Manage and select “Packages & Plugins” to install this plugin.
2. Our Plugin is based on SE standards, so this will get installed on your website as any standard theme can. Please read the tutorial on installing themes and plugins in SE; Click Here
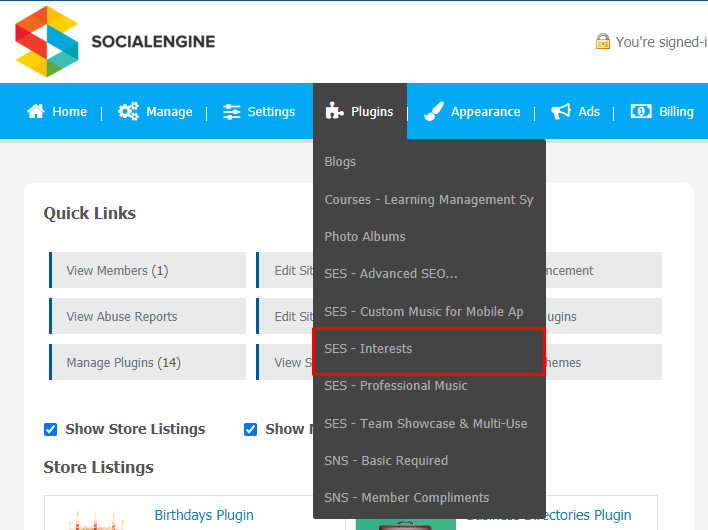
3. After the successful installation of the plugin as in Step 2 above, under the plugins section, click on “Interests“.
Now, you will be asked for plugin activation. You can activate this plugin by entering the right license key in the given box.
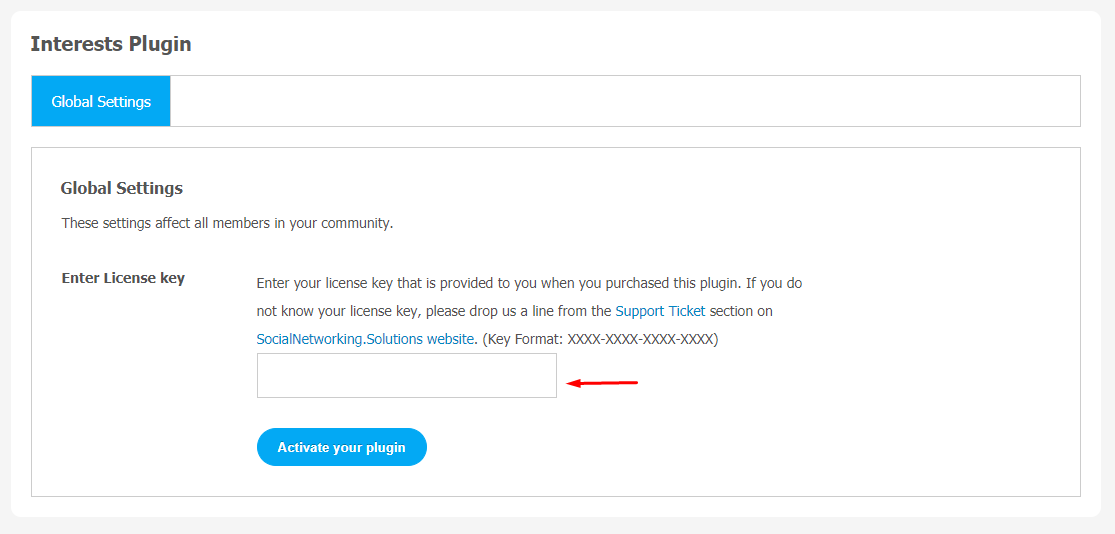
Once the plugin is installed and activated, click on Global Settings to head straight to the plugin configuration page.
2. Global Settings
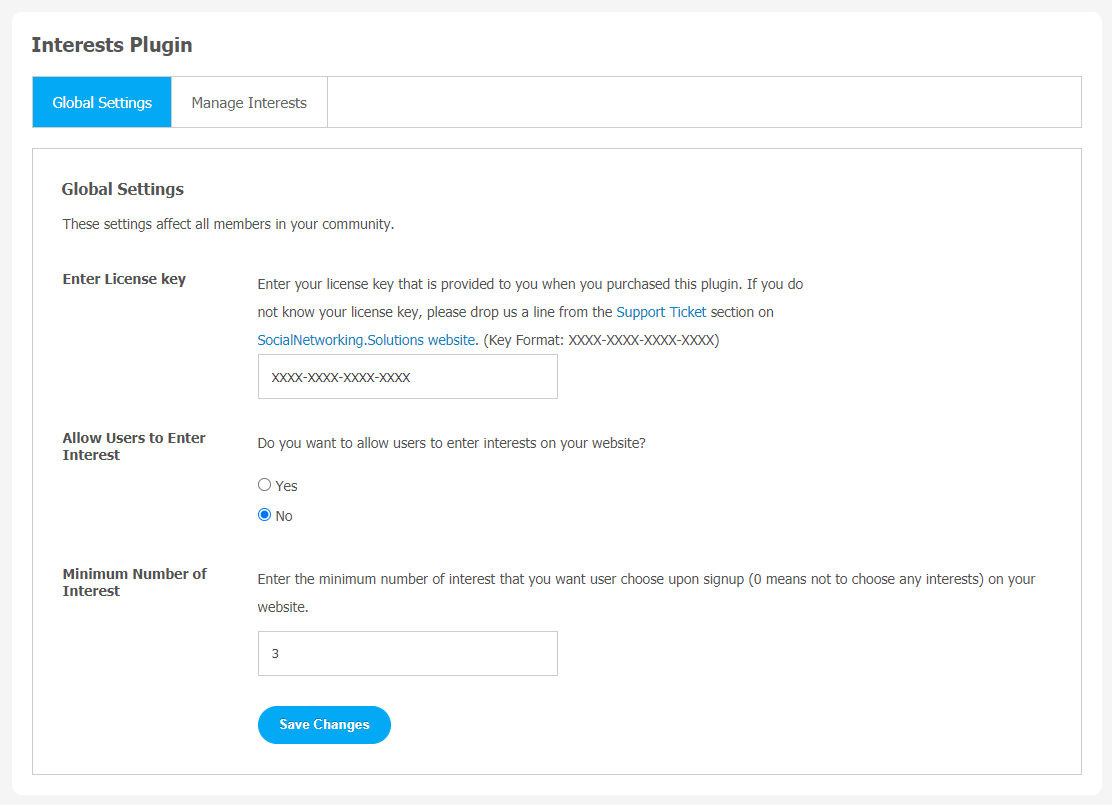
After a successful installation, a new Global Setting tab will appear where all the plugin settings can be managed easily. First, click on Global Settings. Then,
- You can approve/disapprove users to enter interests.
- Set the limit of the minimum number of interests.
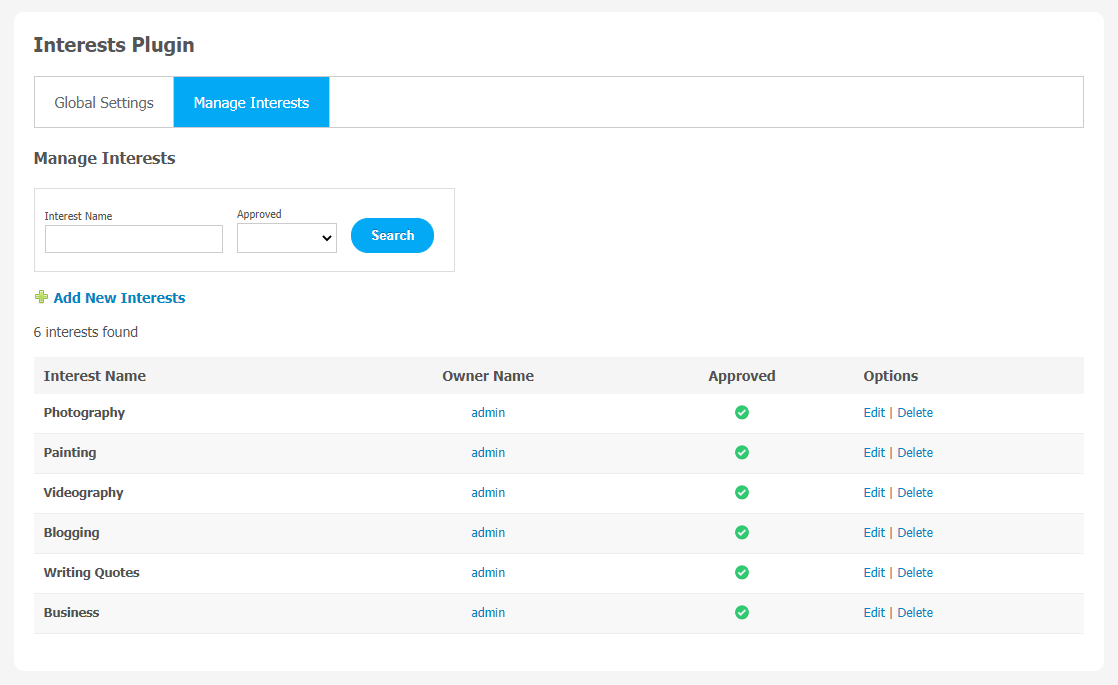
3. Manage Interests
This settings page stores all the interests saved by the users on your website. You can track News by their name, owner name, and date. You can choose News of the day, Featured, Sponsored, or Featured verified. Also, the site admin can approve or disapprove news if they find it offensive as per their platform guidelines.
With this step-by-step tutorial guide, we are expecting you have successfully learnt how to use this plugin for your SocialEngine website. These are the key features of this Interests Plugin. We hope you have successfully completed the tutorial guide and ready to go. You can use this plugin and utilize the new opportunities of engaging with customers.


