The online advertisement market is flourishing because of the availability of a huge number of active audiences on online platforms. Advertisements provide companies and businesses with the opportunity to build a brand image. Adding community advertising plugins to your SocialEngine site is simple enough to do, and plugins can make the task even simpler.
There are so many advertisement plugins available but they are not all created equal. So, Community Advertisements Plugin comes as a rescue to fulfill all your advertising needs.
With the help of this plugin you can display banner ads or sell advertising space on your website. It also lets you create multiple types of ad formats,Ad campaign, Ads Creation & Management, Website Content Ads, Video Ads, CTA Button for Ads, Boost Post Ads, External Website Ads etc. This plugin has more comprehensive specifications, is regularly updated , and well supported with SocialEngine.
Here, we are providing an interactive and easy to follow Communities Advertisement Plugin setup & installation guide which will help you to explore its exciting features and maximize the efficiency of your website. With this help-guide, you will get a better sense of usage when you actually install this theme on your website.
Installation of this theme is very easy, but if you still need our expert to install this theme for you, then you can purchase the service by Clicking Here.
Step-by-Step Tutorial Guide for Users:
** This tutorial assumes that you are already logged in to the Admin Panel.**
If not, then you have to log in first to the admin panel after filling the admin account credentials on your website.
1. Installation of Communities Advertisements Plugin
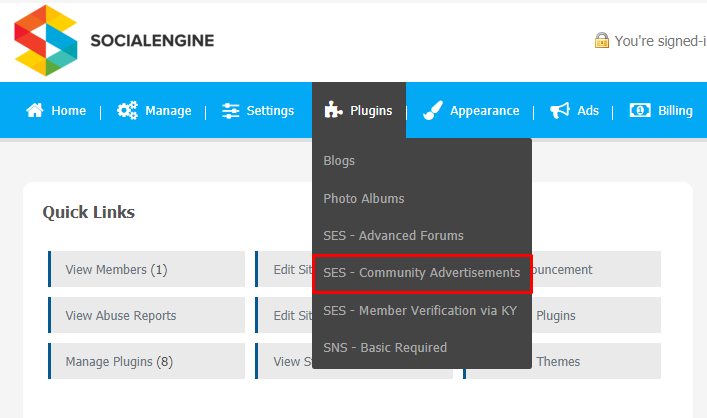
In the Main Menu section,
- Click on the tab Plugin and select “Communities Advertisements Plugin” to install this plugin.

As shown in above image, first choose plugin and a new tab will appear “SES Community Advertisements”. Click on it for all plugin settings configuartions.
2. Global Settings
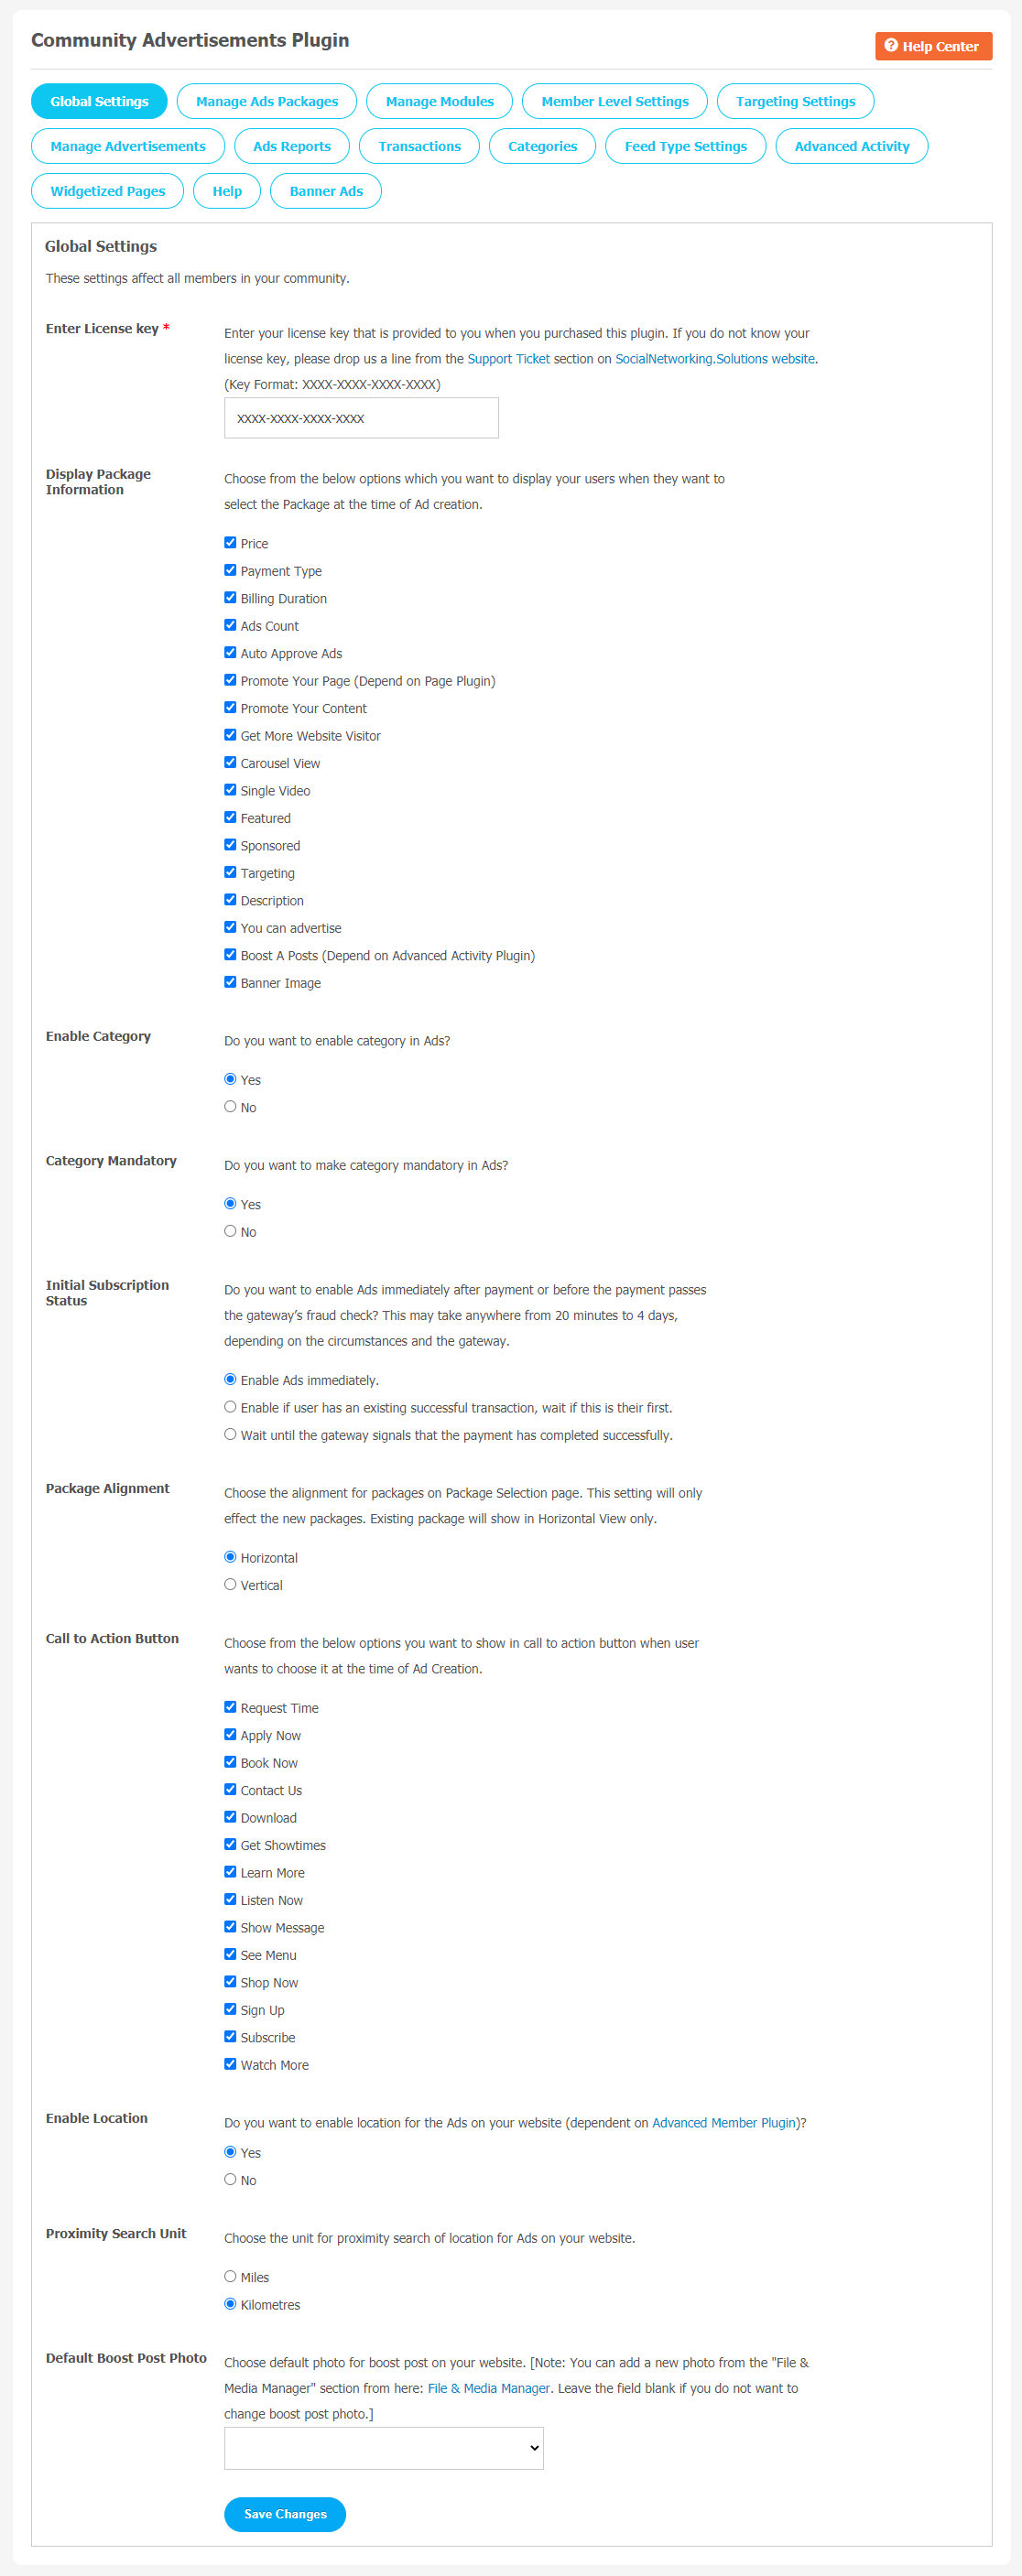
After a successful installation, a new Global Setting tab will appear where all the plugin settings can be managed easily. First, click on Global Settings. Then,
- Enter the required license key in the box.
- Display Package Information.
- Enable Category.
- Category Mandatory.
- Package Alignment.
- Call to Button Action
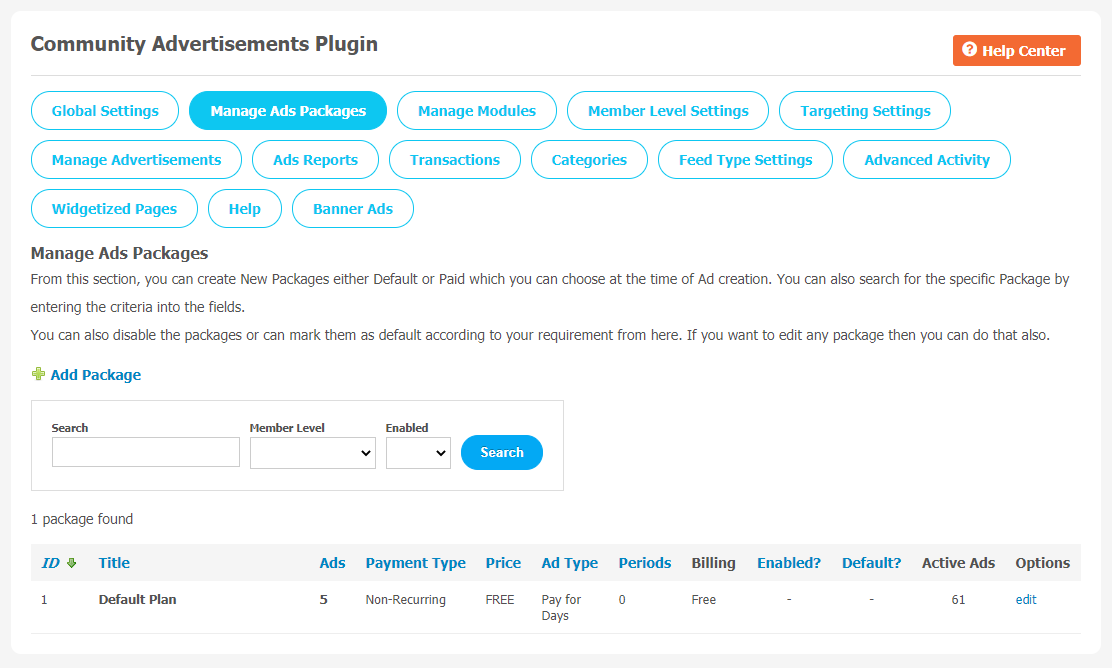
3. Manage Add Package
In the section, site admin can create New Packages either Default or Paud which you can choose during Ad creation.Enter required information in given filter fields to find out specific Package. Disable & edit the package based on your requirement.
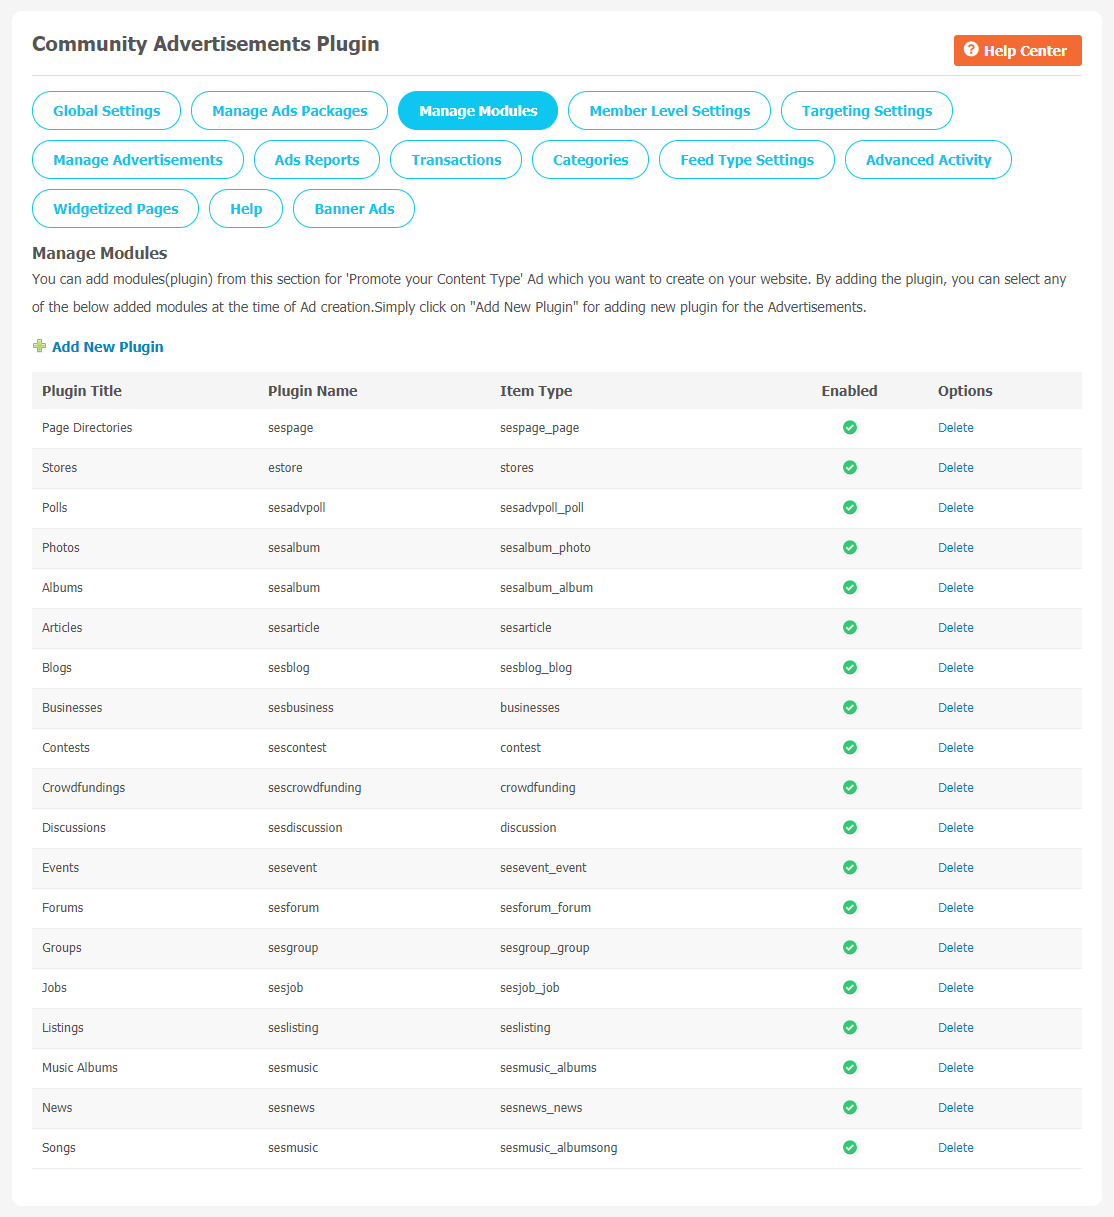
4. Manage Modules
Through “Promote your Content Type,” you can add modules that you want to create on your website. When you create an Ad, you can select from the given modules by clicking on “Add New Plugin”.
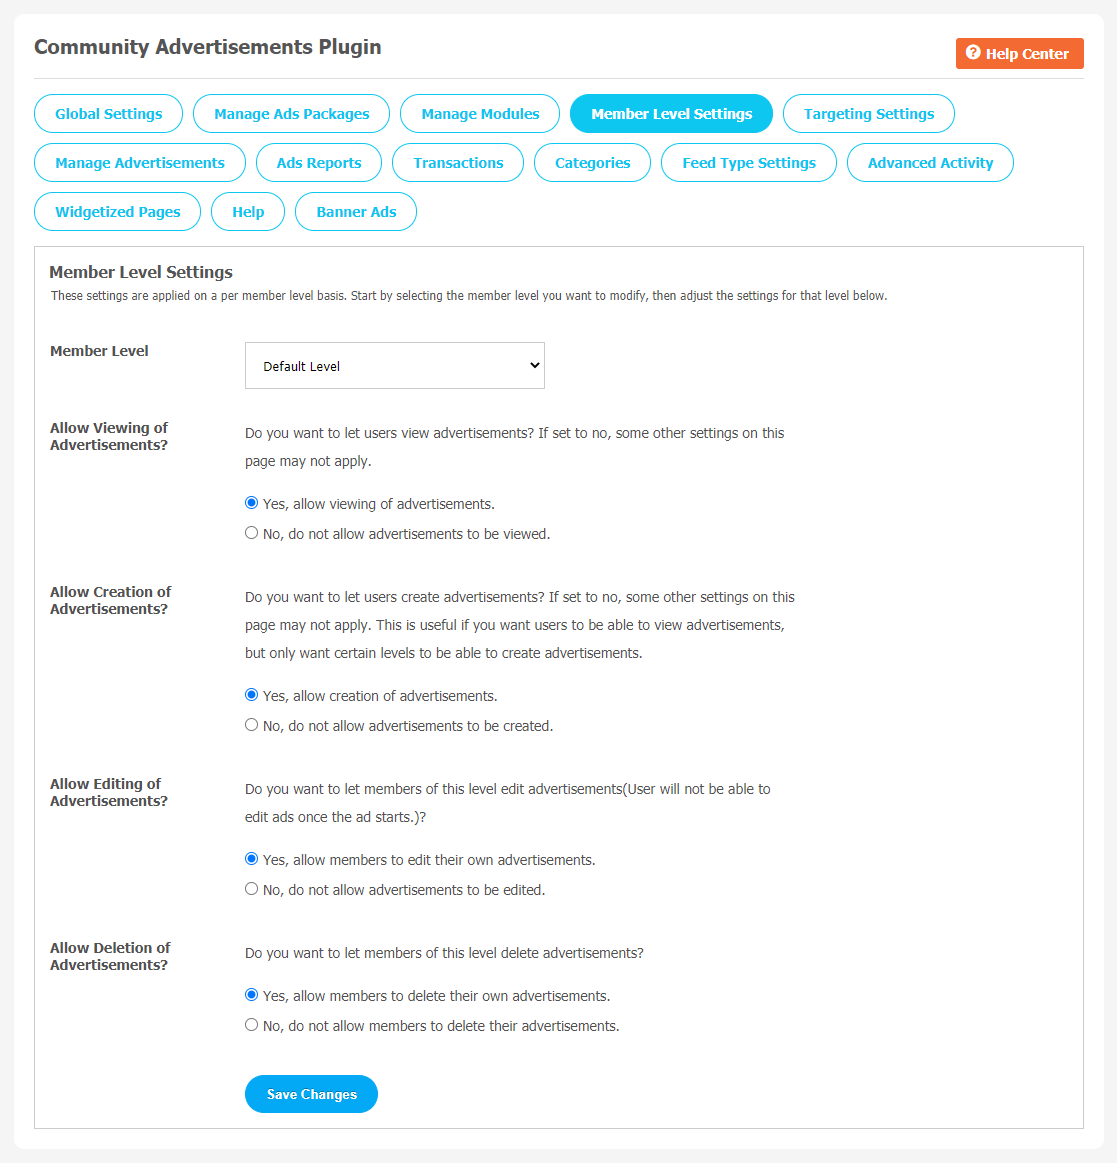
5. Member Level Settings
This section is used to manage Member Level Settings. Here are some important features of the Plugin that can be managed by the site admin for different member levels are as following:
- Allow Viewing of Advertisements.
- Allow Creation of Advertisement.
- Allow Editing of Advertisements.
- Allow Deleting of Advertisements.
Don’t forget to Save Changes when done.
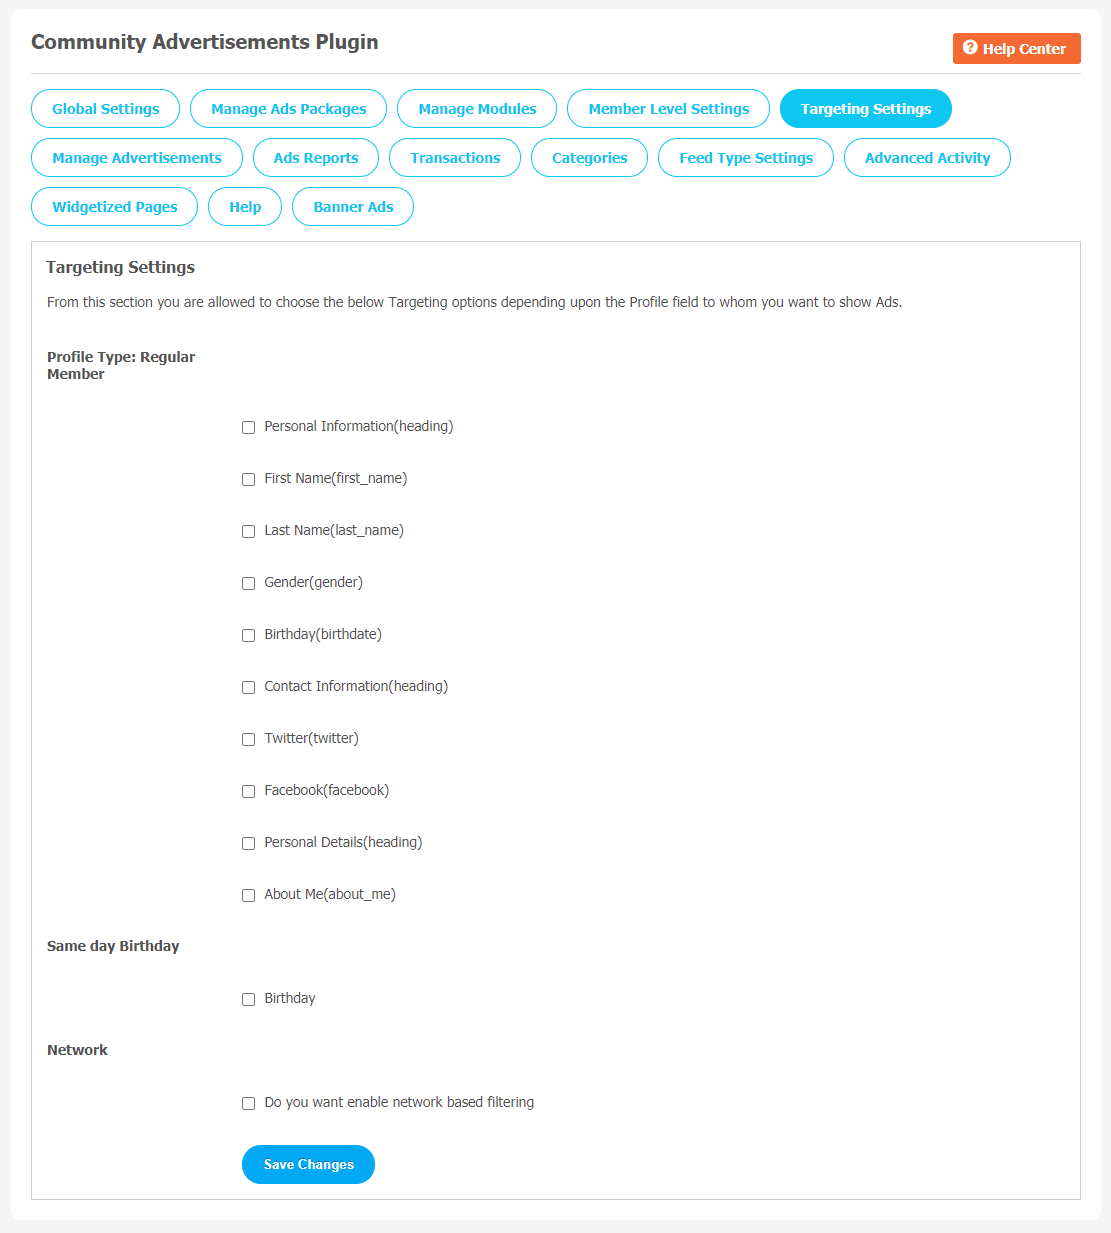
6. Targeting Settings
In the target settings, you can choose the below Targeting options depending upon the Profile field to whom you want to show Ads.
- Profile Type: Regular Member
- Same day Birthday
- Network
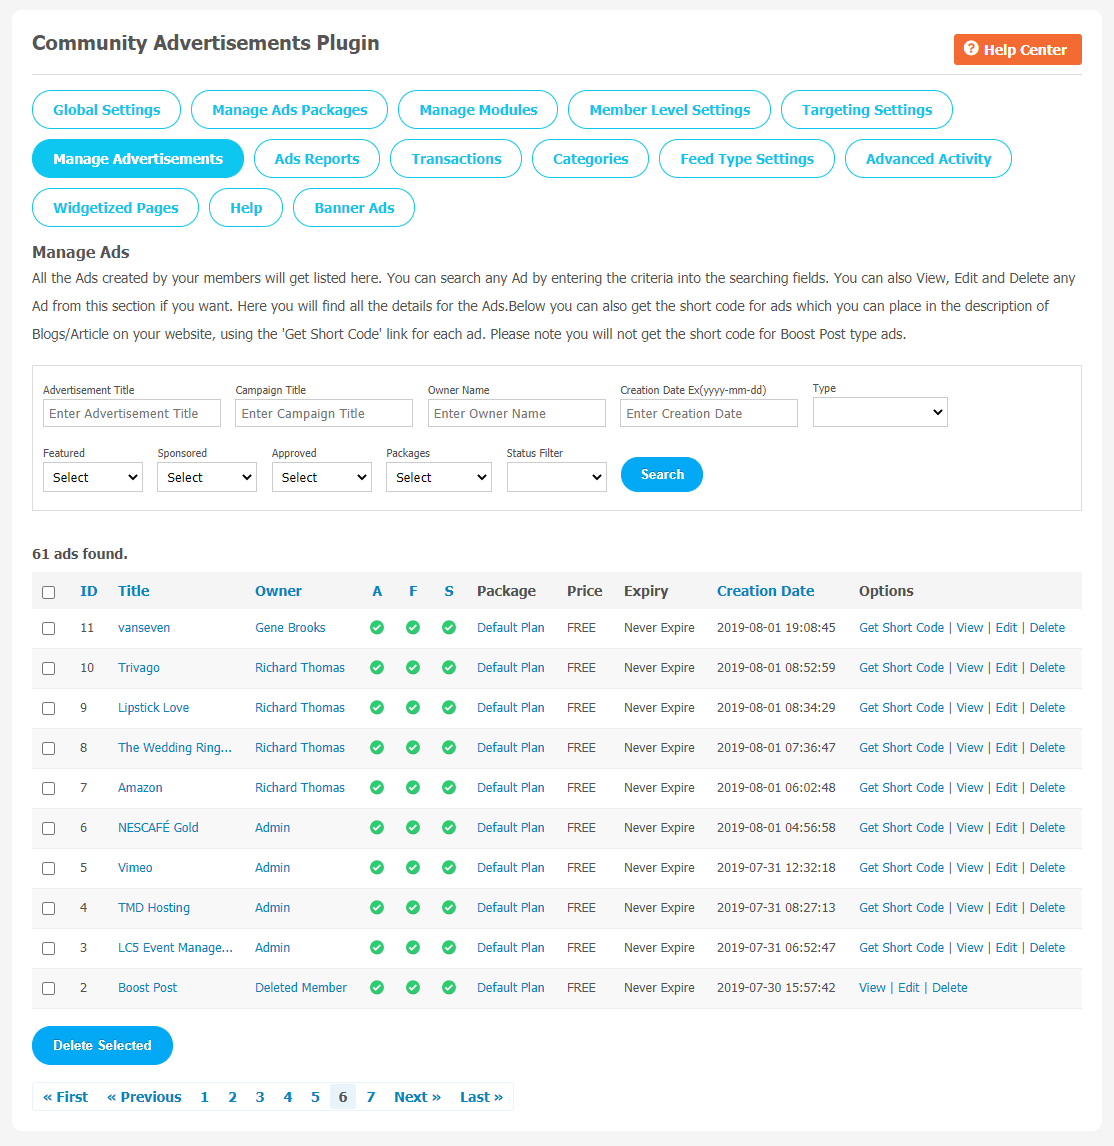
7. Manage Advertisement
This page records all of the ads your website members have created on your website. All the advertisements can be managed and monitored through this page. If you find some offensive material on your website, you can delete it. Fill in the required information to find a specific page.
You can find the details for the ads here. You can also get the short code for ads, which you can place in the description of Blogs/articles on your website by using the “Get Short Code” link for every ad. Remember that you will not get the short code for Boost Post type ads.
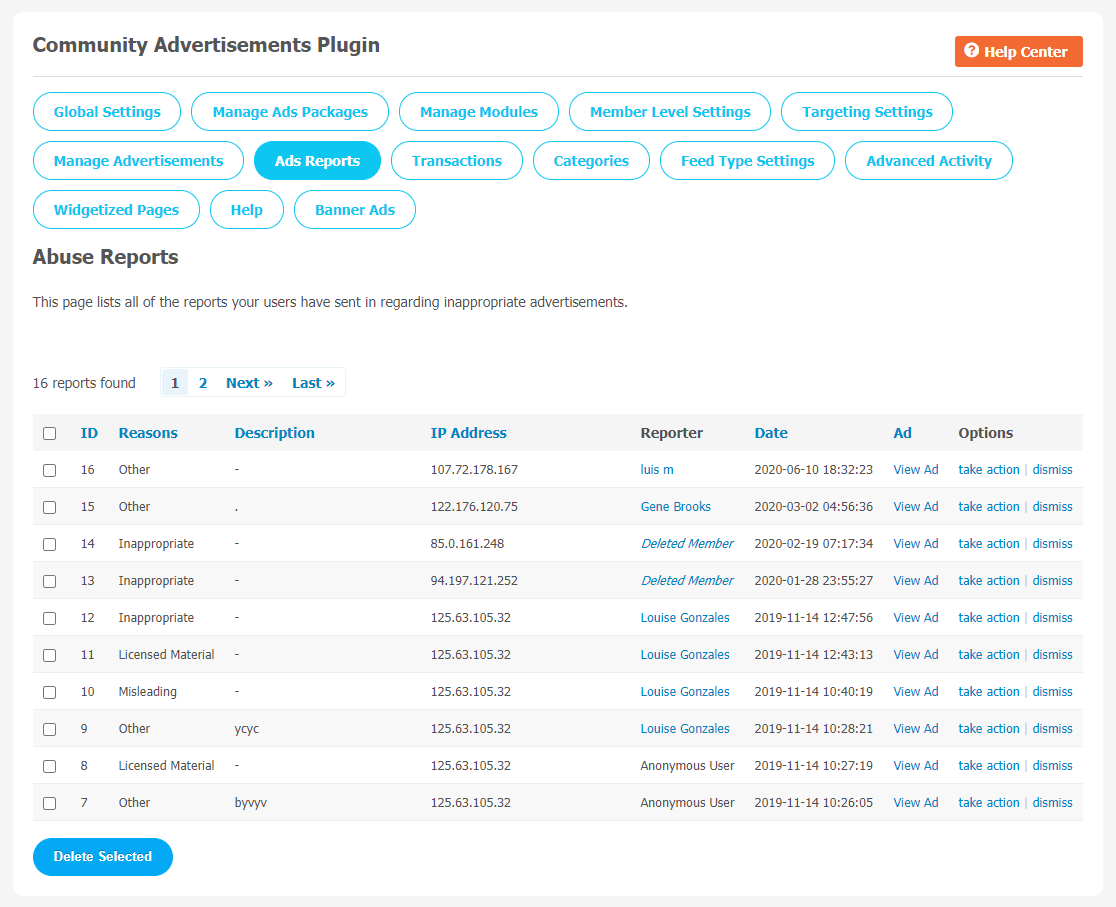
8. Ads Report
All the reports your users have sent related to offensive advertisements are stored here.
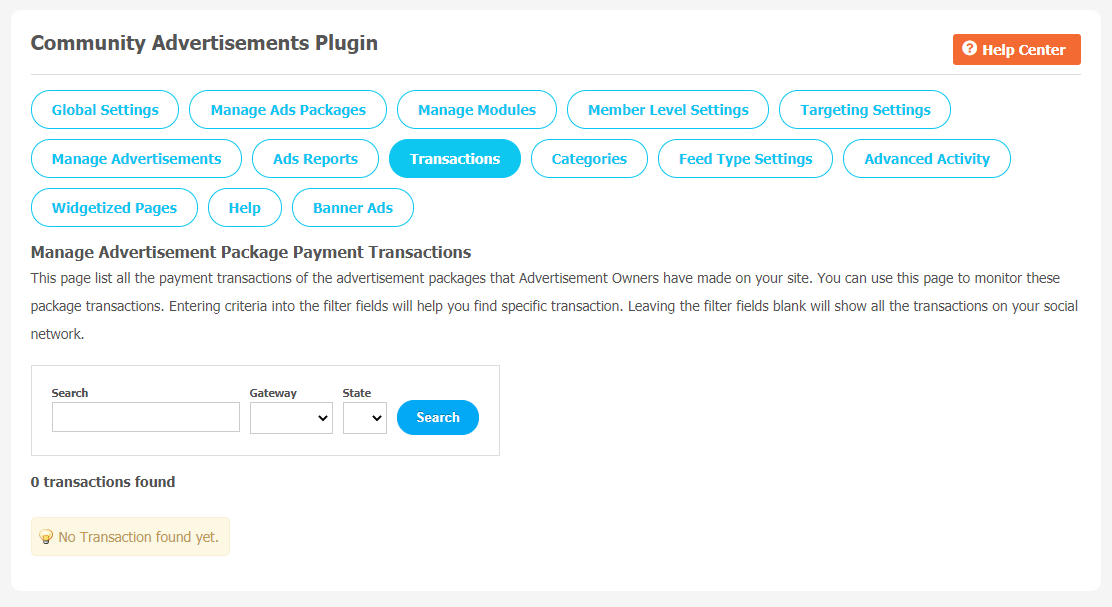
9. Transactions
All the payment transactions of the advertisement packages that Advertisement Owners will be visible on this page. You can monitor these package transactions through this page.Enter required details in given filter fields to find out specific transactions. If you leave these filter fields blank will show all the transactions on your social network.
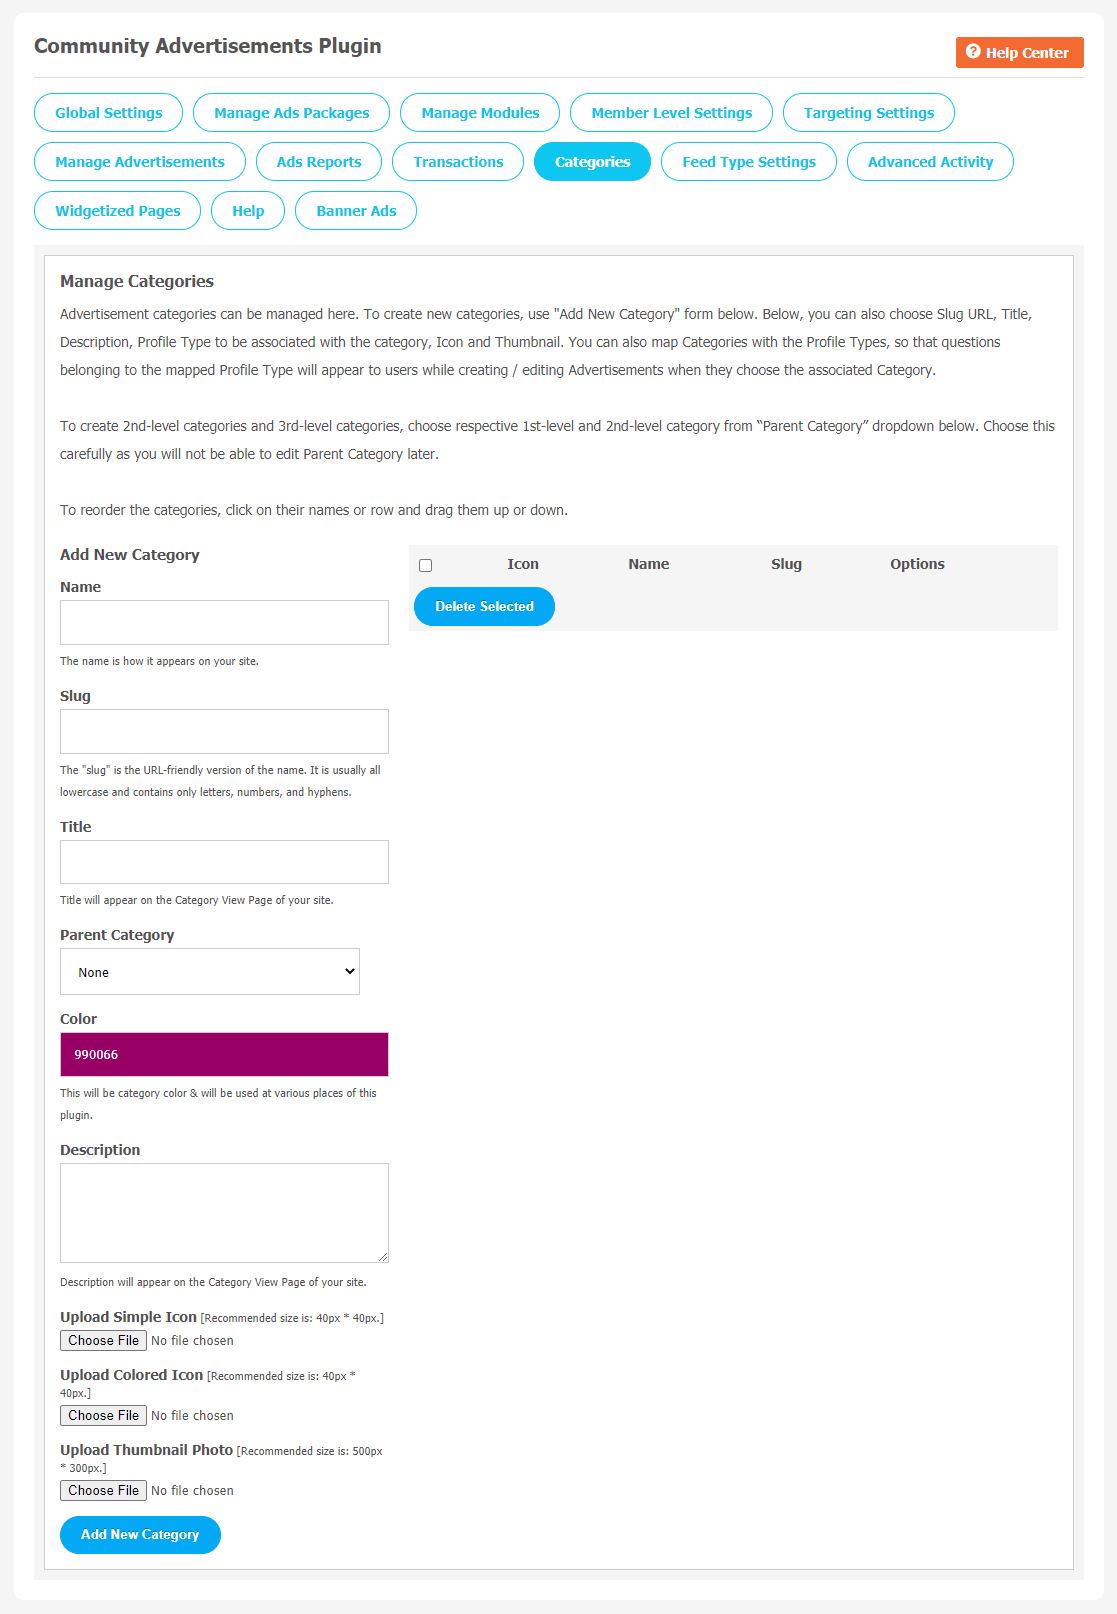
10. Categories
You can create a category for the advertisement by clicking on “Add New Category”. You can choose options like Title,Slug URL, Description, Profile Type to be associated with the category, icon and Thumbnail.
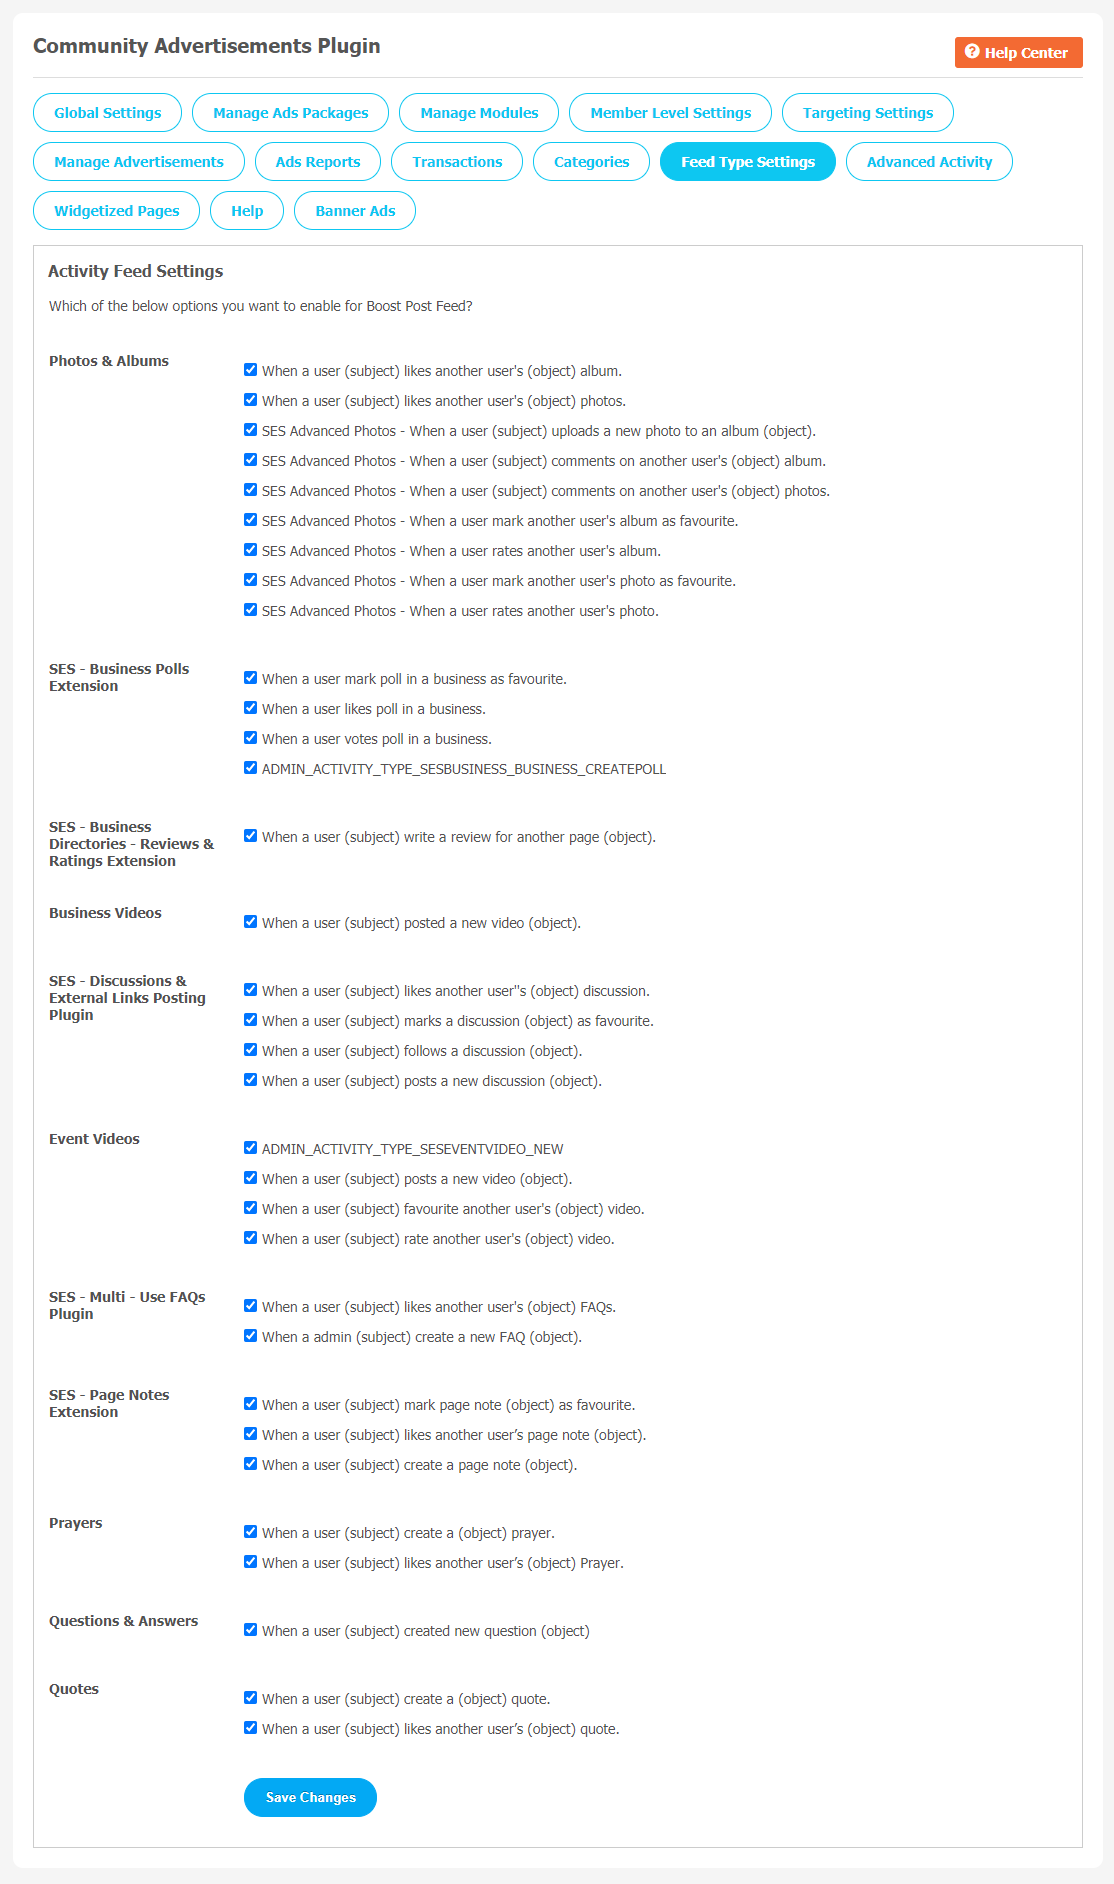
11. Feed Type Settings
This is the activity feed settings where you can choose to enable options for Boost Post Feed. For eg.
- Photos & Albums
- Activity
- Advanced Blog Plugin
- Business Directories
- Contests
- Groups
- Page Directories
- Members
- Videos
- SNS: Professional Activity & Nested Plugin
- Business Videos
- SNS- Page Offers Extensions
- Videos & Channels
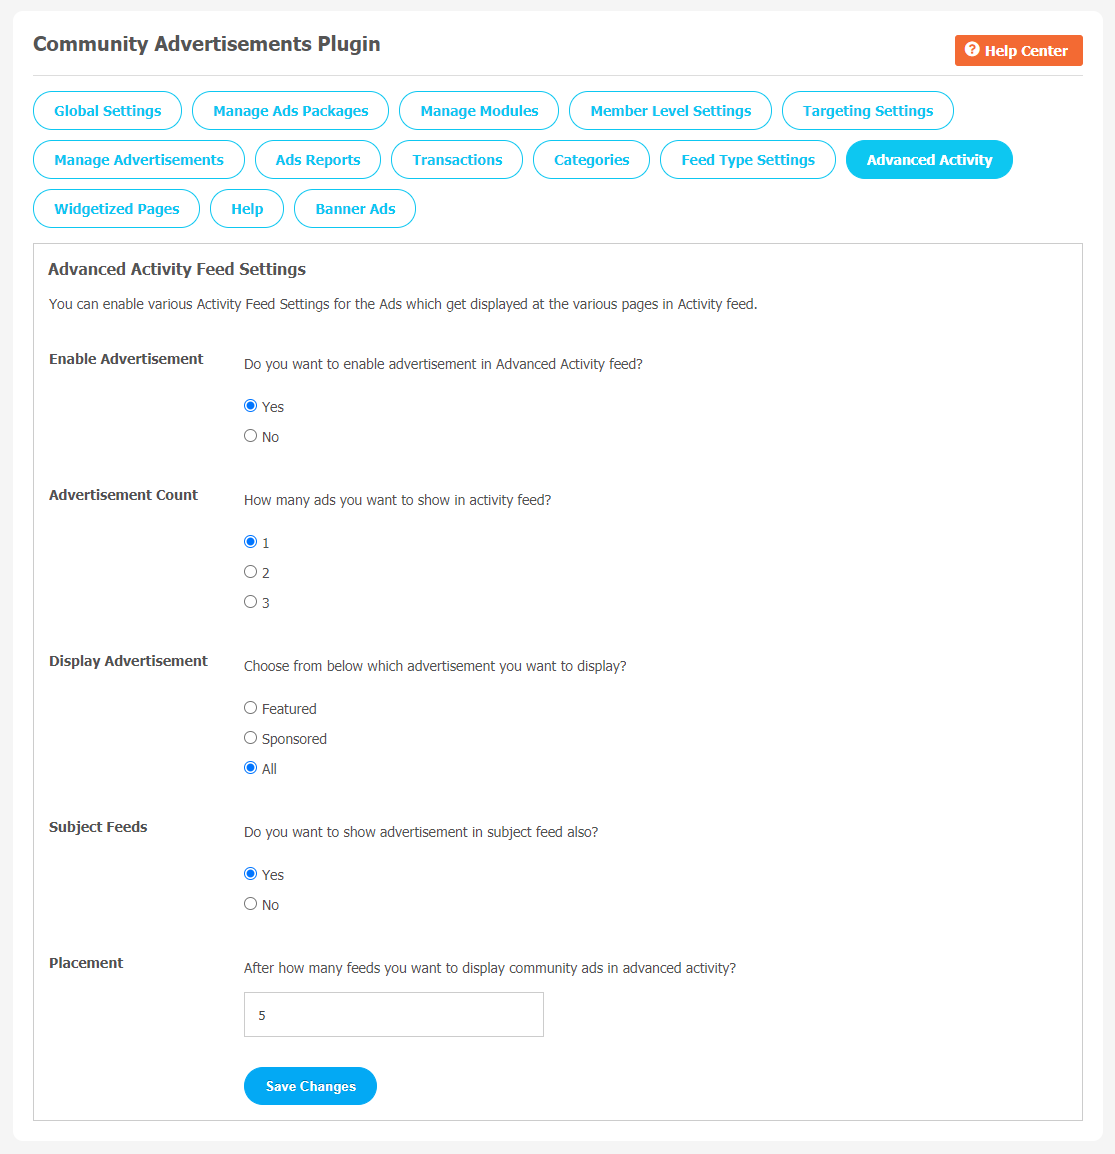
12. Advanced Activity
With the help of this page, you can enable many Activity Feed Settings for the Ads that get displayed at the various pages in the activity feed. Here are some popular lists given below.
- Enable Advertisement
- Advertisements Count
- Display Advertisements
- Subject Feeds
- Number of Feeds you want to show community ads in advanced activity.
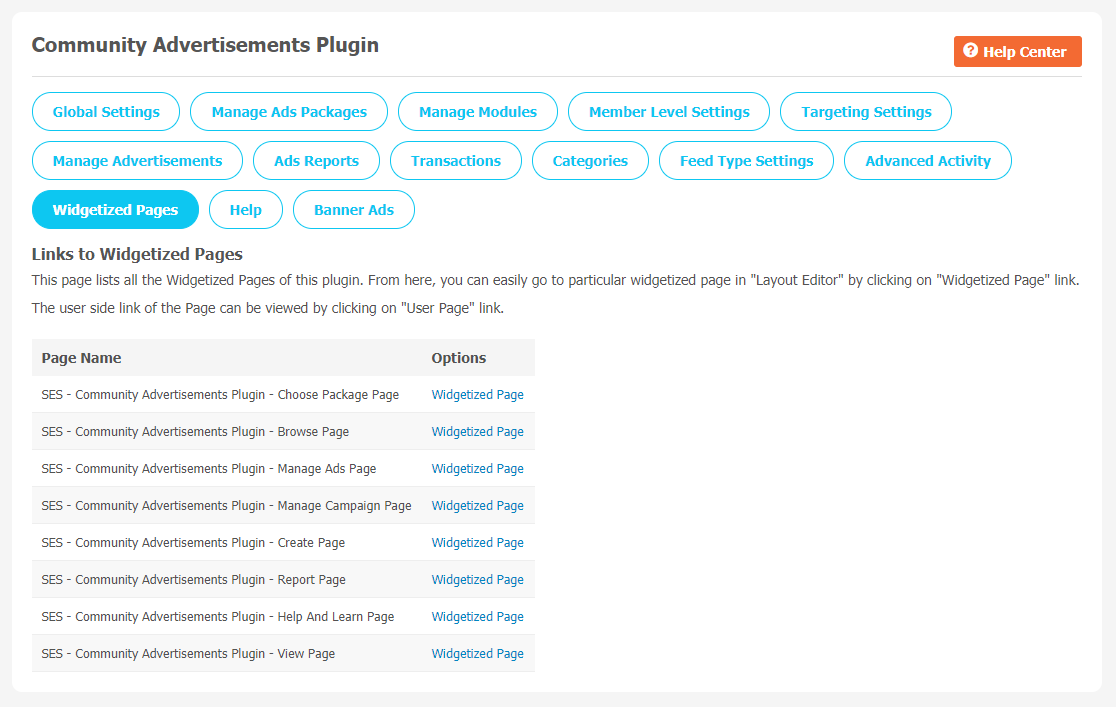
13. Widgetized Pages
All the widgetized pages are shown in this section. You can go to “Layout Editor” by clicking on the respective Widgetize Page Link.
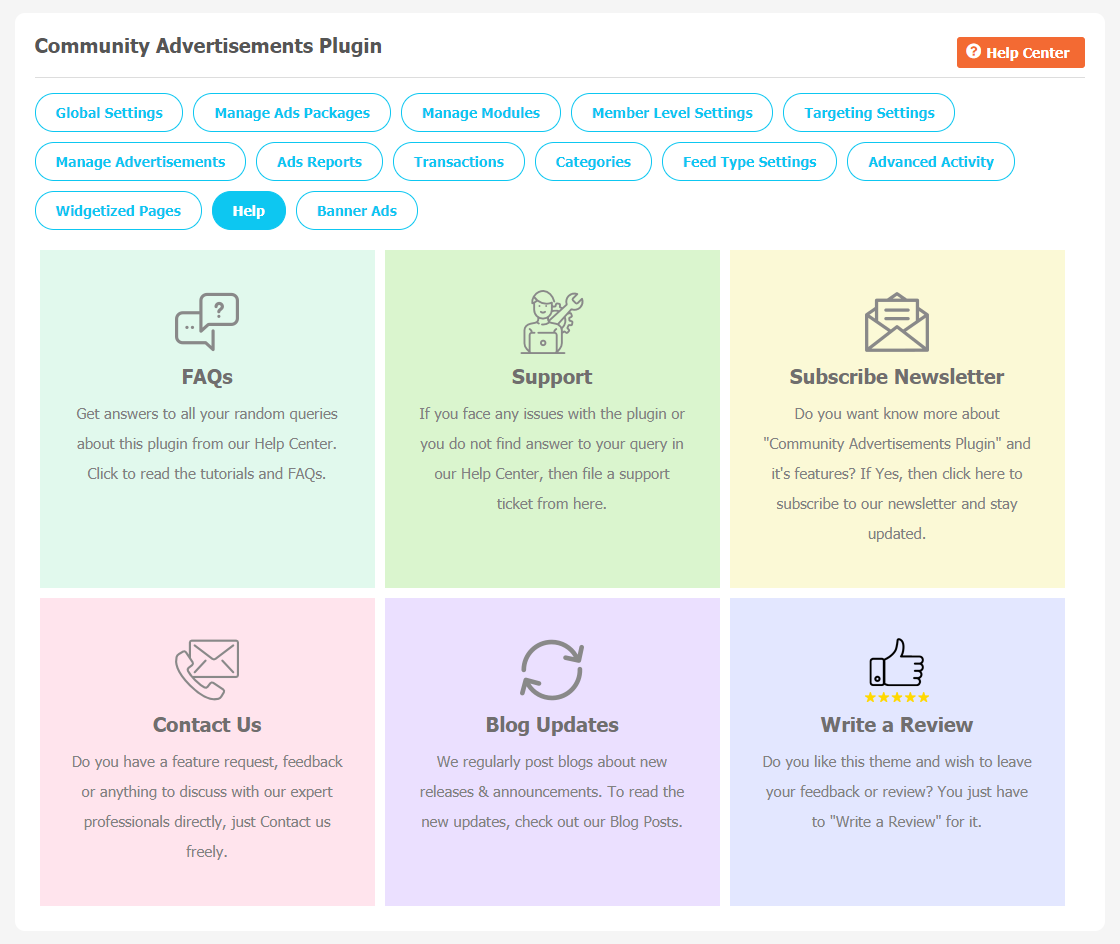
14. Help
Here, you can ask for help from our team if you face any difficulties during installation or facing similar problems. Some important features, including FAQ, Support, Subscriber Newsletter, Contact Us, Blog Updates, and Write a Review, can be accessed through this page
Extensions
Banner Ads
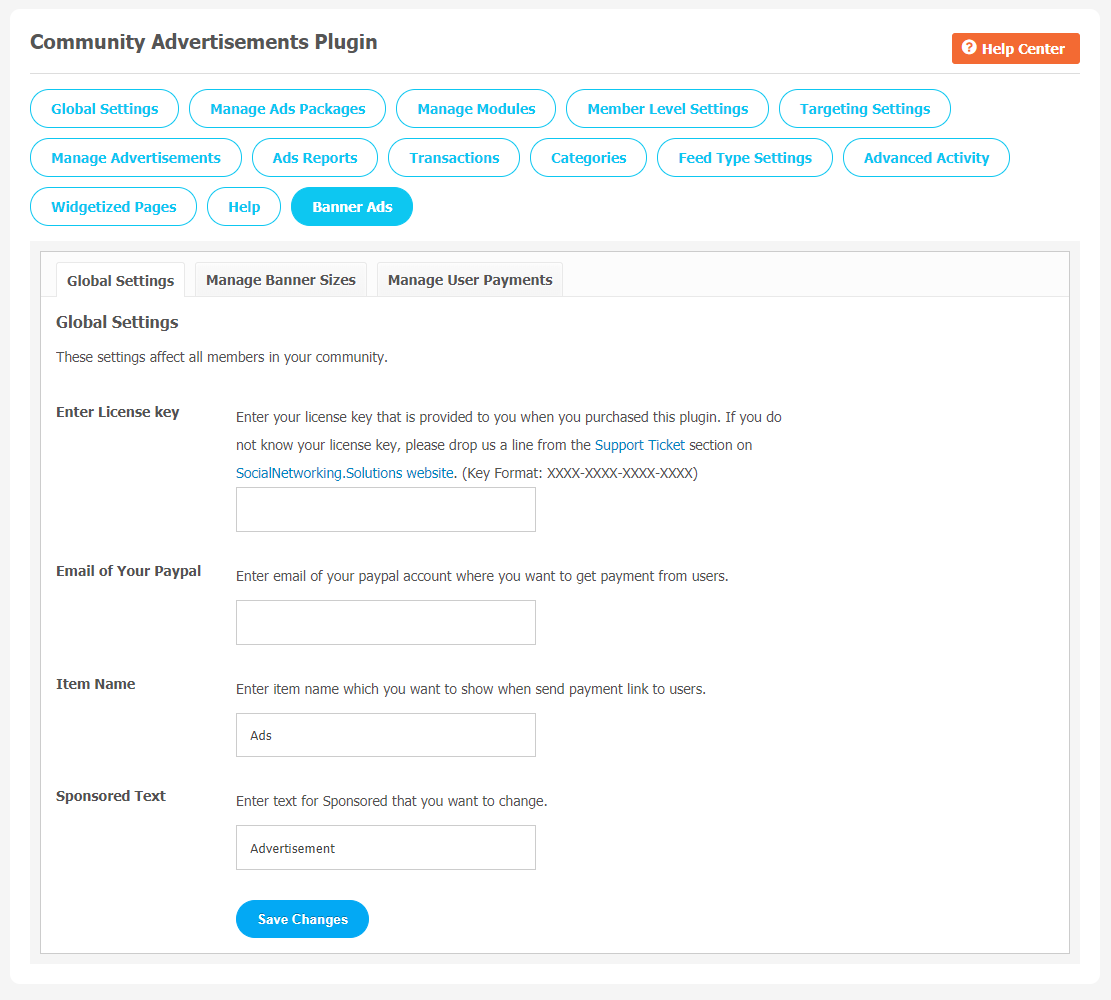
1. Global Settings
After a successful installation, a new Global Setting tab will appear where all the plugin settings can be managed easily. First, click on Global Settings. Then,
- Enter the required license key in the box.
- Email of your PayPal email
- Item Name
- Sponsored Text
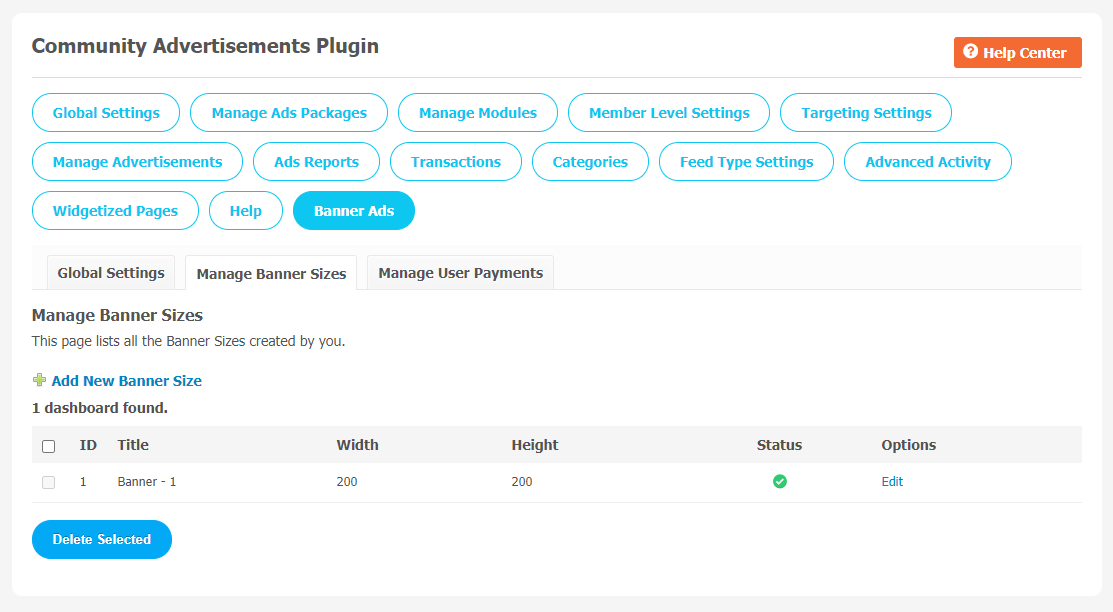
2. Manage Banner Ads
All the Banner Sizes created by you will be stored here. Click on Add New Banner Size to create a new banner.
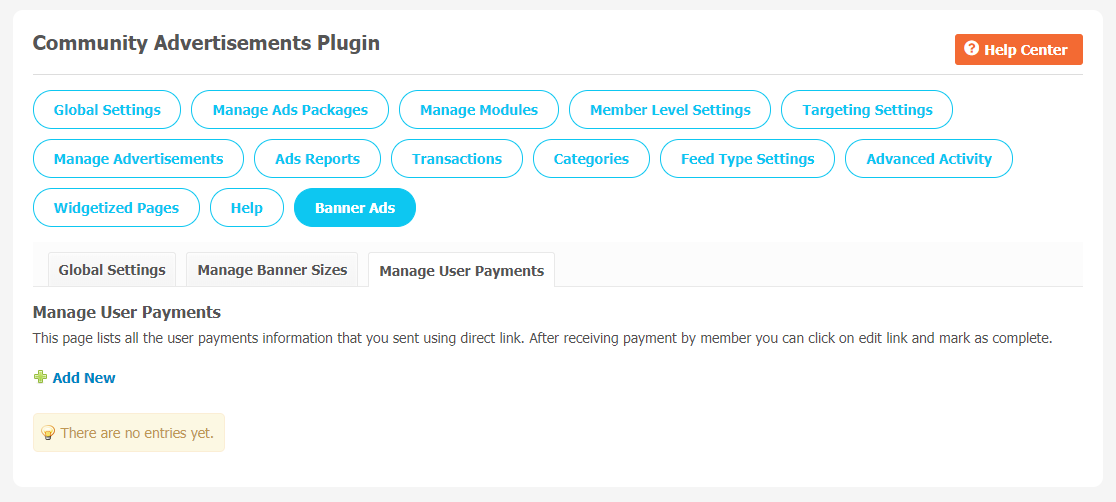
3. Manage User Payments
This page records all the user payment information that you sent using the direct link. When you receive payment by member, you can click on the edit link and mark as complete.
Finally!! You have successfully completed the installation procedure and also explored various exciting features of this Communities Advertisement Plugin. Now, your visitors and website members will be able to access & use your website with new features.
Installation of this Plugin is very easy, but if you still need our expert to install this Plugin for you, then you can purchase the service by Clicking Here.


