When you see any website for the first time, it is the dashboard that keeps your attention and helps to navigate website links.In simple way, a dashboard can be taken as the index page of the control panel for a website content management system. If your website has a well-managed dashboard it can save a huge amount of time for your website visitors.
This Custom Dashboard Plugin will allow your users to create any number of Dashboards and can configure them as per their requirements. It will help your users to navigate from one page to the desired one very easily. Various categories can be created under the Dashboard with their sub links. You can show these dashboards into two alignments i.e Vertically and Horizontally.
Key Features:
- Compatible with the TinyMCE Editor everywhere
- Unlimited & Customizable Dashboards
- Dashboard Categories & Sublinks
- Alignment for Dashboard Display
- Member Level Privacy
- Configurable Widget
- Easy to Set Up & 100% Responsive
You can explore more about this plugin with this tutorial guide. Here, we are providing an interactive and easy to follow Custom Dashboard Plugin setup & installation guide which will help you to use & configure it properly on your website & maximize the efficiency of your website by showcasing the exciting features. With this help-guide, you will get a better sense of usage when you actually install this plugin on your website.
Installation of this plugin is very easy, but if you still need our expert to install this plugin for you, then you can purchase the service by clicking here.
Step-by-Step Installation & Tutorial Guide:
** This tutorial assumes that you are already logged in to the Admin Panel.**
If not, then you have to log in first to the admin panel after filling the admin account credentials on your website.
1. Installation of Custom Dashboard Plugin
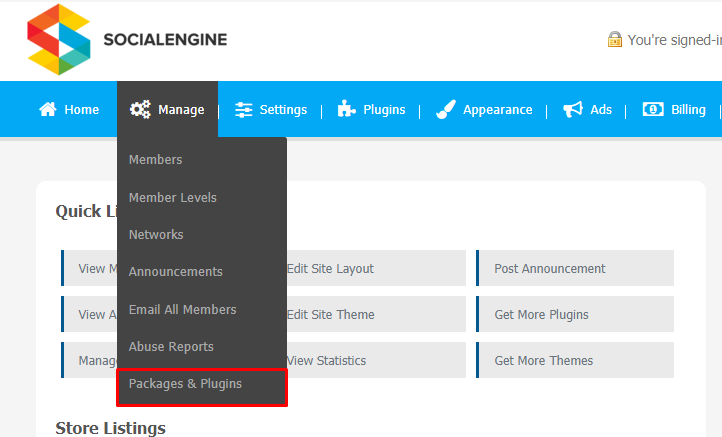
a) In the Main Menu section, click on the tab Manage and select “Packages & Plugins” to install this plugin.
b) Our Plugin is based on SE standards, so this will get installed on your website as any standard plugin can. Please read the tutorial on installing themes and plugins in SE: Click Here
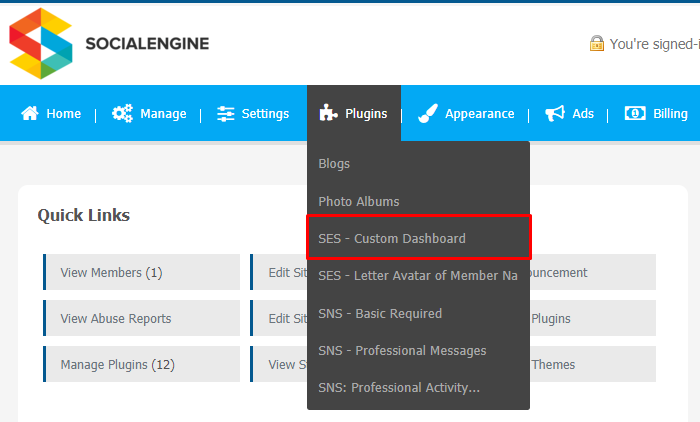
c) After the successful installation of the plugin as in Step 2 above, under the plugins section, click on “Custom Dashboard Plugin”
d) Once you click on the plugin, you will be asked to enter the required License Key for plugin activation. Now, your plugin is ready to go!
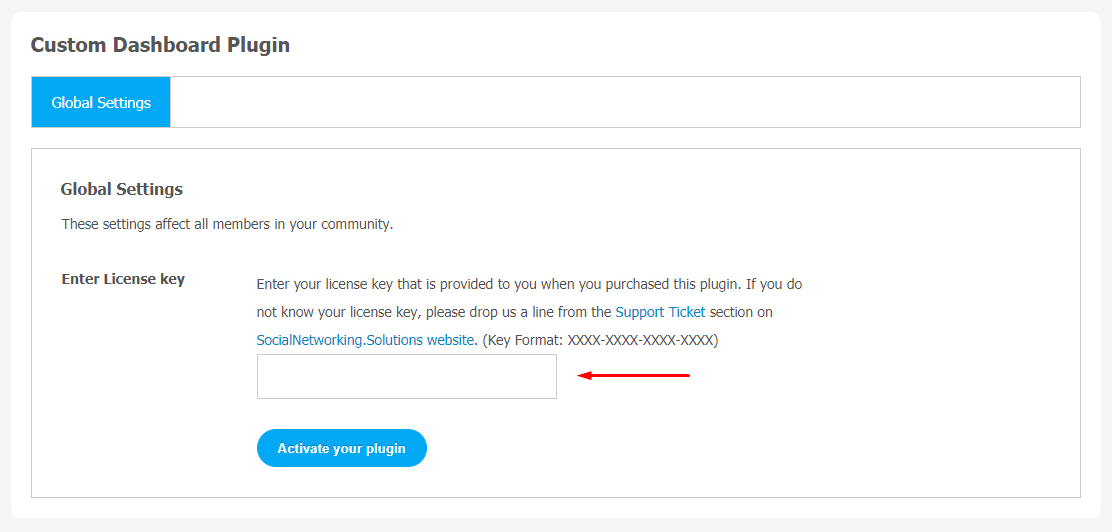
2. Global Settings
With the help of the Global Settings page, you can configure various important features. Any changes made in the Global Setting will be applicable for all the community members.
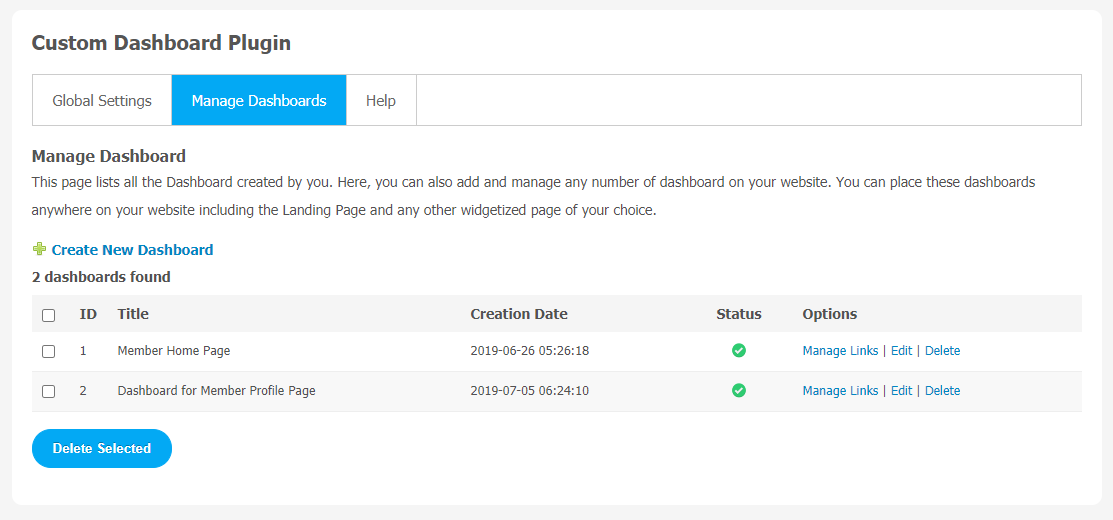
3. Manage Dashboard
All the dashboards you have created on your website will be shown on this page. You can add or manage as many dashboards as you want. These dashboards can be placed anywhere on your website, like a Landing Page or required widgetized pages.
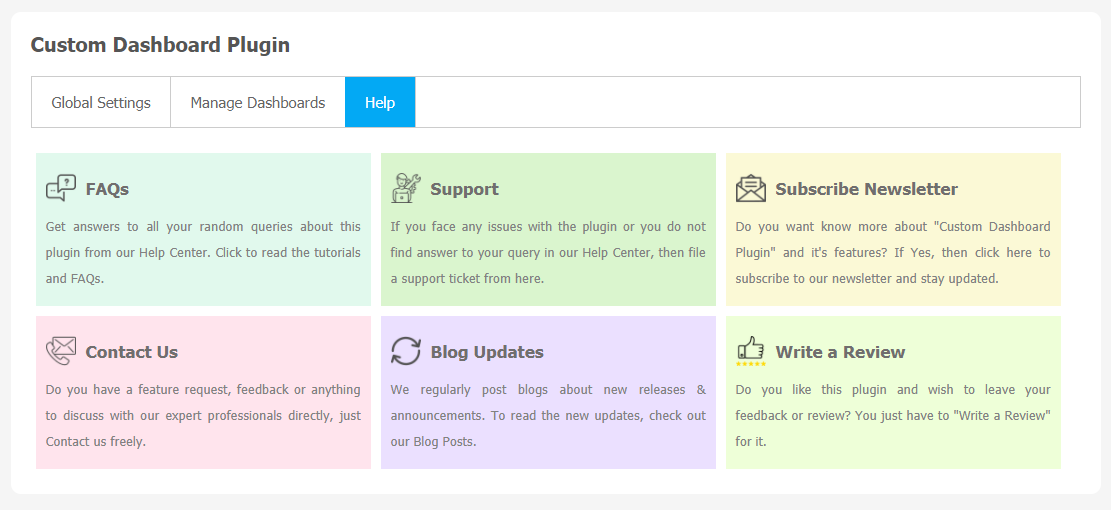
4. Help
If you have found any query regarding the usage of this plugin or need to ask any query regarding Installation, Setup & any kind of support for this plugin, then you can refer to the “Help & Support” section of this plugin. You will get FAQs, Support, Subscribe Newsletter, Contact Us, Blog Updates, and a Review feature in the help section.
With this step-by-step tutorial guide, we expect you to have successfully learnt how to use this plugin for your SocialEngine website. These are the key features of this Custom Dashboard Plugin. We hope you have completed the tutorial guide and are ready to go. You can use this plugin and utilize the new opportunities of engaging with customers. Now it’s time to start creating customized dashboards with this amazing plugin. Contact our technical support team for any product-related queries.


