If you are running your website on SocialEngine platform and want to activate Single Sign on for all the communities. We have Single Sign On for Multiple Sites Plugin for you. This plugin will enable signing up of a member on one SE website to any number of SocialEngine websites. Single Sign-On process involves authentication into SocialEngine services for the user who already logged in into your SocialEngine website.
This plugin is very helpful for easy integration with your SocialEngine community and multiple SocialEngine sites. Users can easily migrate and navigate from one SE site to another SocialEngine website without having to go through a separate registration process. The members who will sign up on the main SE server website will also be able to sign up on the other integrated client websites.
With the help of this single sign-up & login feature from one server site to many client sites will allow you to register the same member on all your multiple SE sites instantly.
Key Features
- Single Sign-on on Unlimited Client Sites
- Profile Types Mapping
- Robust Admin Panel
- Easy Setup & Installation
Here, we are providing an interactive and easy-to-follow Single Sign On for Multiple SE Sites Plugin setup & installation guide, which will help you explore its exciting features and maximize the efficiency of your website. With this help guide, you will get a better sense of usage when you install this plugin on your website.
Installation of this plugin is straightforward, but if you still need our expert to install this plugin for you, then you can purchase the service by clicking here.
Step-by-Step Tutorial Guide for Users:
** This tutorial assumes that you are already logged in to the Admin Panel.**
If not, then you have to log in first to the admin panel after filling the admin account credentials on your website.
1. Installation of Single Sign On for Multiple SE Sites Plugin
In the Main Menu section,
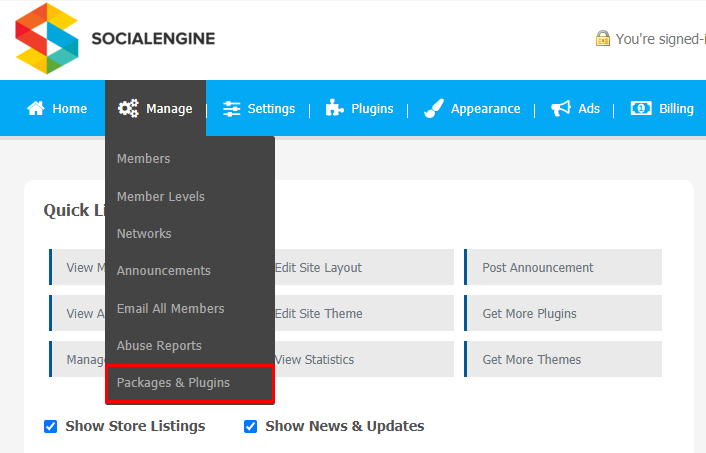
- In the Main Menu section, click on the tab Manage and select “Packages & Plugins” to install this plugin.
Once you have selected the plugin, install this package. Now, return to the admin panel.

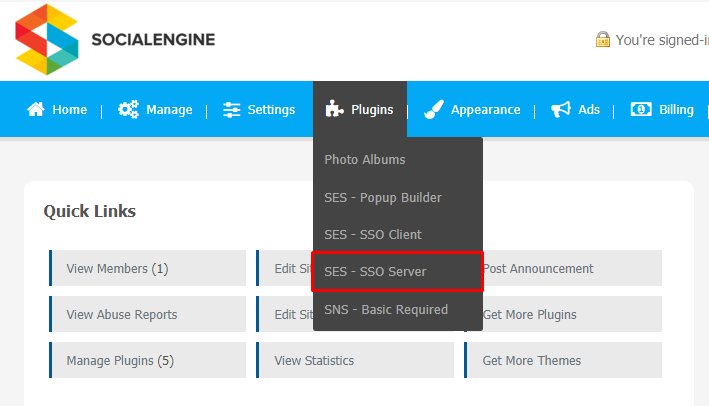
As shown in the above image, first choose plugin and a new tab will appear as “SSO Server“. Click on it for all plugin settings configuartions.
Once you click on SSO Server Plugin, you will be asked to enter the required License Key for plugin activation. Now, your plugin is ready to go!
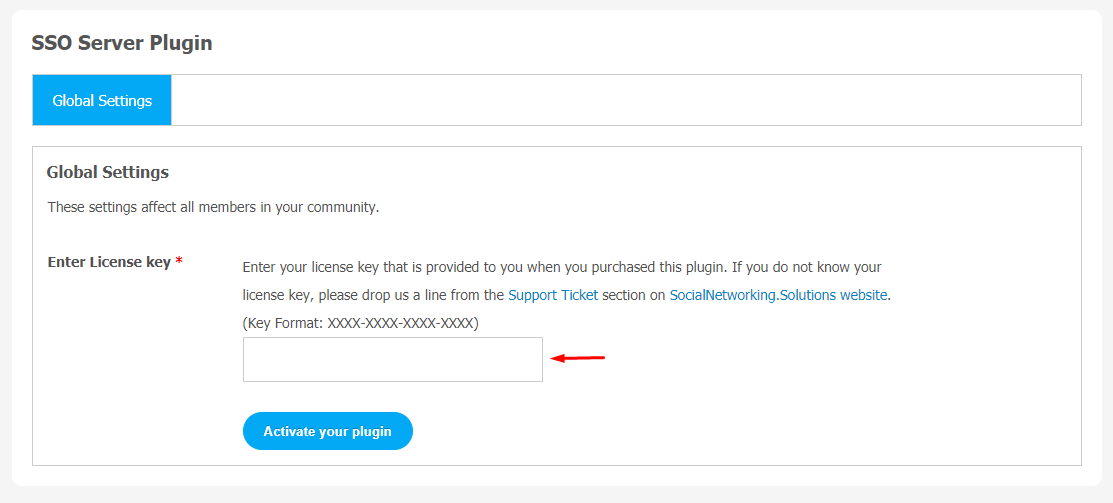
2. Global Settings
With the help of the Global Settings page, you can configure various important features. Any changes here will affect all members in your community.
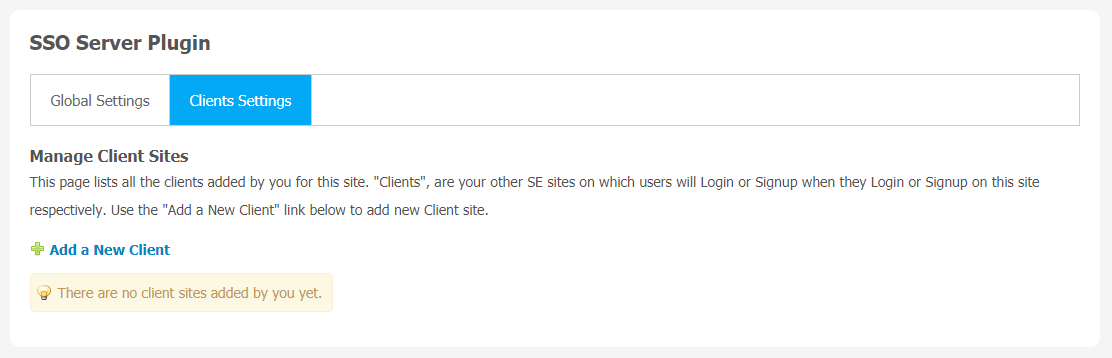
3. Manage Client Settings
You can see all the clients added by you on your website. Other SocialEngine sites can be treated as “Clients” where users will log in when they log in to this site, respectively. You can use the “Add a New Client” link to add a new client site.
Finally!! You have successfully completed the installation procedure and also explored various exciting features of this Single Sign On for Multiple SE sites Plugin.Now, your visitors and website members will be able to access & use your website with new awesome features.
Installation of this plugin is straightforward, but if you still need our expert to install this Plugin for you, then you can purchase the service by clicking here.


