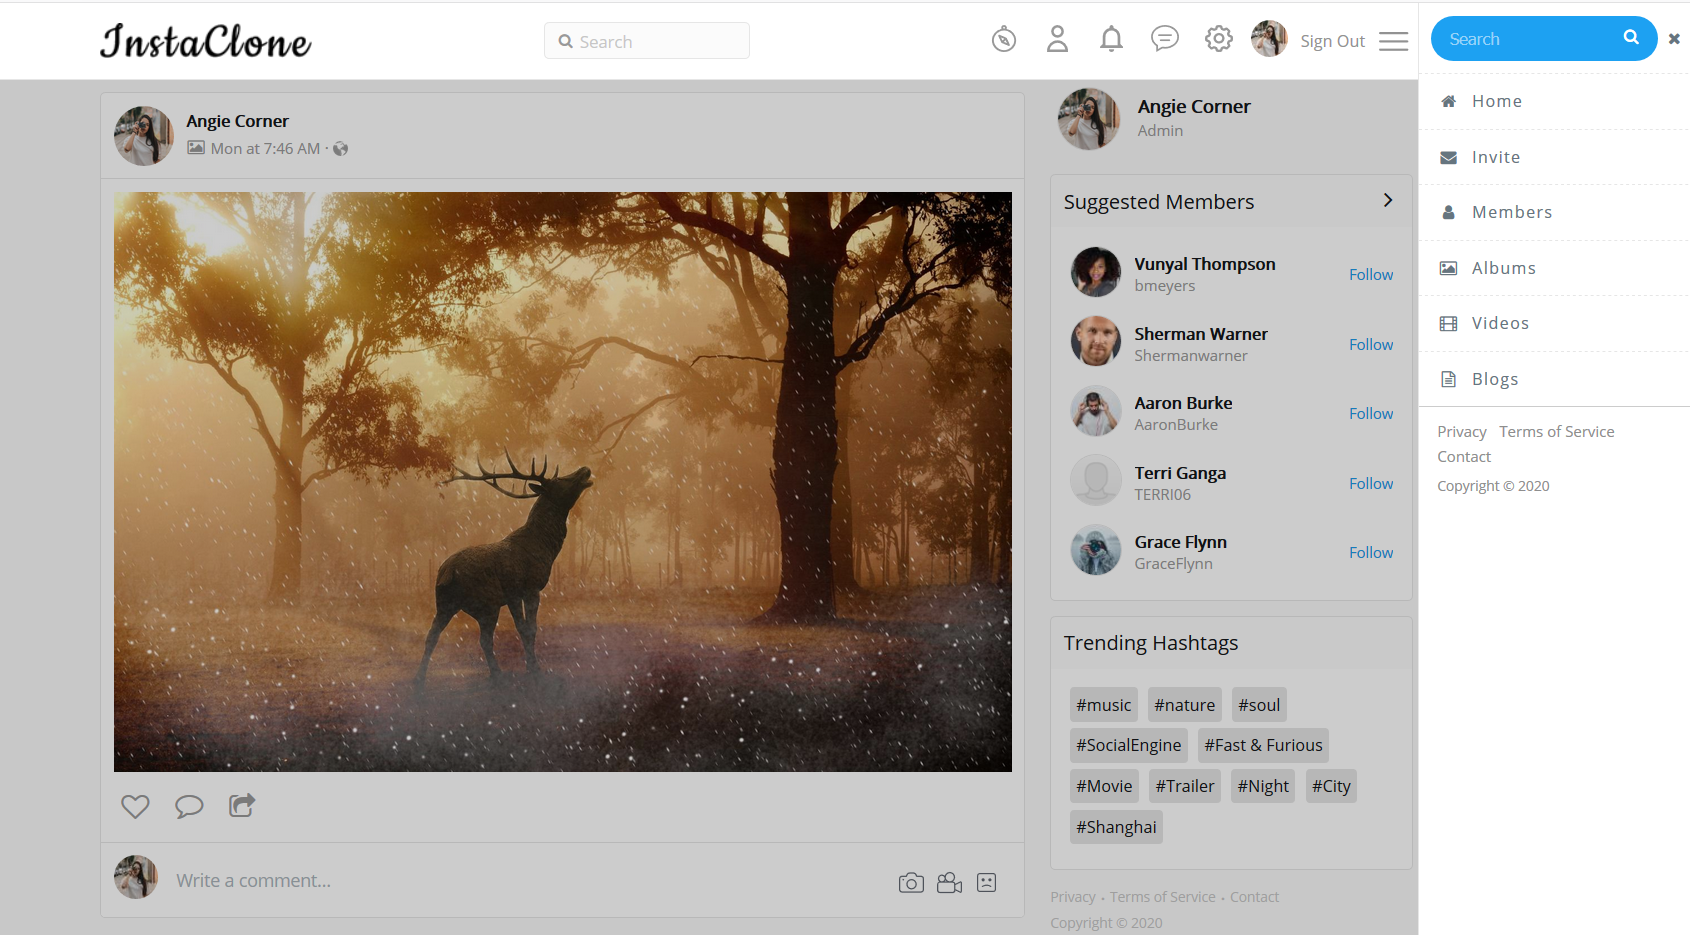
There are hundreds of online software / Themes available in the market that can be used to build a website similar to that of Instagram among which Insta Clone is the best as it enables to have all the features of Instagram like Header, Footer, Member Profile Page, Main Menu, Unique Icons etc. on your SocialEngine website which you can customize very well on your own. Insta Clone is an amazing theme closest to real Instagram UI, which does not just contain enough UI components but also consists of amazing Font Options, Color Schemes & Configurable Landing Page components which increase user retention and leave a great impact with a great user experience.
For the demo, click here.
This tutorial will walk you through the steps you need to follow while installing & setup up Insta Clone Theme on your SocialEngine website.
** This tutorial assumes that you are already logged in to the Admin Panel.**
Installation of this theme is very easy, but if you still need our expert to install this theme for you, then you can purchase the service from Click Here.
Install & Setup Insta Clone Theme with by step-by-step guide:
1. Installation of Professional Twitter Clone Theme
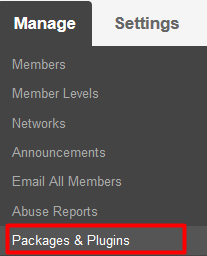
In the Main menu, click on the tab Manage and select “Packages & Plugins“.
2. Our theme is based on SE standards so this will get installed on your website as any standard theme can. Please read the tutorial on installing themes and plugins in SE here: http://help.socialnetworking.solutions/faq/51/how-to-purchase-and-install-ses-products
3. After the successful installation of theme as in Step 2 above, in the right of the admin panel dashboard menu, click on “SNS – Insta Clone”.
4. Global Settings
- Set Landing Page of Insta Clone Theme You can enable the default landing page of this theme as the landing page of your website, for which you can do various configurations as per your choice from the admin panel of this theme. Don’t forget to save the changes when done.
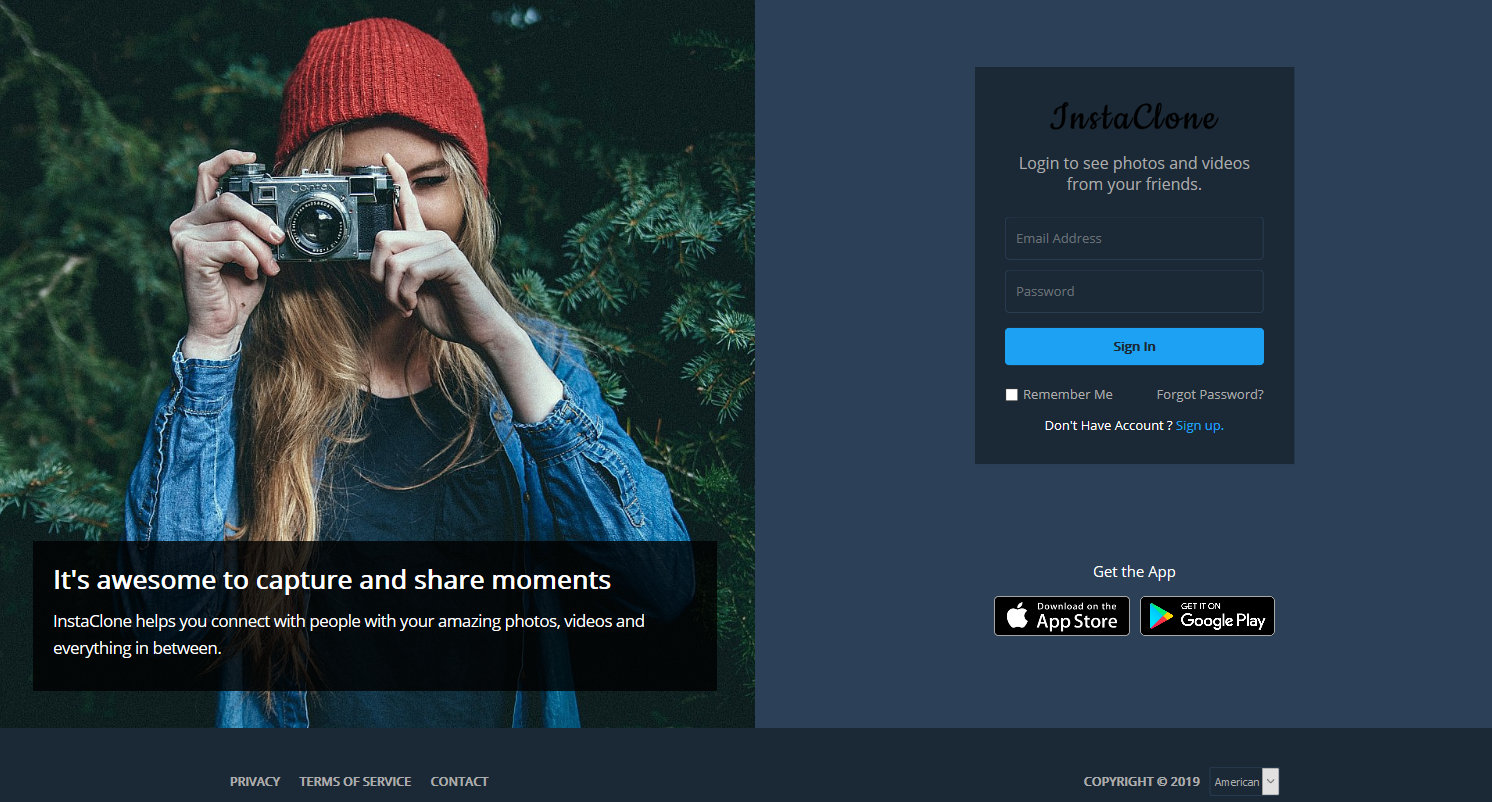
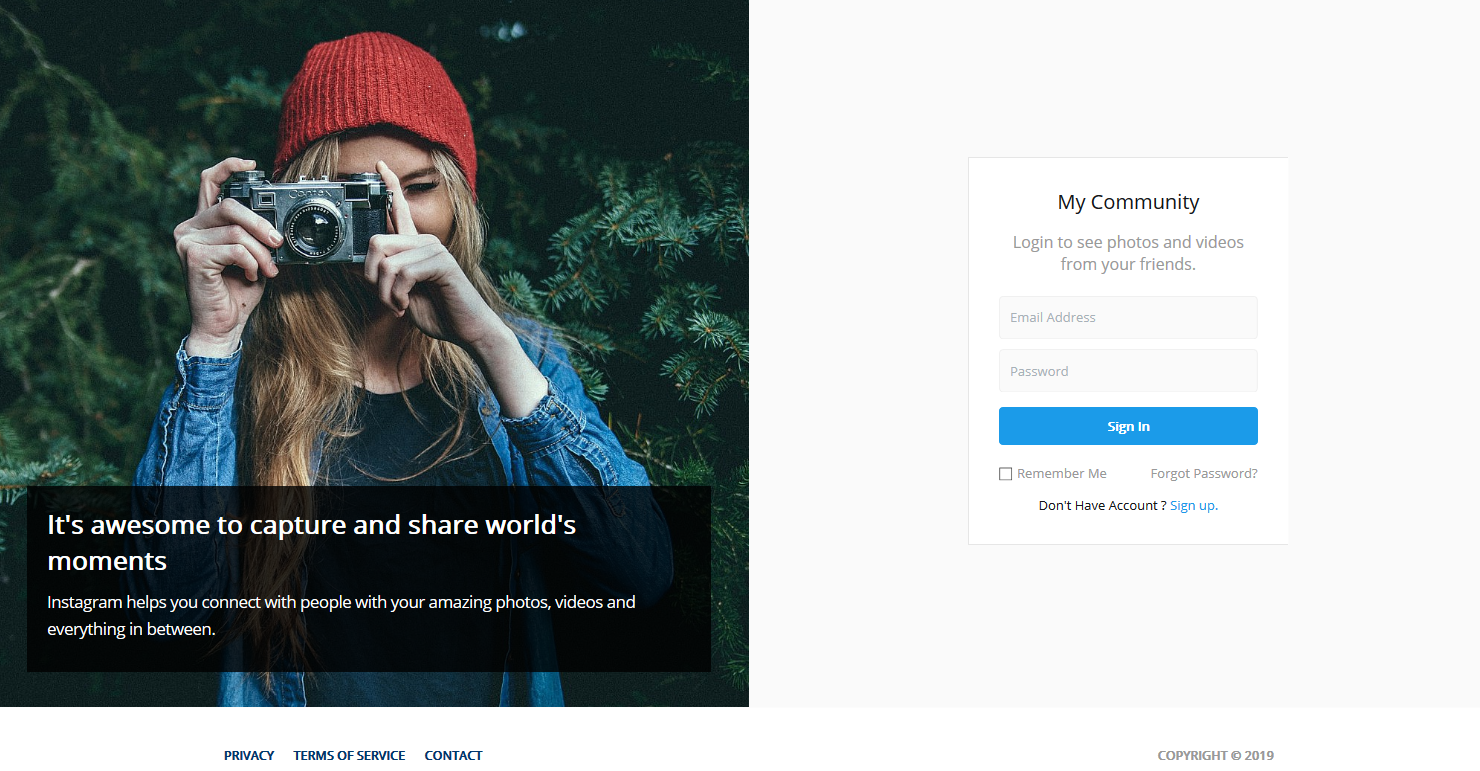
→ Default Landing Page Layout
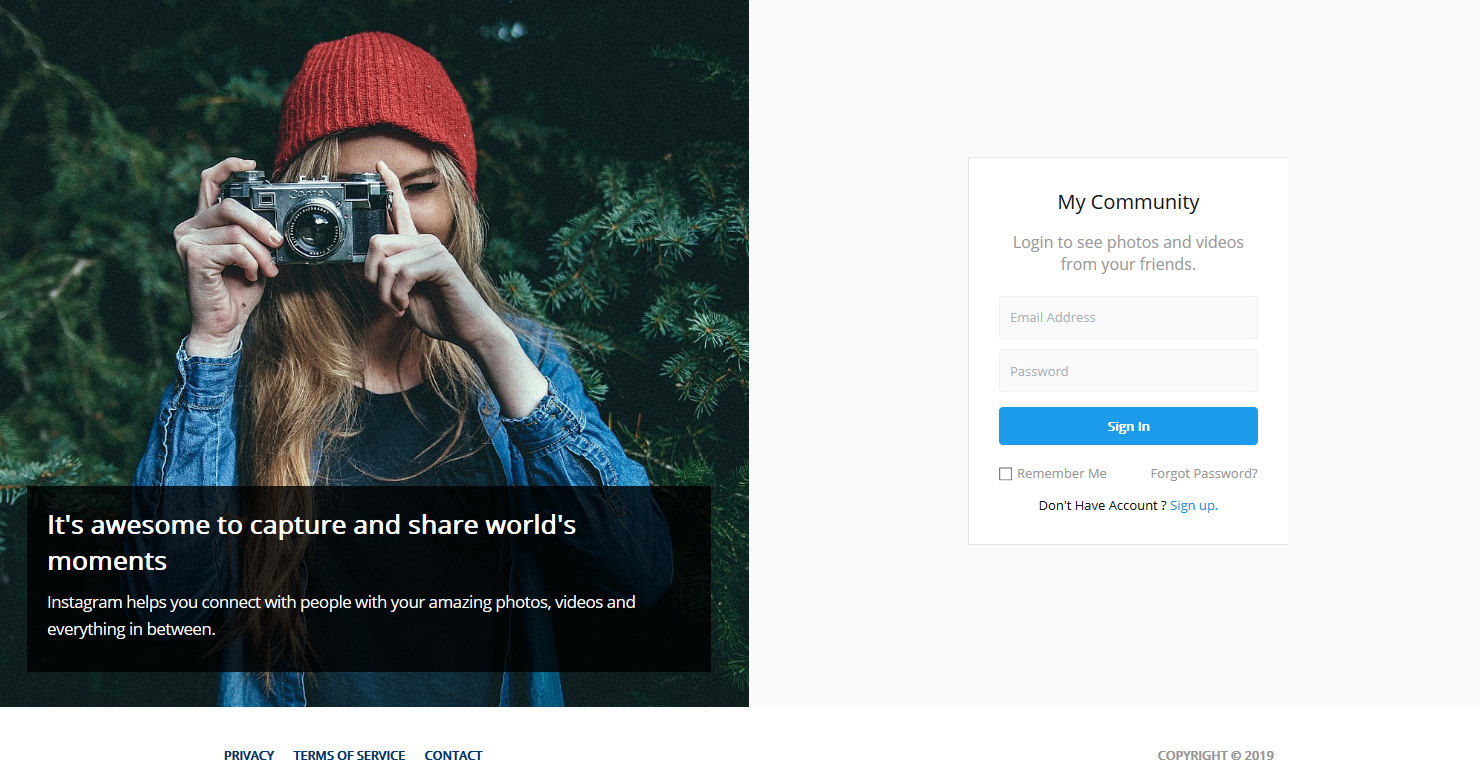
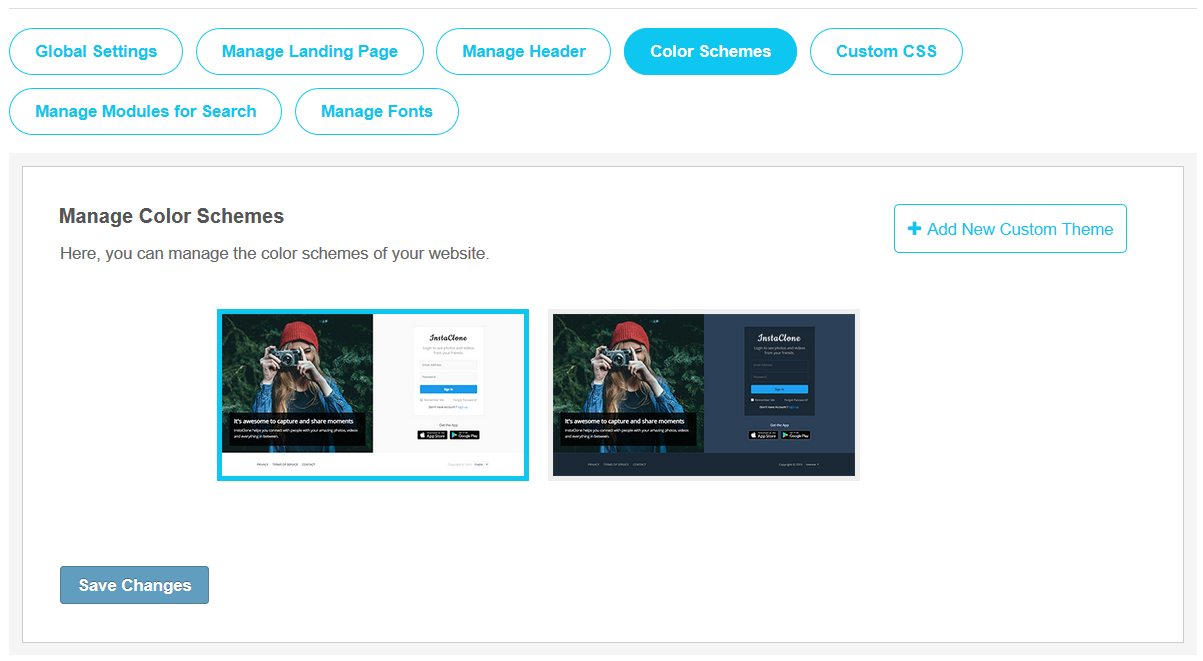
The Default Landing Page enabled for this theme can have two different layouts, as Light & Dark, which you can enable from the color schemes section in the admin panel of this theme. Also, you can configure its elements as well.
→ Layout Editor settings
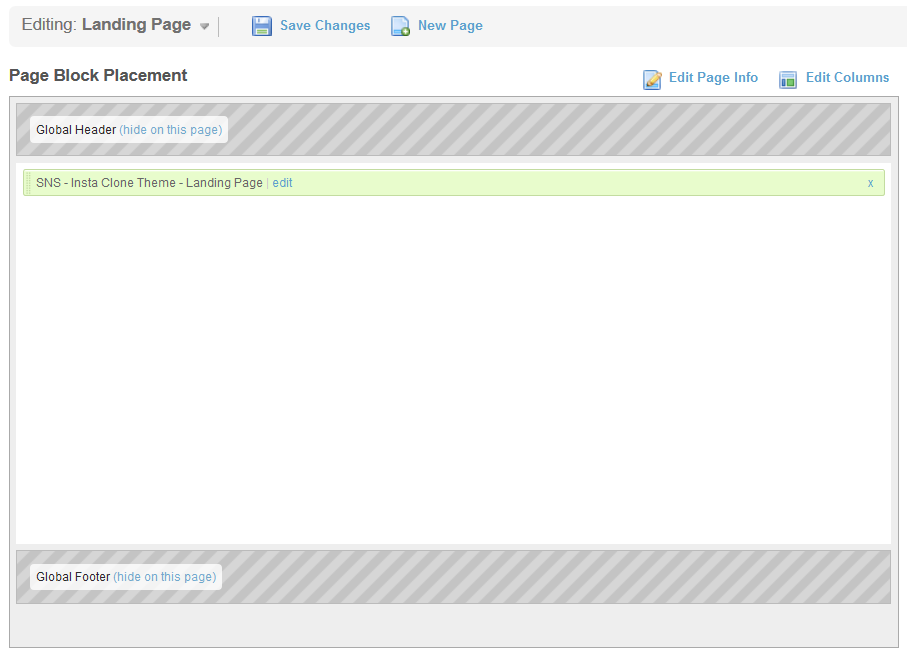
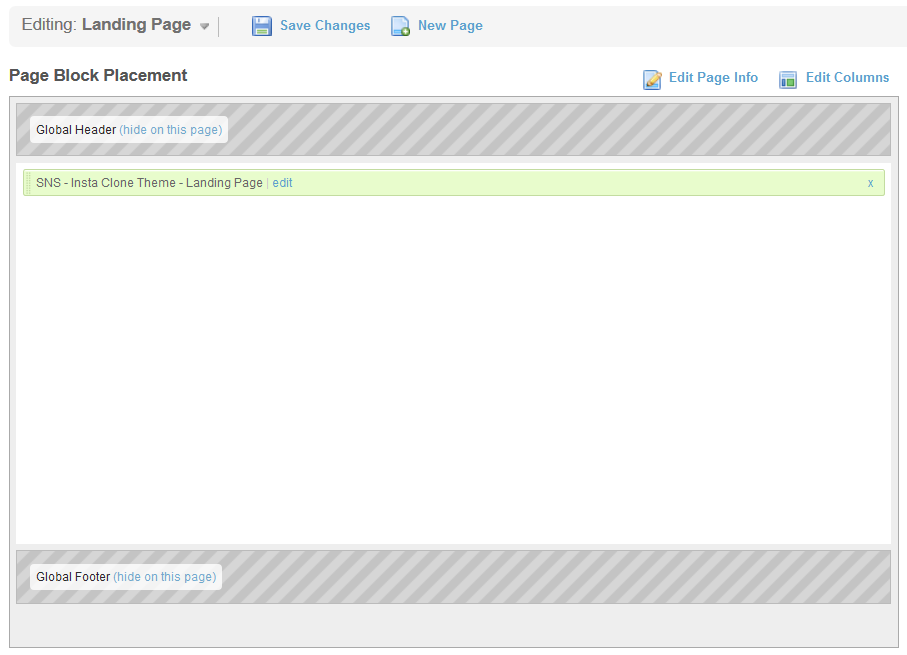
Landing Page widget can be configured from the “Landing Page” in Layout Editor. For configuring the settings in widget, click on the edit link.
- Set Member Profile Page You can enable default member profile page of this theme as the member profile page of your website. Don’t forget to save the changes when done.
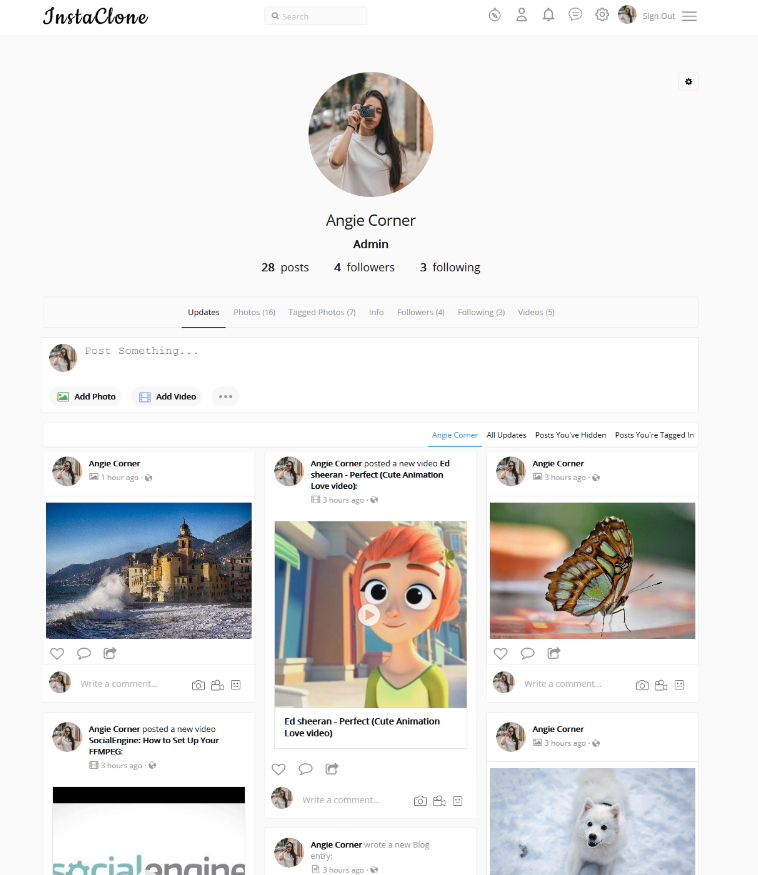
→ Default Member Profile Page Layout
The default Member Profile Page enabled for this theme will give you a complete look & feel just like Instagram.
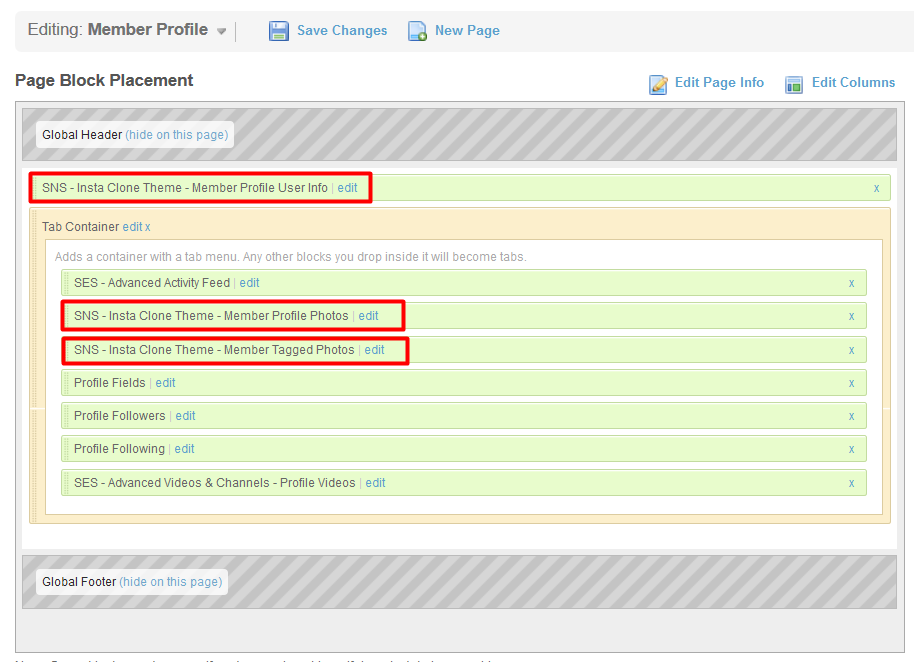
→ Layout Editor settings
The layout for the Member Profile Page can be configured from “Member Profile Page” at the Layout Editor. To configure the settings in the widget, click on the edit link.
- Set Member Home Page You can enable the default member home page of this theme as the member home page of your website. Don’t forget to save the changes when done.
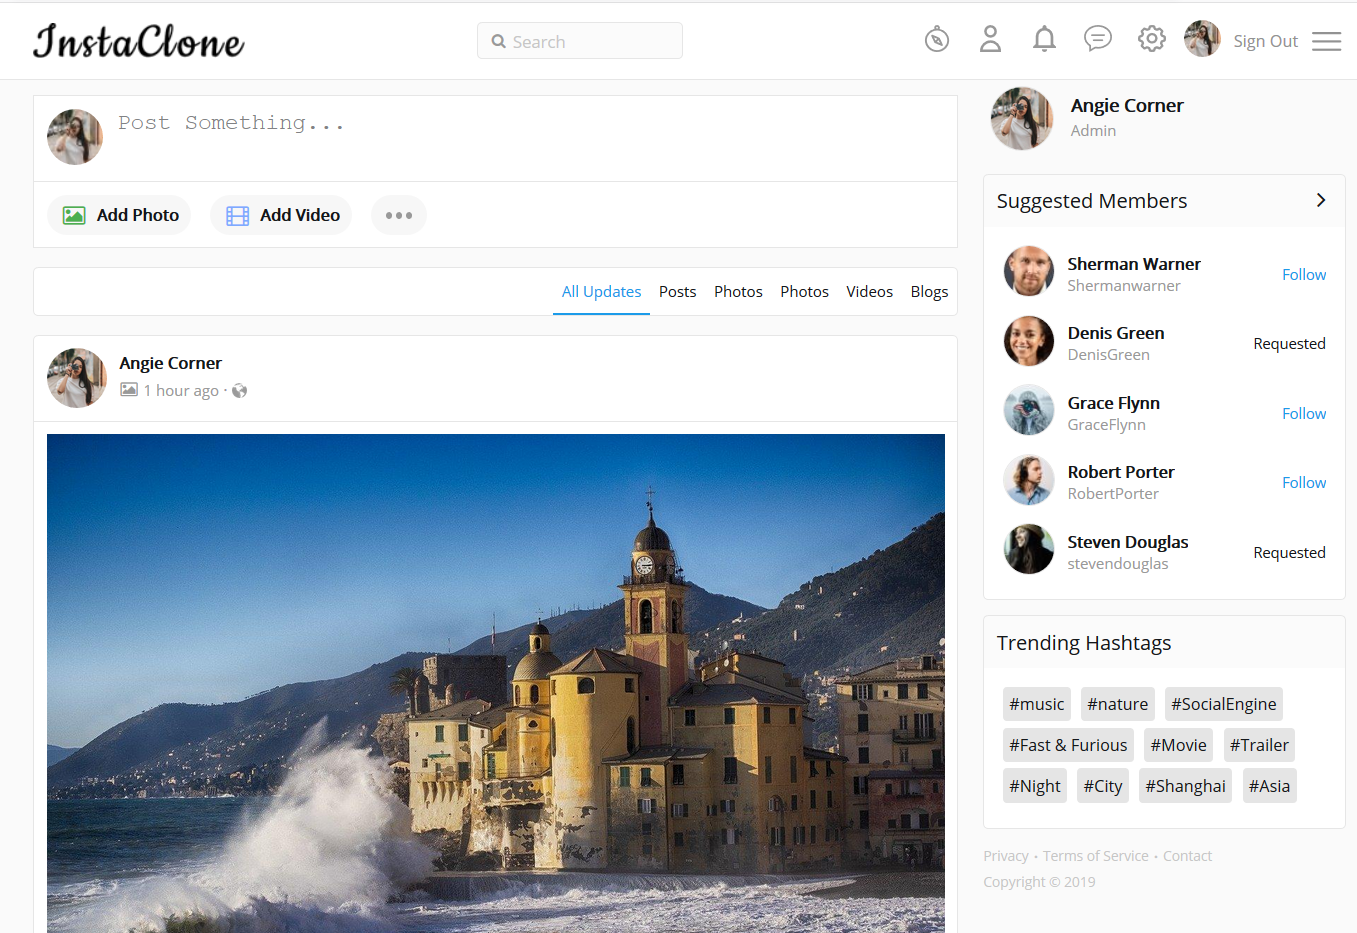
→ Default Member Home Page Layout
Default Member Home Page can be enabled for this theme which will give a complete look & feel just like Instagram with attractive activity feed to the member home page of your website.
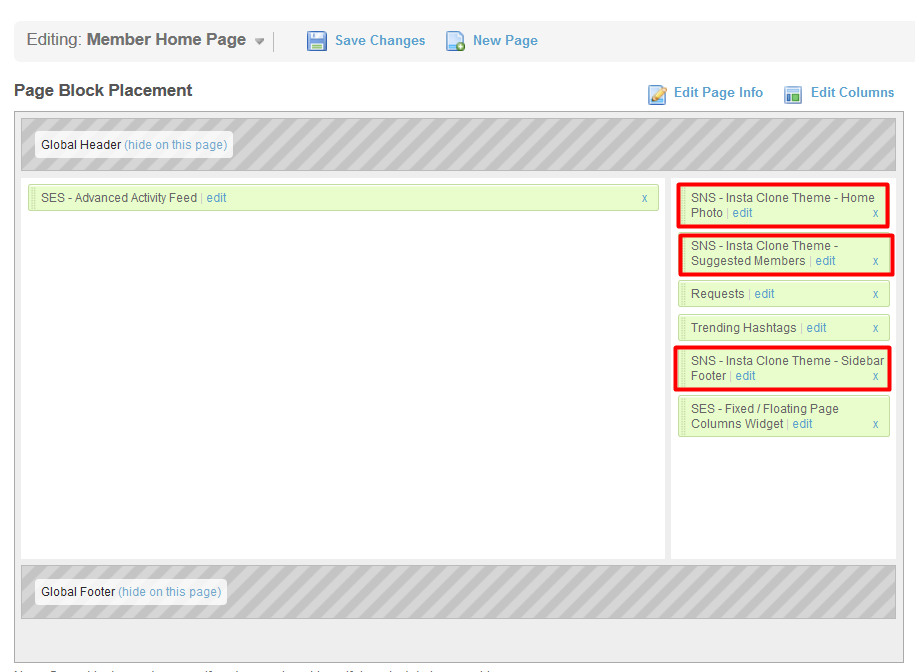
→ Layout Editor settings
Layout for the Member Home Page can be configured from “Member Home Page” at the Layout Editor in the admin panel. For configuring the settings in widgets.
- Fixed Header for Website You can enable/disable the fixed header for your website, which will remain static all over the page when users scroll down your website. Don’t forget to save the changes when done.
5. Manage Landing Page
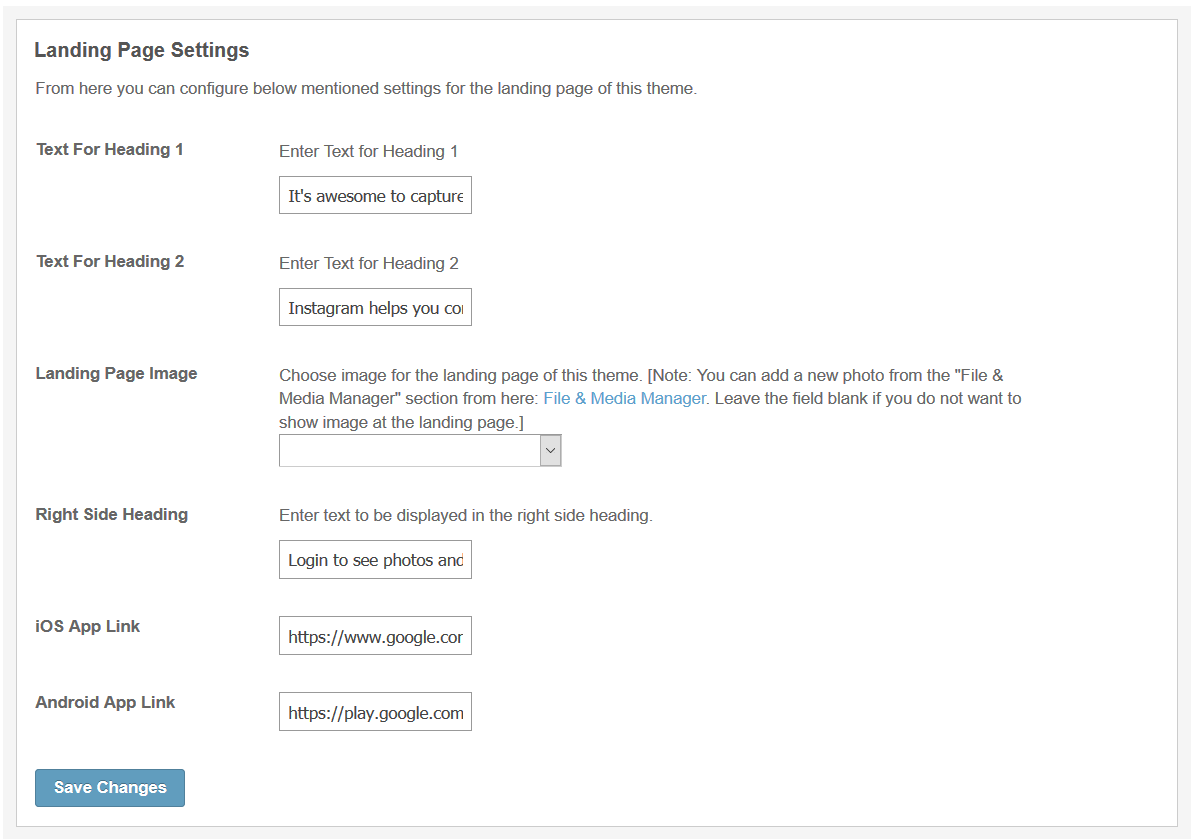
Insta Clone theme provides you with an iconic Landing page with awesome UI, which you can easily configure from the admin panel of this theme. Configured elements can be Text For Heading 1, Text For Heading 2, Landing Page Image, Right Side Heading, iOS App Link, and Android App Link.
→ Landing Page Layout
Landing Page of your website is the first impression which users notice whenever they visit your website. It should be appealing & user friendly.
Layout for the Landing Page can be configured from “Landing Page” at Layout Editor in admin panel. For configuring the settings in widget, click on the edit link.
6. Manage Header
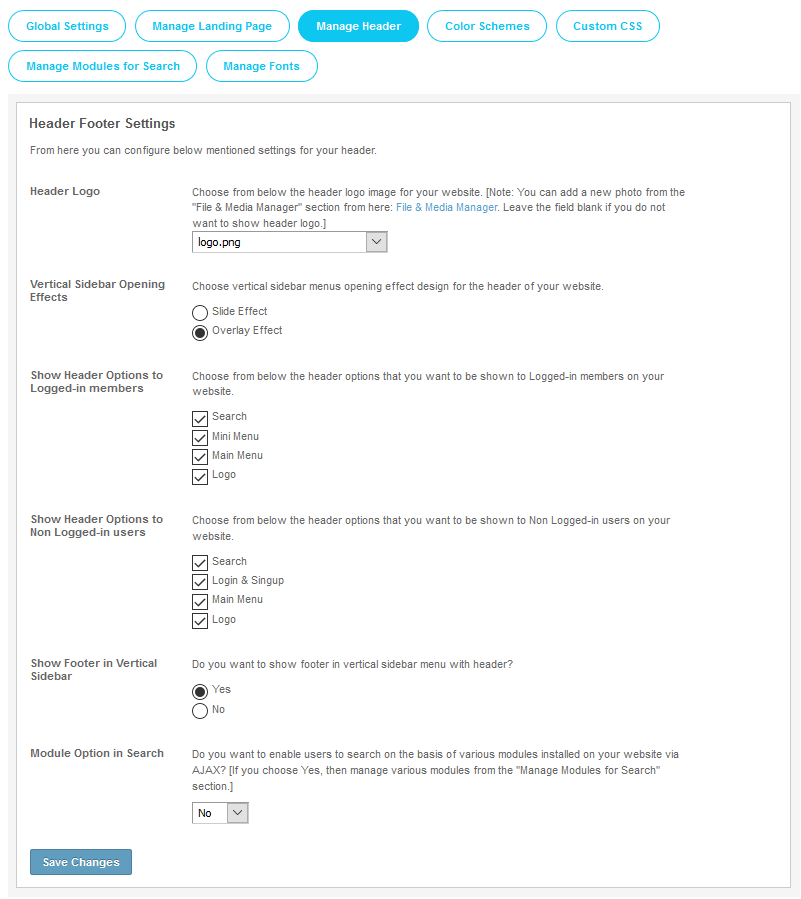
- Header Logo: You can select a logo for the header of your website from this section.
- Vertical Sidebar Opening Effects: You can choose 2 vertical sidebar menu opening effect designs for the header of your website as Slide Effect & Overlay Effect.
- Show Header Options to Logged-in members: From this setting, you can choose various options for the header which you want to show to Logged-in members on your website.
- Show Header Options to Non Logged-in users: From this setting, you can choose various options for the header which you want to show to the Non Logged-in users on your website.
- Show Footer in Vertical Sidebar: You can enable/disable to show footer in vertical sidebar menu with header on your website with the help of this setting.
- Module Option in Search: With the help of this setting, you can enable users to search on the basis of various modules installed in your website via AJAX. You can manage various modules from the “Manage Modules for Search” section.
- Module Options Limit: If you have enabled “Module Option in Search” setting, then you can enter the number of various modules to be shown with search field on your website.
The layout for the Site Header will look like this:
7. Color Schemes
With this section, you can manage the color schemes for your website by choosing the pre configured Light or Dark Color Schemes which best suits your website.
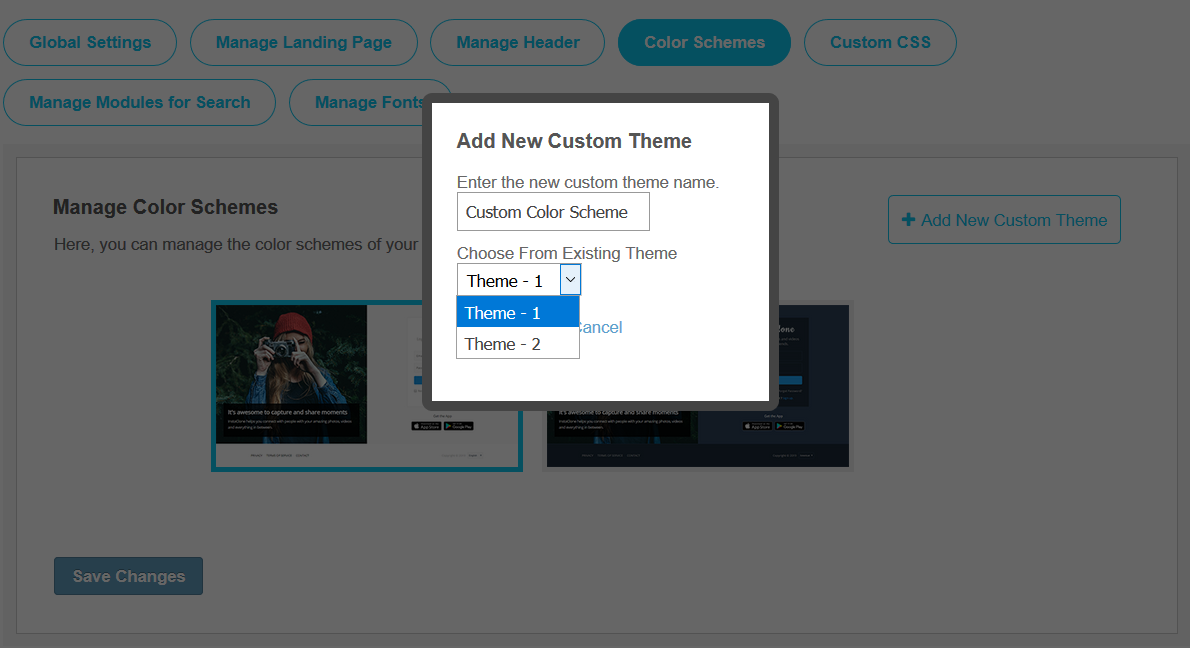
Also If you want to setup your own custom color scheme, then you can do it by clicking on “Add New Custom Theme” link in this section. You just need to first duplicate the pre existing theme & after that configure it by changing the colors. Don’t forget to click on Save Changes after doing the changes.
8. Custom CSS
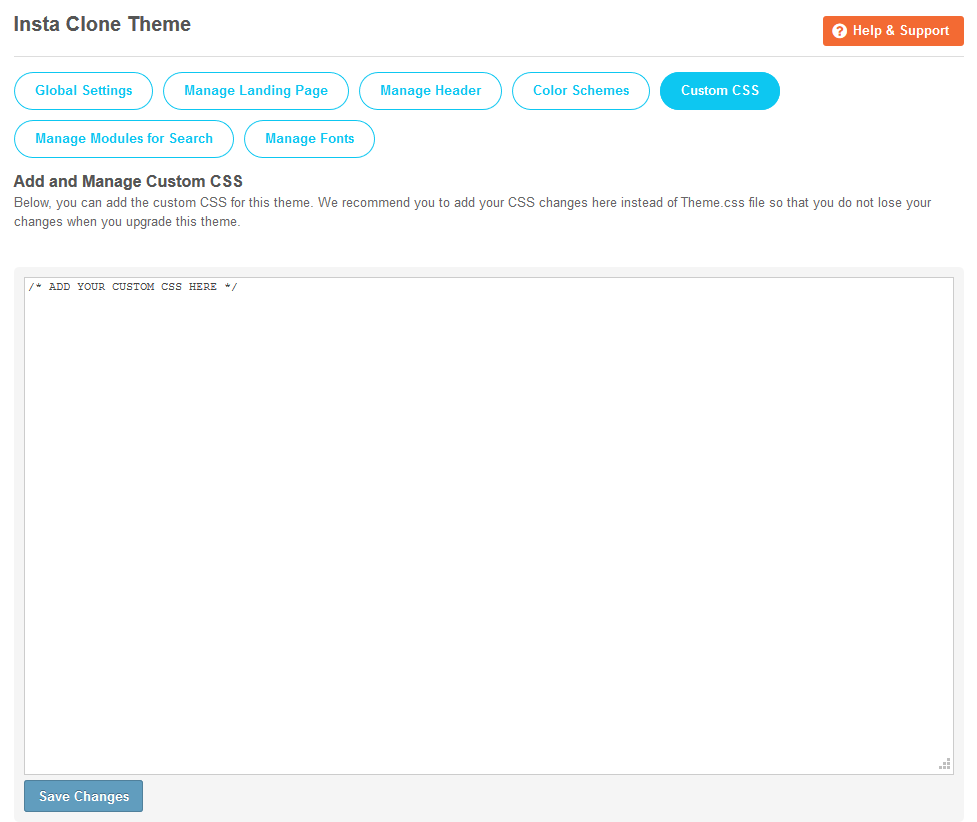
You can add custom CSS for this theme. We recommend you to add your CSS changes here instead of Theme.css file so that you do not lose your changes when you upgrade this theme. These changes will nicely show at your website.
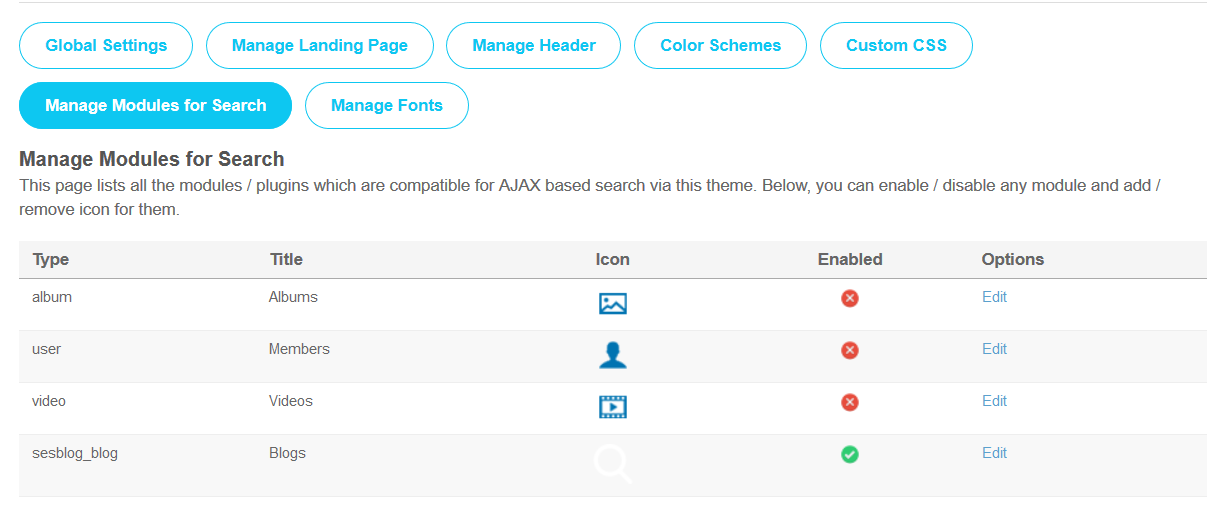
9. Manage Modules for Search
In admin panel, this section lists all the modules / plugins which are compatible for AJAX based search via this theme. You can enable / disable any module and add / remove icon for them whenever required.
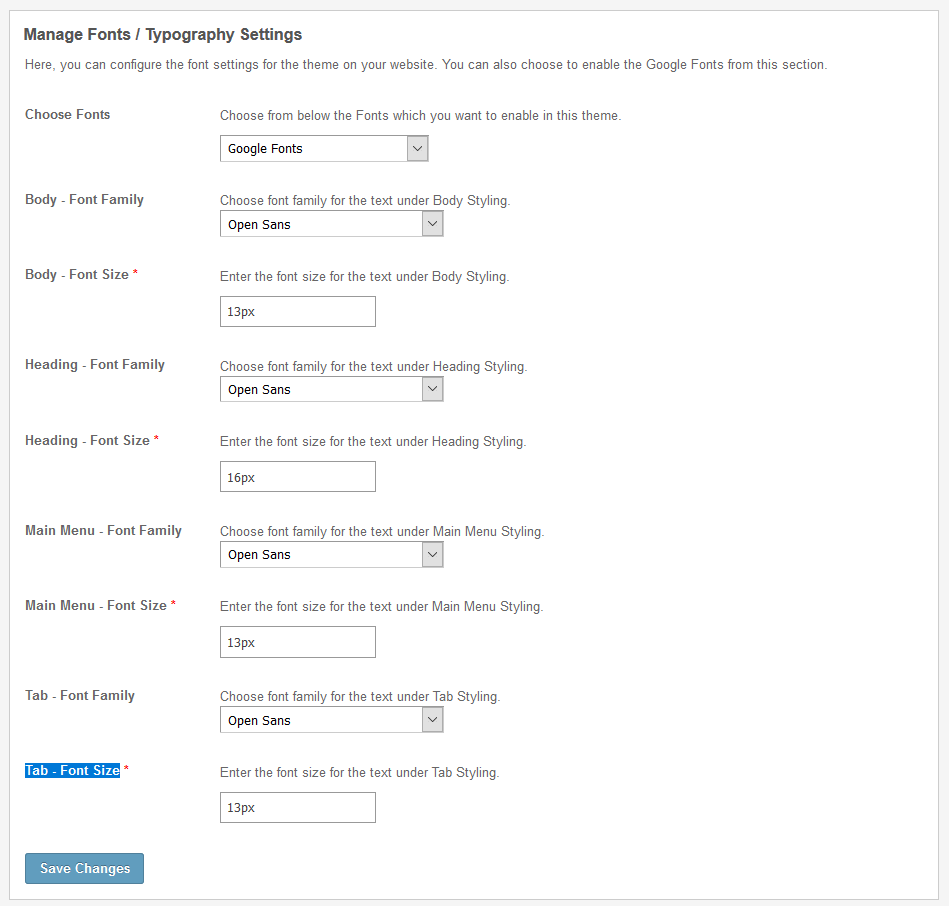
10. Manage Fonts
From this section, you can configure various font settings for this theme on your website. You can also choose to enable the Google Fonts / Web Safe Font Combinations from this section. You can manage family & size for the following elements on your website:
- Body – Font Family & Size
- Heading – Font Family & Size
- Main Menu – Font Family & Size
- Tab – Font Family & Size
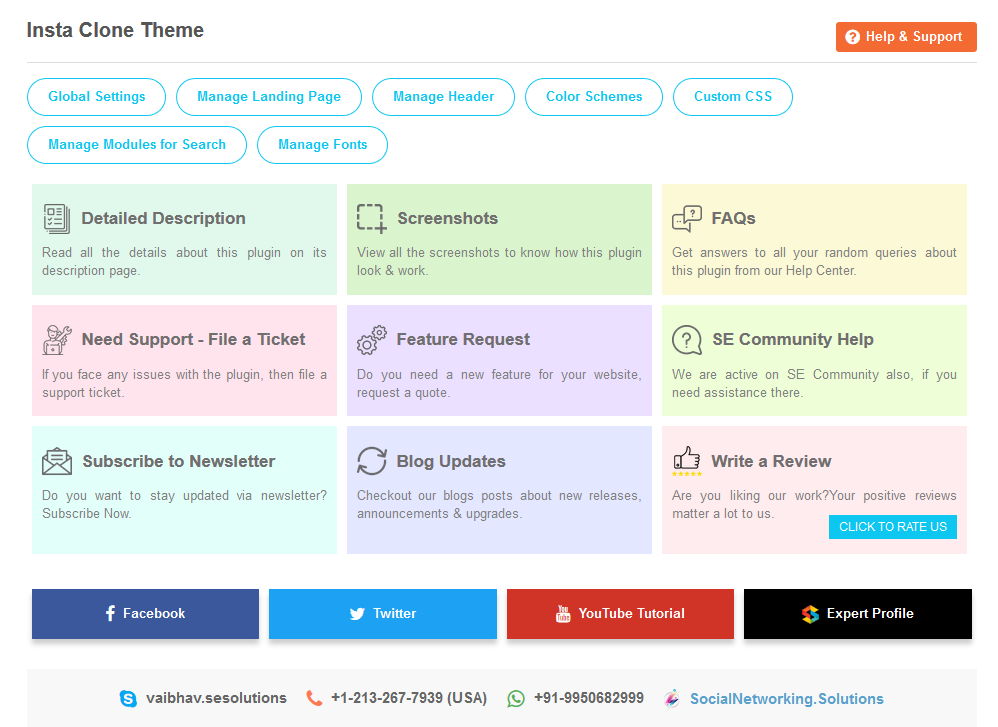
11. Help & Support
If you have found any query regarding the usage of this Theme or need to ask any query regarding installation, Setup & any kind of support for this theme, then you can refer “Help & Support” section of this theme.
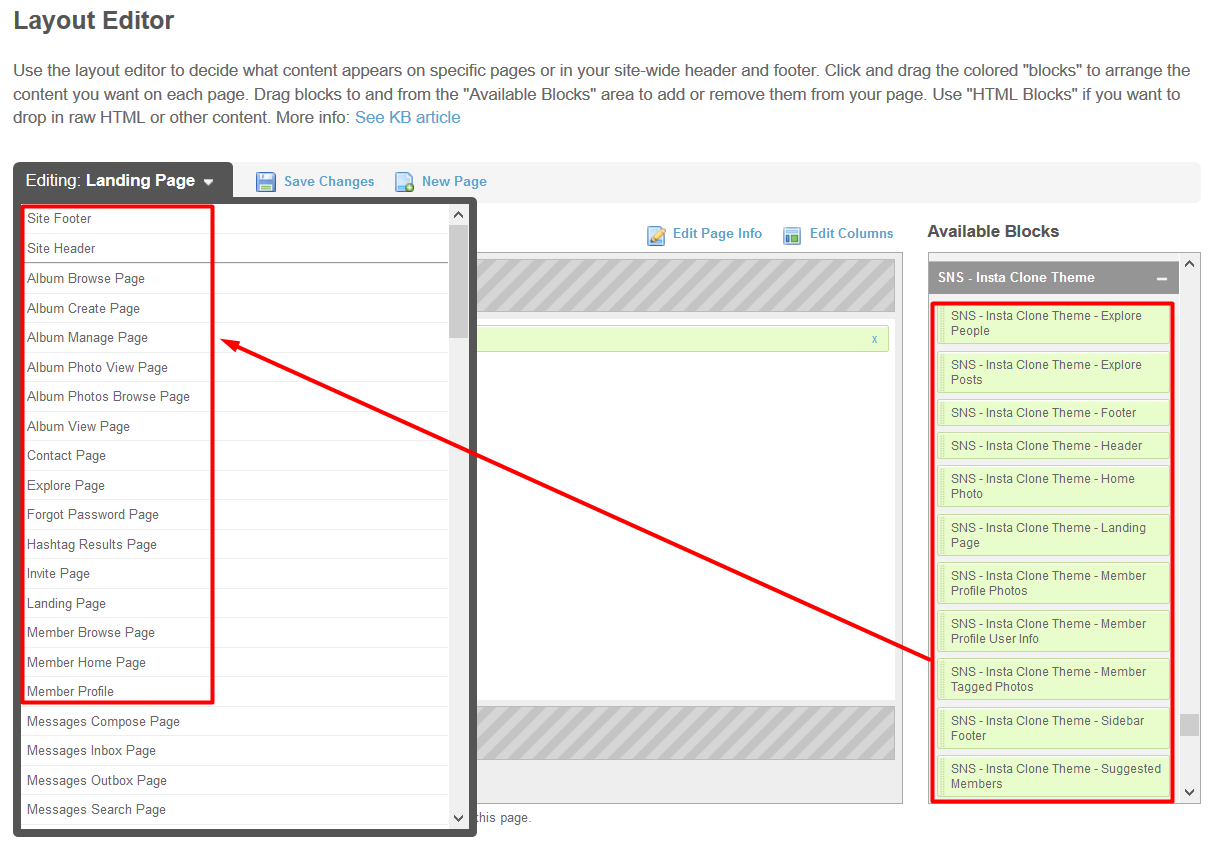
12. Configure Pages from Layout Editor
You can configure various pages of your website from the Layout Editor with the help of the Drag & Drop of widgets. You can also configure the settings of widgets by clicking on the edit link.
Great! You have completed the Installation and Setup of this theme now and your users will be able to access your website with the astonishing look & feel like Instagram.
Installation of this Theme is very easy, but if you still need our expert to install this theme for you, then you can purchase the service from Click Here.

