When you sell property, what is the first thing that comes to the buyer’s mind? A guided tour surely helps them understand better what the property looks like. In the same way, a website can act as a property, and its visitors are no less than any buyer.
For the first time visitors of your website, a simple guide tour can be very effective to hold their attention. It helps them to get a clear idea of the essential features of your website and saves their valuable time for better navigation. Because sometimes users can not understand the functionality even the website has easy to use features.
Step by Step WebPage Introduction Tour Plugin helps your visitors to explain complex features of your website in a step by step tour guide. You can also highlight new features and provide better explanations for users.
Key Features
- Easy Configuration
- Cross-Browser Compatibility
- Start Tour Automatically
- Start Tour Manually
- A Shiny Dark Overlay
- Easy Navigation to Other Pages
Here, we are providing an interactive and easy-to-follow Step by Step WebPage Introduction Tour Plugin setup & installation guide which will help you to use & configure it properly on your website & maximize the efficiency of your website by showcasing the exciting features. With this help guide, you will get a better sense of usage when you install this plugin on your website.
Installation of this plugin is very easy, but if you still need our expert to install this plugin for you, then you can purchase the service by Clicking Here.
Step-by-Step Installation & Tutorial Guide:
** This tutorial assumes that you are already logged in to the Admin Panel.**
If not, you have to log in first to the admin panel after filling in the admin account credentials on your website.
Installation of Step by Step WebPage Introduction Tour Plugin
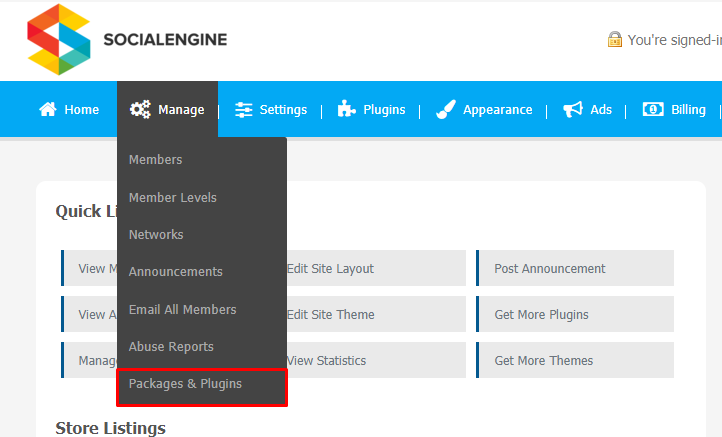
1. In the Main Menu section, click on the tab Manage and select “Packages & Plugins” to install this plugin.
2. Our Plugin is based on SE standards, so this will get installed on your website as any standard theme can. Please read the tutorial on installing themes and plugins in SE: Click Here
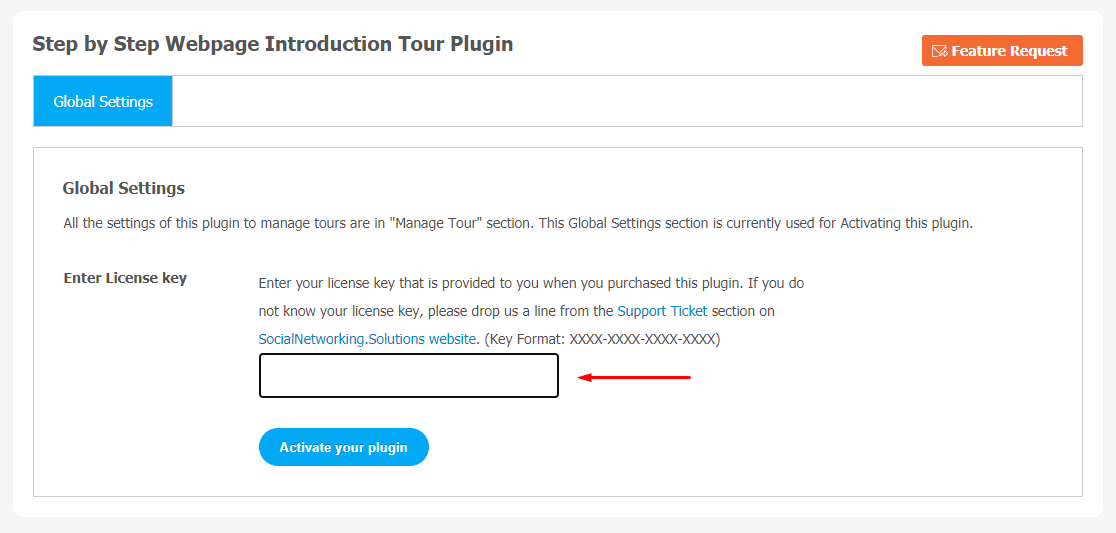
Now, you will be asked for plugin activation. You can activate this plugin by entering the right license key in the given box.
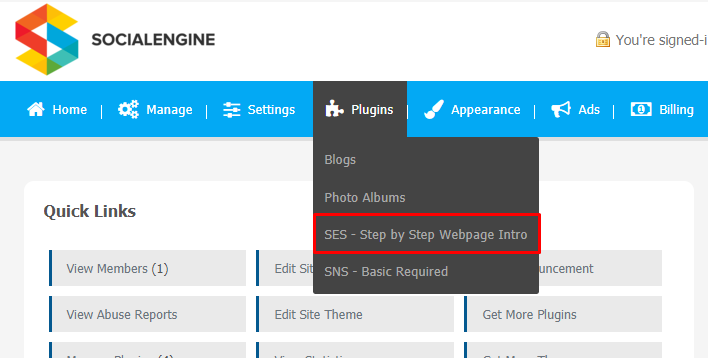
Once the plugin is installed and activated, click on Global Settings to head straight to the plugin configuration page.
2. Global Settings
After a successful installation, a new Global Setting tab will appear where all the plugin settings can be managed easily. You can use the Global Settings to activate this plugin.
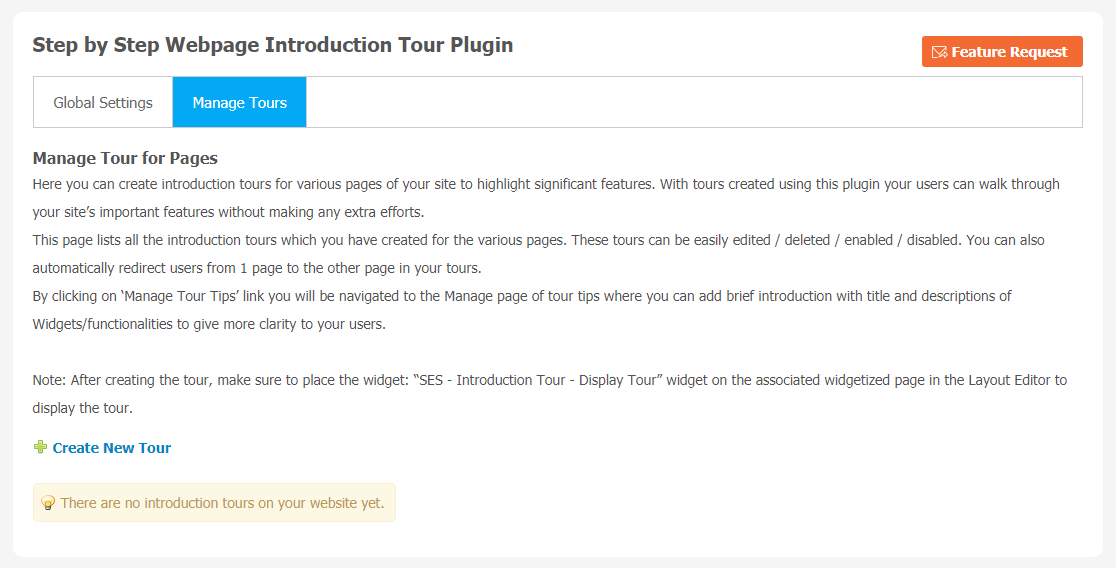
3. Manage Tours
With the help of this page, you can create introduction tours for multiple pages of your site. It will help your users to explore the features of your website with so much ease.
All the introduction tours created by you for the various pages will be saved on this page. You can edit/delete/enable, or disable these tours as per your convenience. You can also directly redirect users from one page to another in your tours.
When you click on the “Manage Tour Tips” the page will automatically navigate to the Manage page of tour tips where you can add brief descriptions of widgets. It will help your users to get a clear idea of your website.
Finally!! You have successfully completed the installation procedure and also explored various exciting features of Step by Step Website Introduction Tour Plugin. Now, your visitors and website members will be able to access & use your website with some new multipurpose features.
Installation of this Plugin is very easy, but if you still need our expert to install this Plugin for you, then you can purchase the service by Clicking Here.


