We have launched a new, amazing multimedia theme for our users. Our SpectroMedia Theme is compatible with SocialEngine Self-Hosted v5.0, has new special configurations and settings which allow you to control the overall look of your website.
SpectroMedia Theme Takes your Online Business to the Next Level Because of its..
- Highly Responsive & Flexible Look
- User-Friendly Features
- Multipurpose Layout
SpectroMedia theme is a highly responsive and flexible theme that gives a modern look to your website. All credit goes to its multi-purpose layout that can be used for business, corporate & almost every type of website. The key attraction of this theme is its User-friendly features with a multipurpose layout. This theme has been thoroughly tested by our quality testing team to make sure it looks good on the user end and is fully flexible. Our new SpectroMedia Theme will help you transform the site as per your choice.
Users will get unlimited access to every available font, icon & other additional options that will help them to create awesome sites quickly without any problem.
Here, we are providing an interactive and easy to follow SpectroMedia Theme setup & installation guide which will help you to explore its exciting features and maximize the efficiency of your website. With this help-guide, you will get a better sense of usage when you actually install this theme on your website.
For the demo, click here.
Installation of this theme is very easy, but if you still need our expert to install this theme for you, then you can purchase the service by Clicking Here.
Step-by-Step Tutorial Guide for Users:
** This tutorial assumes that you are already logged in to the Admin Panel.**
If not, then you have to log in first to the admin panel after filling the admin account credentials on your website.
1. Installation of Responsive SpectroMedia Theme
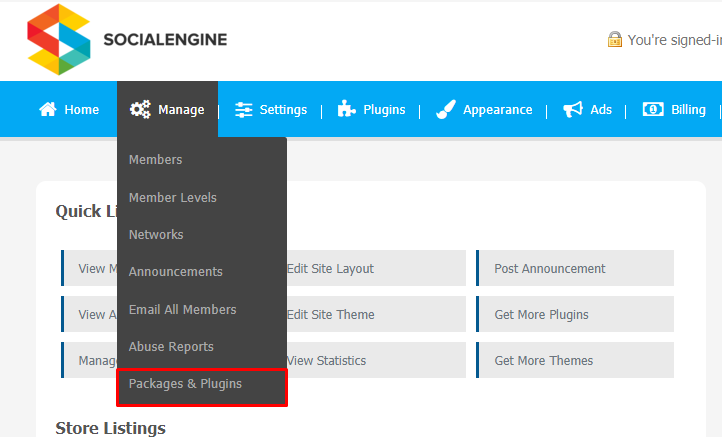
In the Main Menu section,
- Click on the tab Manage and select “Packages & Plugins” to install this theme.
After a successful installation, a new “Responsive SpectroMedia” tab will appear on the main screen.
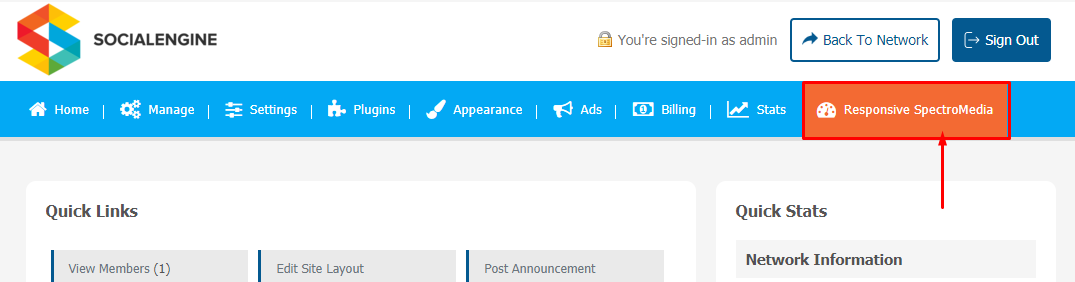
After installing the theme,
- Click on the “Responsive SpectroMedia” tab. The setting window will be opened. From this window, the admin can control the whole website and add or remove the required feature considering the target audience.
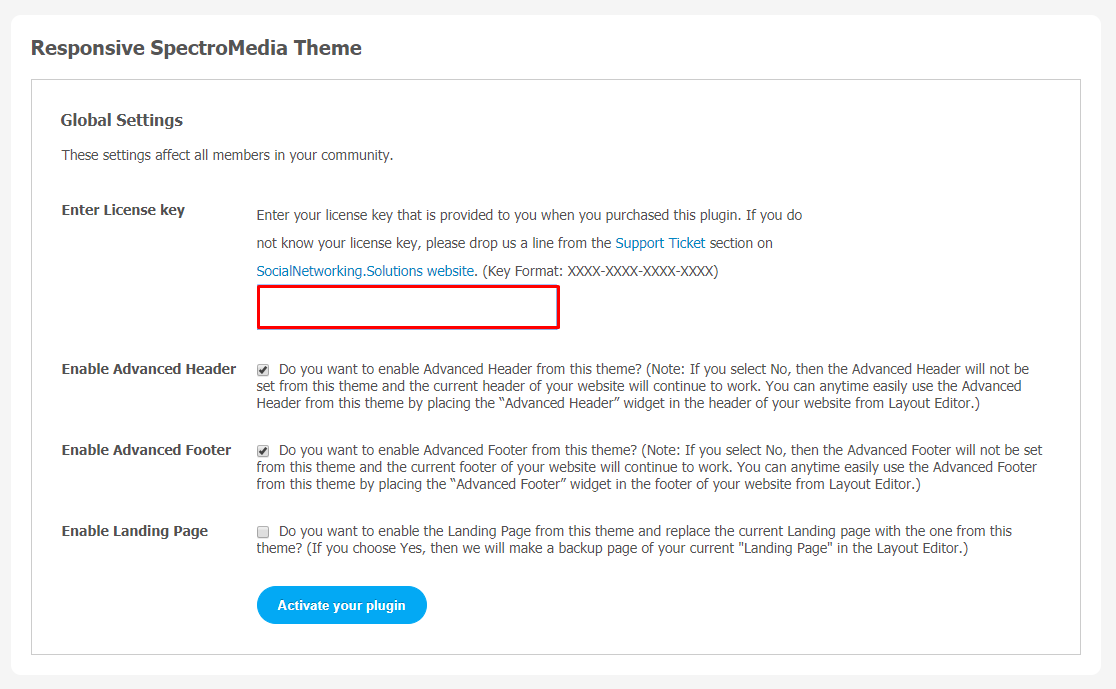
- Enter the required license key in the above-shown box.
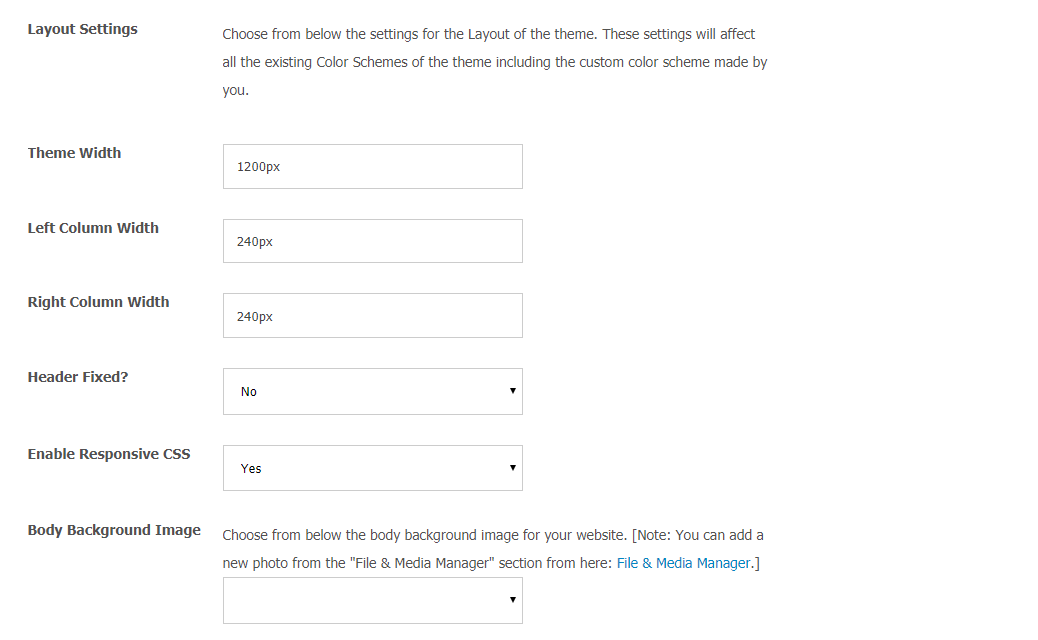
- Also, one important thing to remember, you can directly change your theme size and body background image according to your requirement in the theme activation window, as shown below.
2. Landing Page Configuration
On the most right corner of the screen, the Responsive SpectroMedia tab will appear.
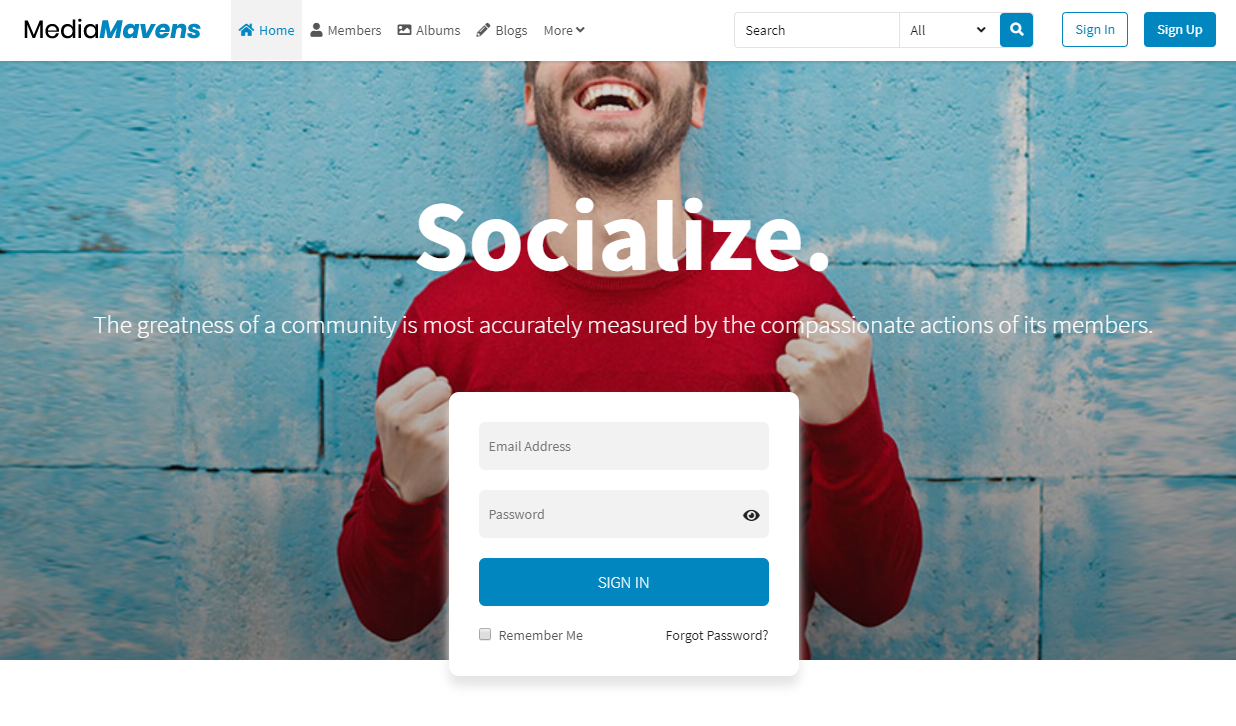
- Click on the Responsive SpectroMedia and open Global Setting. The main landing page consists of many widgets and the user can customize pictures and videos as per their requirement. The home page will look like this as shown below.
Manage your Landing Page through the Layout Editor
The layout editor is the key tool to control all the widgets, banners, and other important features.
Through layout editor, you can manage all the important features like banner image, landing page blogs, paralex effect widget, landing page videos, website members, etc. Layout for the Landing Page can be easily managed from “Landing Page” at Layout Editor in the admin panel. For configuring the settings in the widget, click on the edit link.
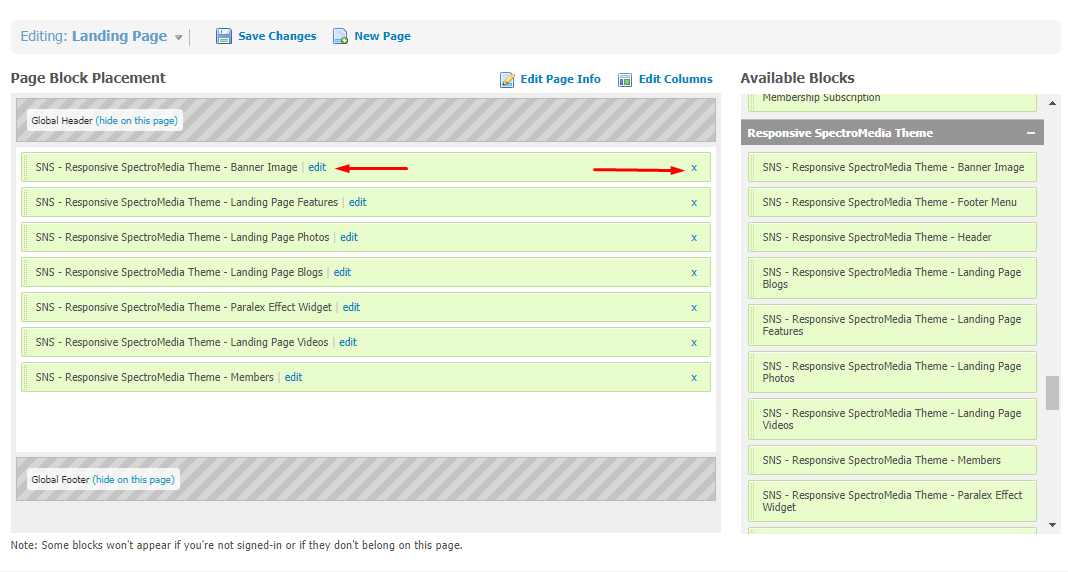
Click on ‘Edit’ and ‘x’ to make changes in the widget as per your requirements. In the below section, we are providing a step-by-step guide so that you can use these features, like the Landing page banner, parallax effect widget, effectively.
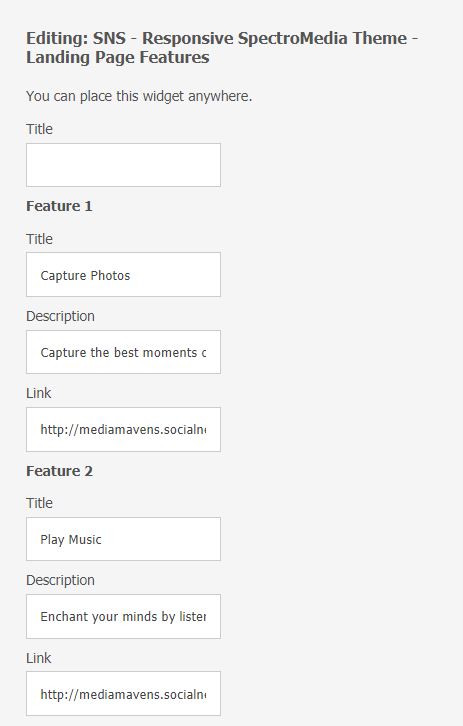
(a) Landing Page Features List
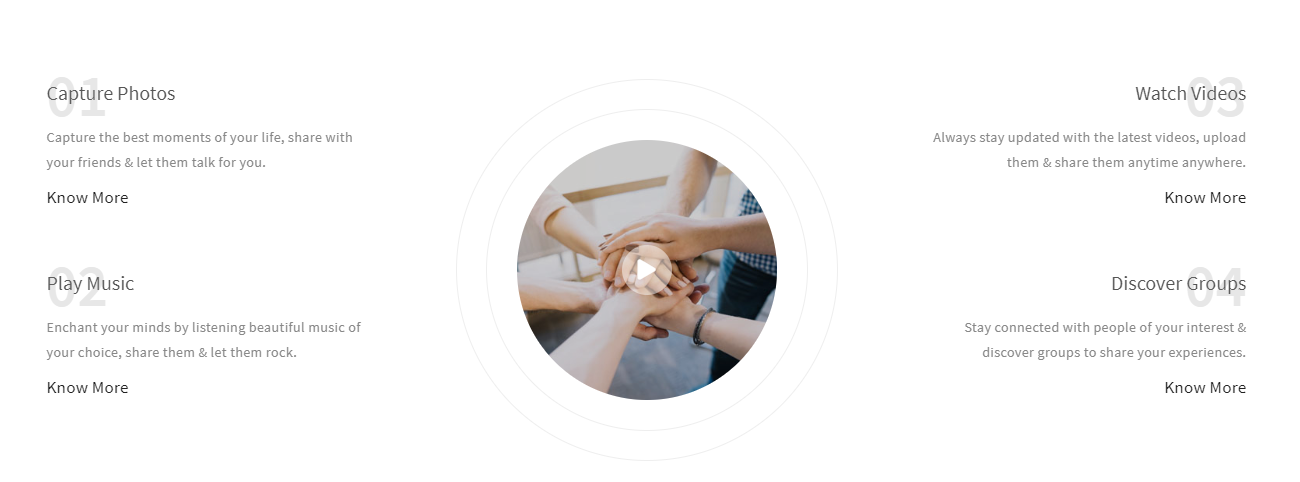
The landing page of the Spectro Media theme has amazing features like photos, Paralex effect widget, videos, blogs
At the user end, it will look like this.
(b) Change Landing Page Banner
You can change the banner size of your landing page. Here, the default size is 600. You can customize the banner size according to your requirements.
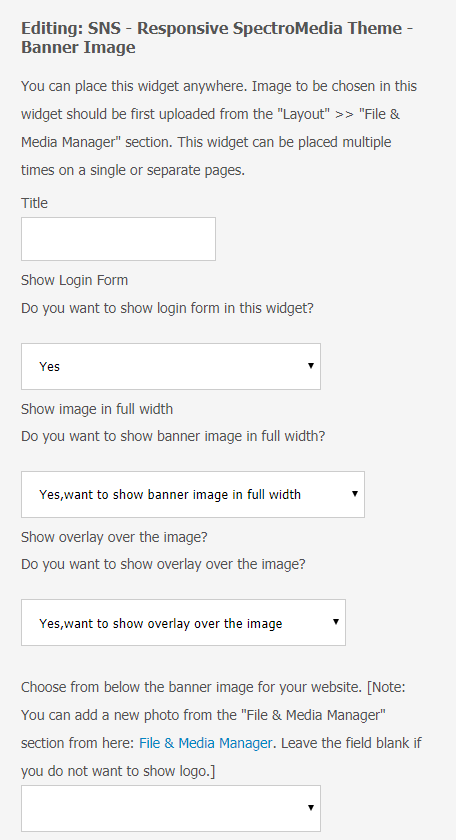
At the user end, it will look like this.

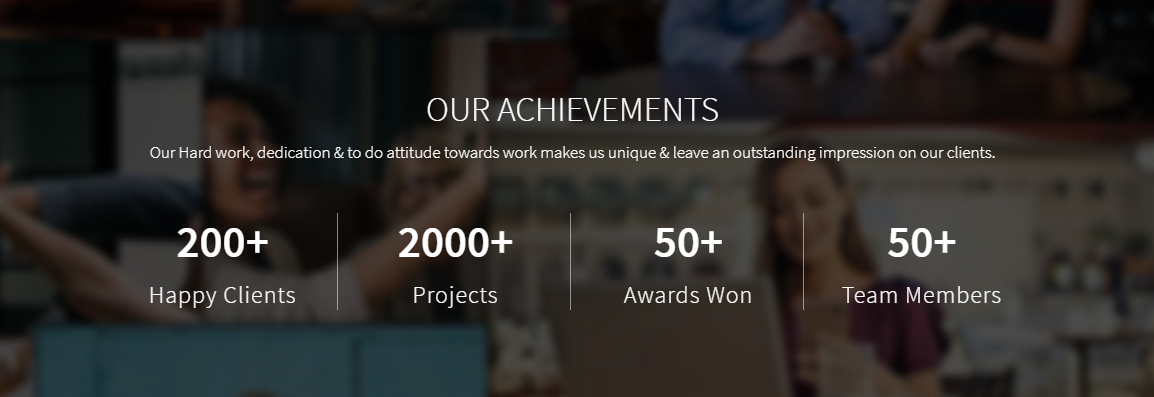
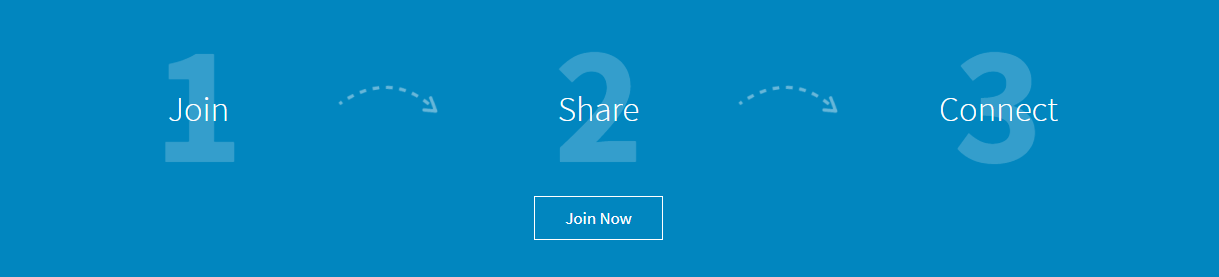
(c) Landing Page Paralex Effect Widget
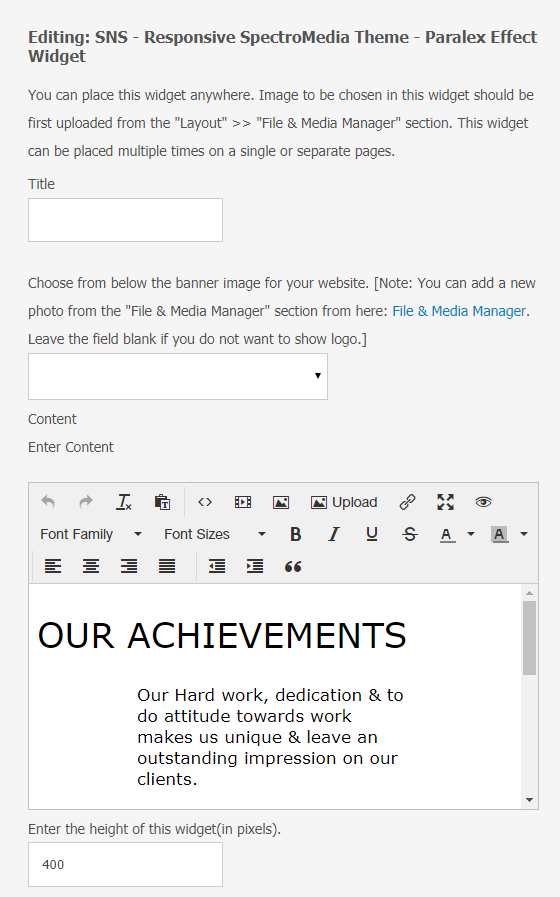
At the user end, it will look like this.
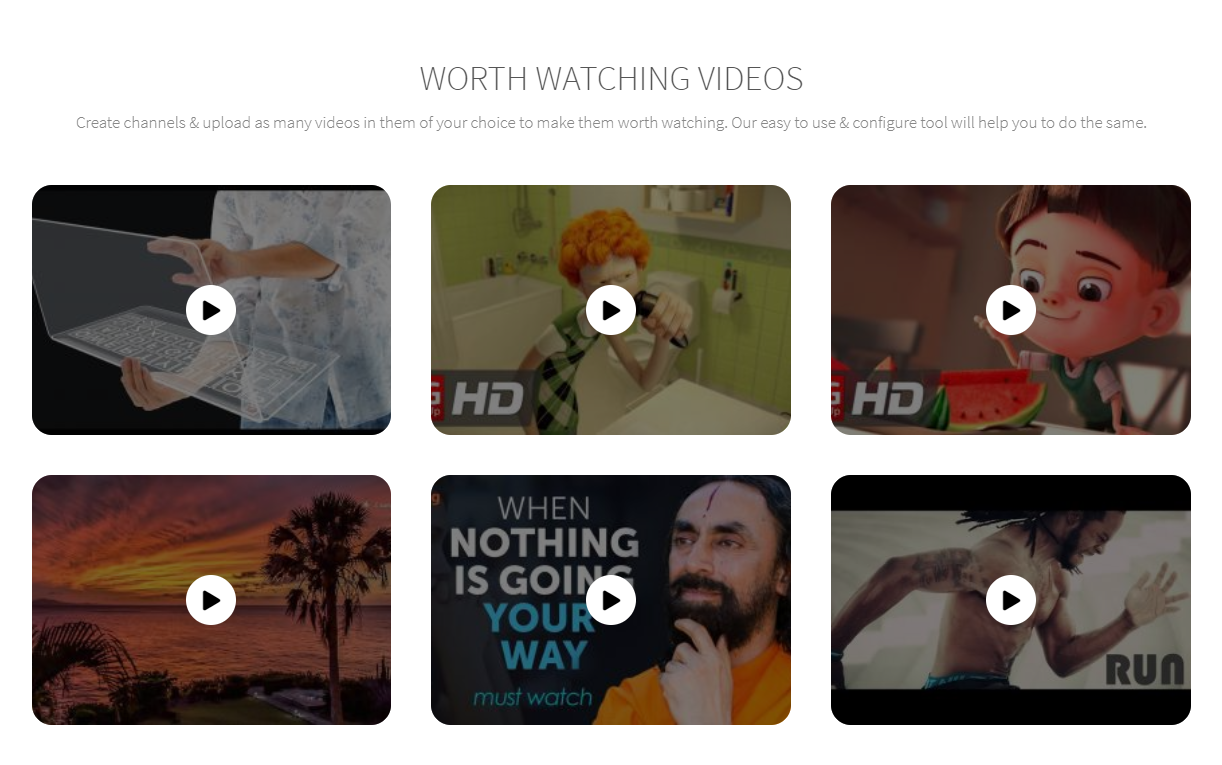
(d) Landing Page Videos
Layout for the Landing Page Videos can be configured from “Landing Page Videos” at the Layout Editor in the admin panel. For configuring the settings in widgets.
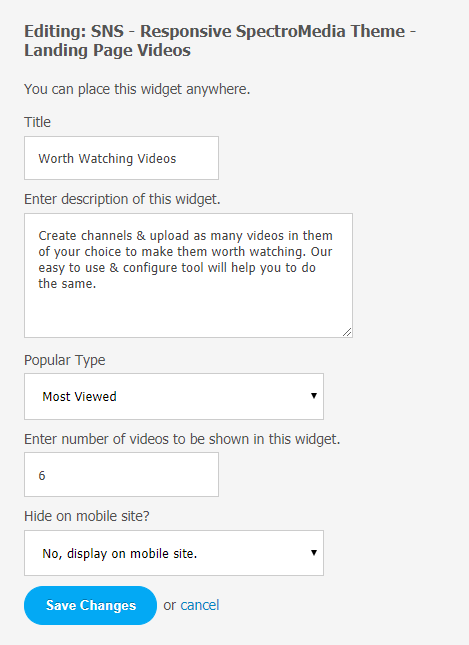
At the user end, it will look like this.
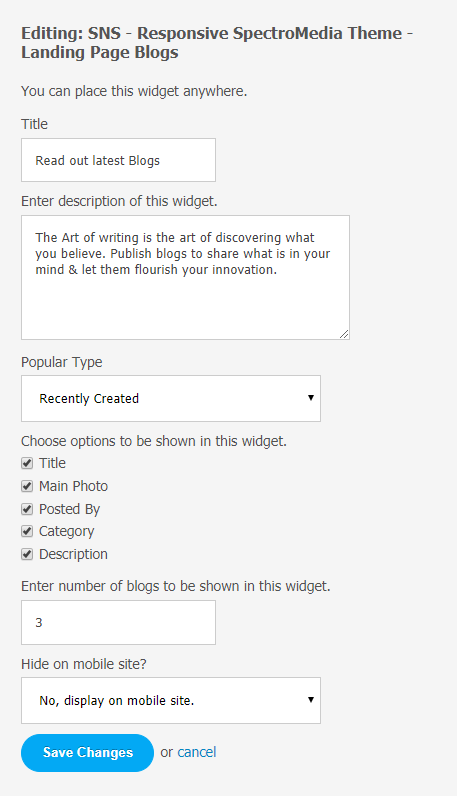
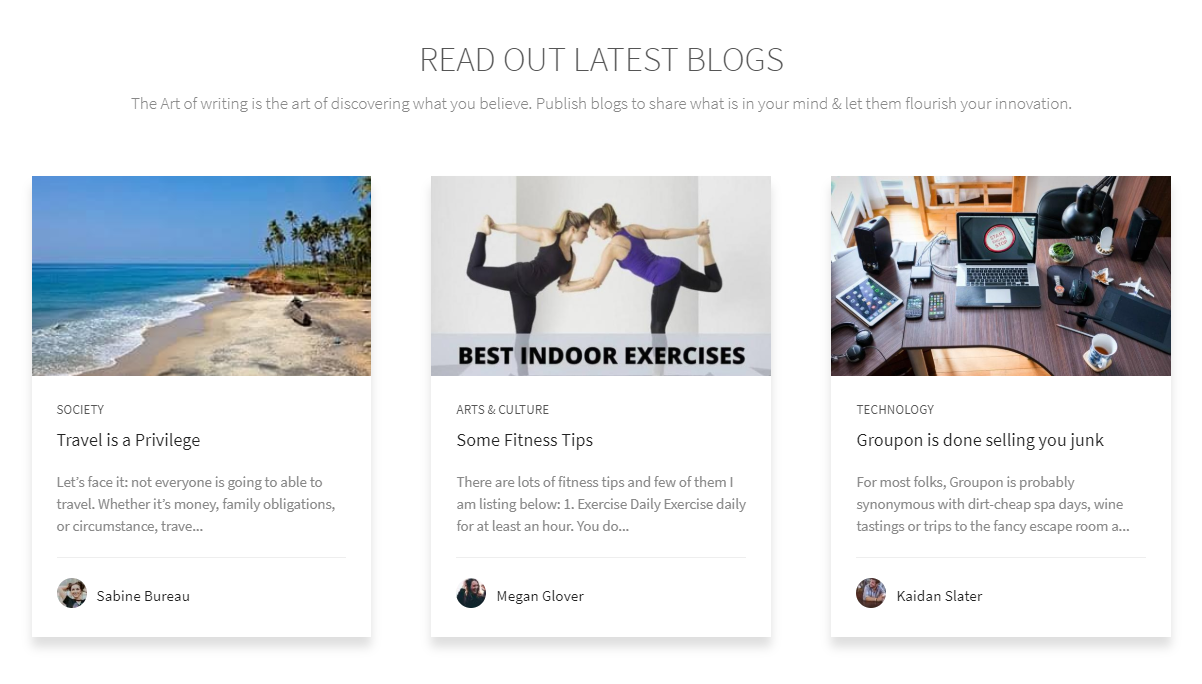
(e) Landing Page Blogs
You can configure blog settings through the admin panel and manage who can see or post blogs on your website.
At the user end, it will look like this.
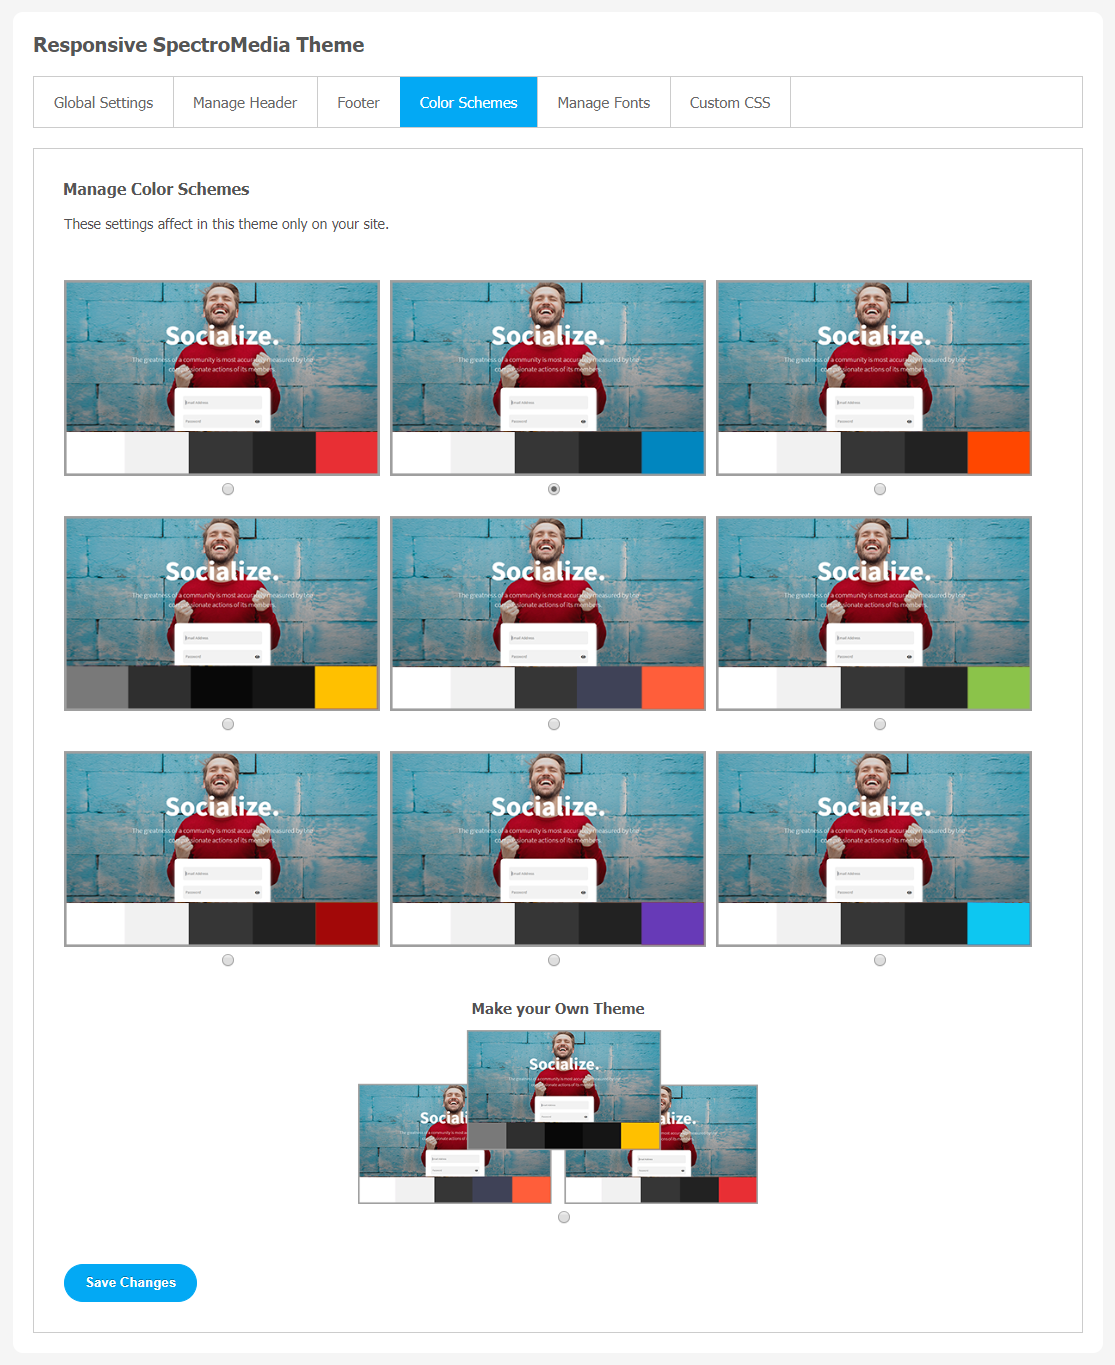
3. Change the Color of your theme in easy steps:
Choose your favorite color for your theme in just a single click. Also, if you don’t like the available color options, you can make your theme color combinations in just a few easy steps. Create your theme color by clicking on “Make Your Theme.”
** Don’t forget to save changes when done.**
4. Manage Header
You can also manage your header look from this section in a few simple steps.
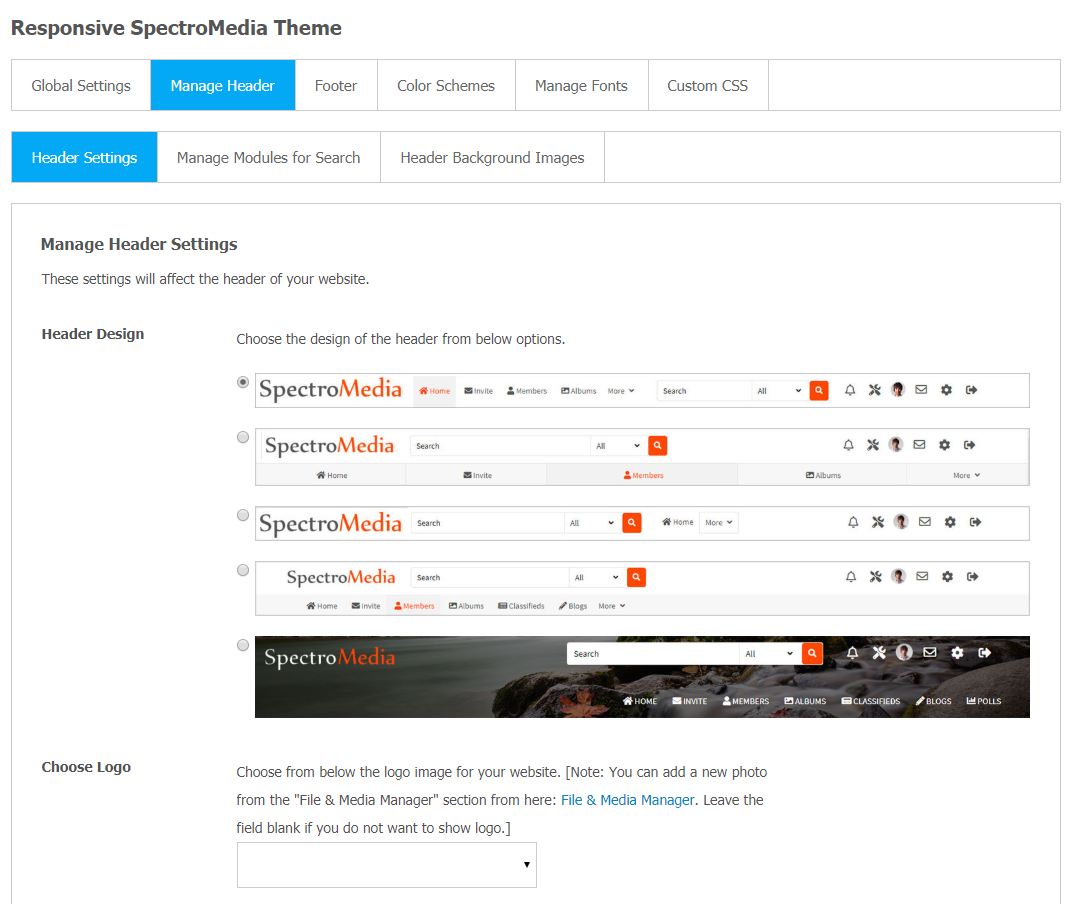
(a) Module Option in Search
With this setting, you can enable users to search based on various modules installed on your website via AJAX. You can manage various modules from the “Manage Modules for Search” section. It will help your users for easy navigation on the website with a more user-friendly experience.

5. Footer Text Management
In the footer section, you can make changes in text and also control who can see those changes. Make your website footer more unique and appealing for your online audience with this amazing feature.

At the user end, it will look like this.
6. Custom CSS
You can add custom CSS for this theme. We suggest you to add your CSS changes here instead of Theme.css file so that you do not lose your changes after theme up-gradation. These changes will nicely show on your website.

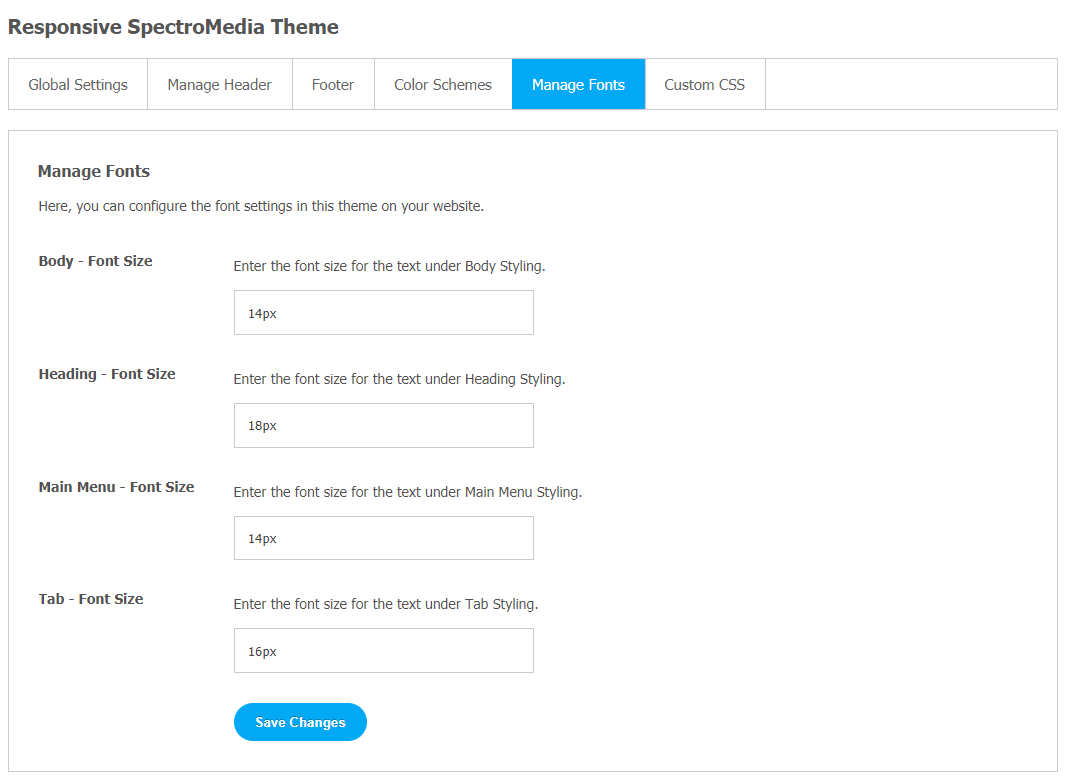
7. Manage Fonts
From this section, you can configure various font settings for this theme on your website. You can also select to enable the Font Combinations from this section.
You can easily manage family & size in a single click for the following elements on your website:
- Body – Font Family & Size
- Heading – Font Family & Size
- Main Menu – Font Family & Size
- Tab – Font Family & Size
Finally!! You have successfully completed the installation procedure and also explored various exciting features of this theme. Now, your visitors and website members will be able to access & use your website with a new refreshing look.
Installation of this Theme is very easy, but if you still need our expert to install this theme for you, then you can purchase the service by Clicking Here.


