- Click on the link.
- Log in to your Google Account.
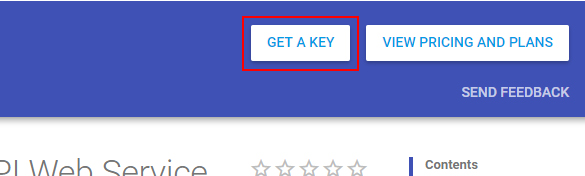
- Click on the Get A Key Button.

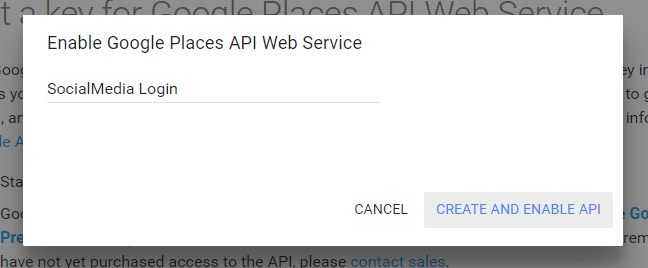
- Create new project and name it.For example ‘my first project’,then click on save and enable API.
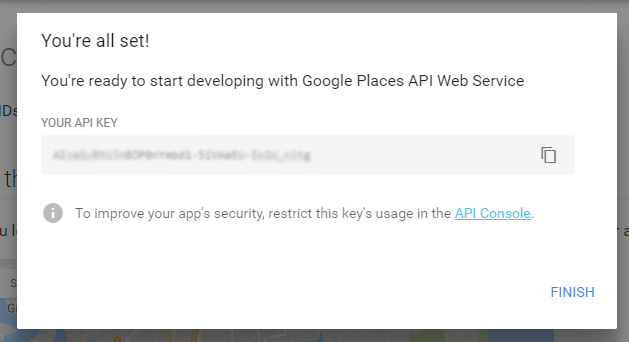
- Save the API key somewhere and click on the Finish Button.
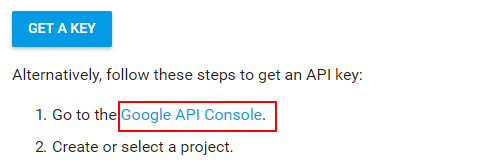
- Click on the Link Google API Console below, Get a Key Button in 1st step.
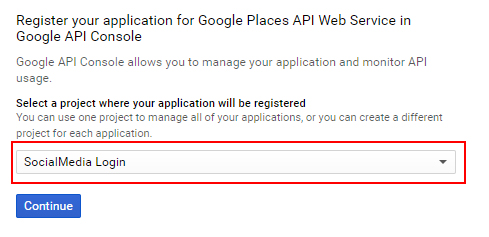
- Under Register your application for Google Places API Web Service in the Google API Console page, select your project
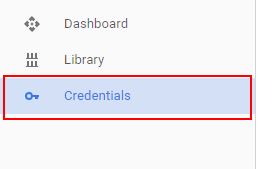
– Click on the Continue button - Click on Credentials from the Left Pane.
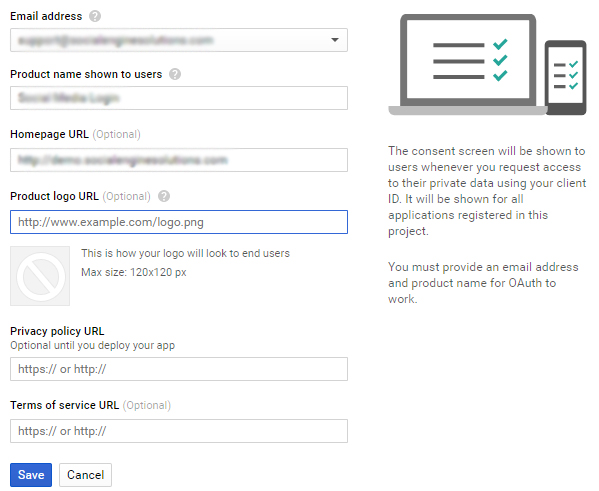
– Click on the OAuth consent screen Tab - Fill in all the details of the product.
– Fill in the name of the product and all the required URLs.
– Click save
– (NOTE THAT- privacy policy URL and Terms of Service URL are present at the bottom of your website ) - Come back to First Tab Credentials at the top.
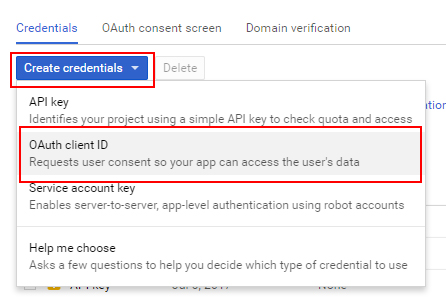
– Click on the CREATE CREDENTIAL Drop Down List
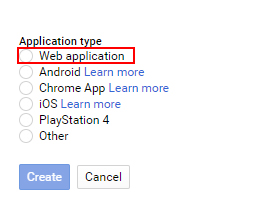
– Choose the 2nd option, OAuth client ID. - Create the ID by choosing any option from below
- Choose Web in this case.
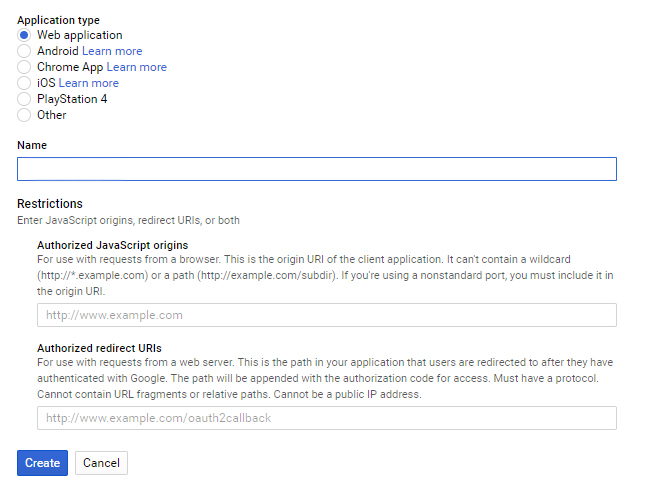
– Fill name of the Web Client (in this case, media importer)
– Fill in Authorized JavaScript Origins as your website URL
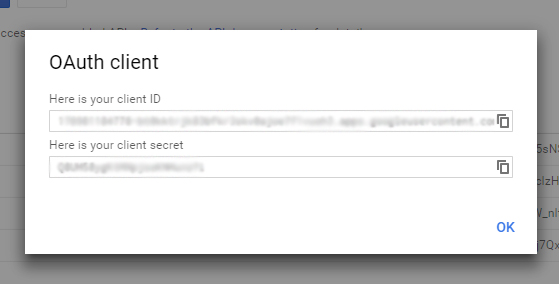
– Fill Authorized redirect URI as the complete URL path (This is the path in your application to which users will be redirected when they click on the Google Option in Media Importer Plugin, after getting authentication from Google.) - Click on the Save Button, and it will generate your Google Client ID and Google Client Secret
- Copy them and paste them in the Media Importer Plugin Google Tab in the Admin panel.
[NOTE -The Google login, key generation, and connecting this to the website should be on the same window/browser]
