Instagram App
When building a community it can be very useful to utilize larger, more established social networks to help spread the word. Instagram integration via Social Photo Media Importer Plugin gives you an opportunity to do this by allowing your users to import photos from their Instagram Account to your social network website.
Integrating Social Photo Media Importer via Instagram to your SocialEngine Self-Hosted site is a three-step process. First, you must create an app, then enter the pertinent information into your SE Self-Hosted Admin panel of the “Social Photo Media Importer Plugin,” and then in the second step, you send your application for review. In the third step, copy and paste the API keys to get started with the import of photos from Instagram. The following article will walk you through each step to help accomplish both tasks.
Step 1: Creating Your App
- For SocialEngine to communicate with Instagram, you will need to create an Instagram application. To setup a new Instagram application, please click here.
- Make sure that you are logged into Instagram with the Account which you want to use as a developer account to create Instagram Application. For this, Click on the “Login” Button on the top right corner of the page and login to Instagram by entering your username and password.

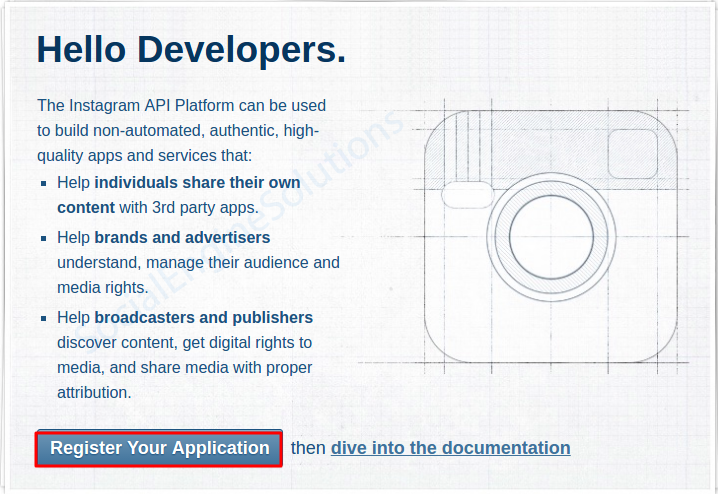
- Next, you need to Sign Up as a developer. For this, Click on the “Register Your Application” Button.
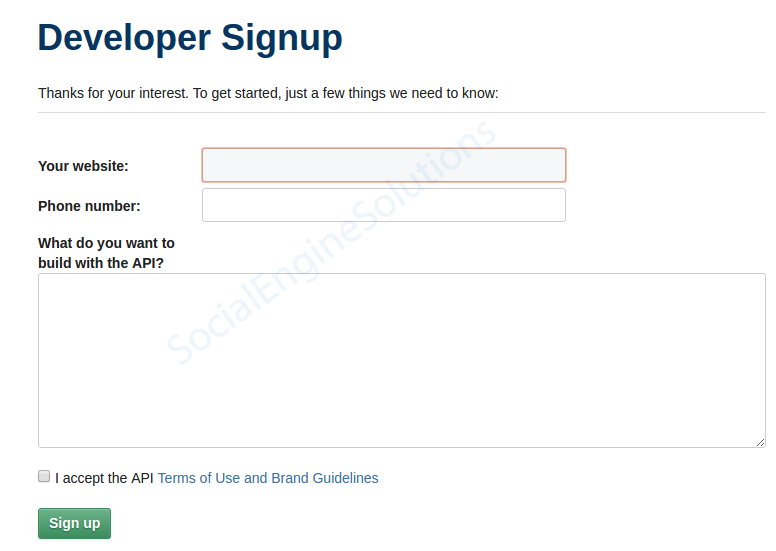
- Now you are on “Developer Signup” Page. In order to signup as a developer ,you need to enter “Your website” , “Phone Number”, “What do you want to build with the API?” and after accepting APIs terms & Conditions, Click on the “Sign up” Button.
- Next, click the “Register Your Application” button again to register your application, and on the navigation page, click the “Register a New Client” button to get your new Client ID.
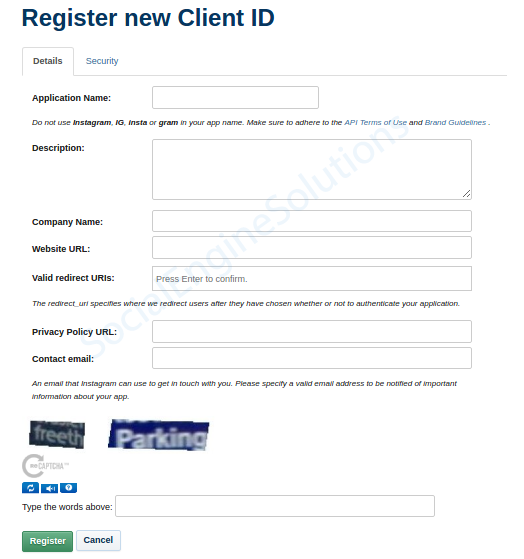
- Now you are on the “Register a New Client ID” page. Here, enter the details which are shown in the screenshot and click on the “Register” button to get your Client ID.
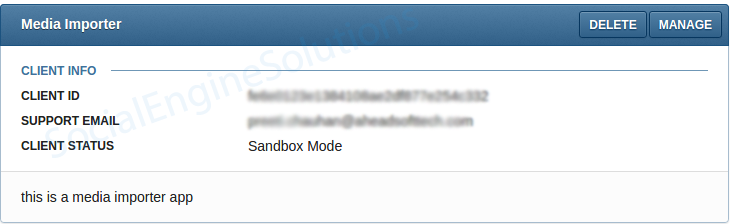
- After the above process, you will have your new Client ID.
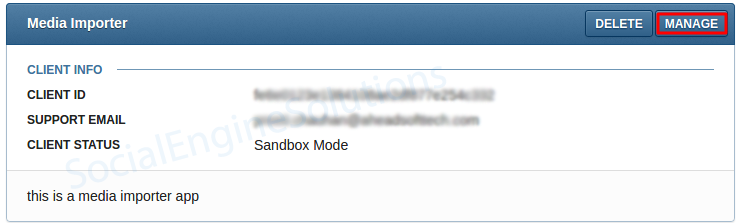
- Next, click on the “Manage” button to get Client ID and Client Secret.
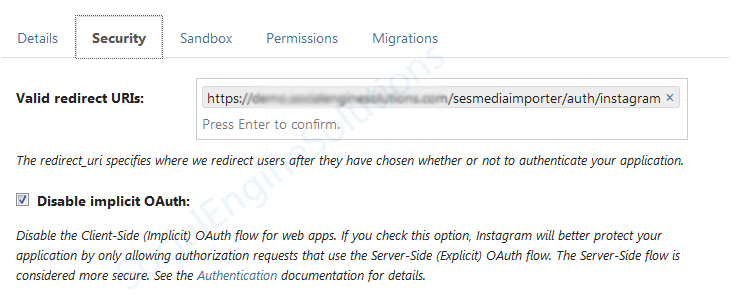
- Go to the Security Tab now and enter the “Valid redirect URIs:”. Select the checkbox for “Disable implicit OAuth:” setting.
Valid redirect URIs: www.yourwebsite.com/sesmediaimporter/auth/instagram. Put http or https, whatever your site supports.


Step 2: Submit App For Review
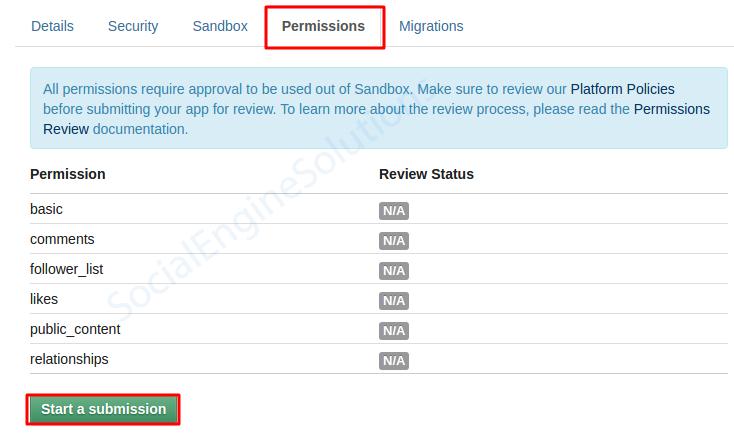
- In order to get permissions for your application to work, you need to go to “Permissions” tab on the same page and click on “Start a submission” button to proceed.
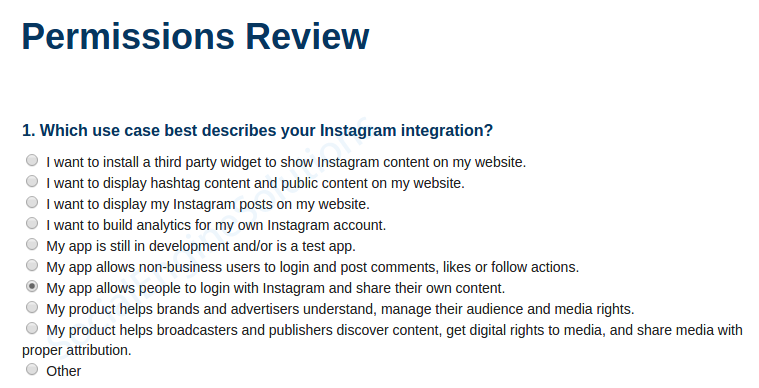
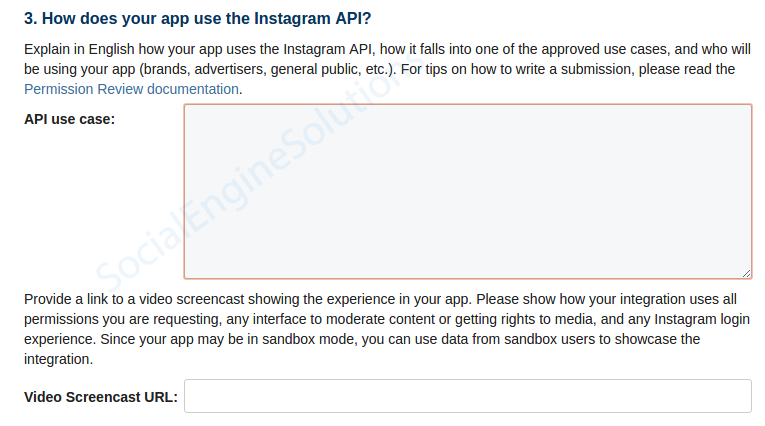
- Now, you’ll be on the “Permissions Review” page. Here, in field “1. Which use case best describes your Instagram integration?” choose option “My app allows people to log in with Instagram and share their content.”
- In “3. How does your app use the Instagram API?” write Use Cases mentioning how your website uses this API and in “Video Screencast URL” mention the URL of the video showing how integration uses all permissions you are requesting, any interface to moderate content or getting rights to media, and any Instagram login experience.
- Next, click on the “Submit” button to submit your app for review.
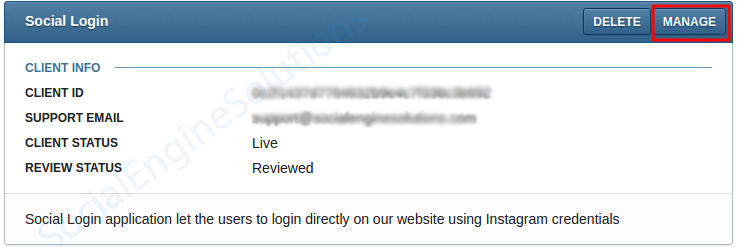
- To check whether your app has been approved or not. Click on the “Manage Clients” button in the header, and on the navigation page, click on the “Manage” button with the app you sent for approval.
- Go to the “Permissions” tab to see the review status of your application.
Step 3: Linking to Social Photo Media Importer Plugin
Once you have created your Instagram app, log in to your SocialEngine admin panel and go to the Admin >> Social Photo Media Importer >> Instagram settings page. Enter your Client ID and Client Secret numbers into the appropriate fields.

At this point, you have completed your App Configuration, and photo importing via Instagram should work!
