Google App
When building a community it can be very useful to utilize larger, more established social networks to help spread the word. Google integration via Social Photo Media Importer Plugin gives you an opportunity to do this by allowing your users to import photos from their Google Account to your social network website.
In order to integrate Social Photo Media Importer via Google to your SocialEngine Self-Hosted site, you must create an app and then enter the pertinent information into your SE Self-Hosted Admin panel, of the “Social Photo Media Importer Plugin”. The following article will walk you through each step to help accomplish both the tasks.
-
- For SocialEngine to communicate with Google, you will need to create a Google application. To set up a new Google application, please click here. Log in to Google to create your app.
- Click the “Get a Key” button in the top right corner of the page.

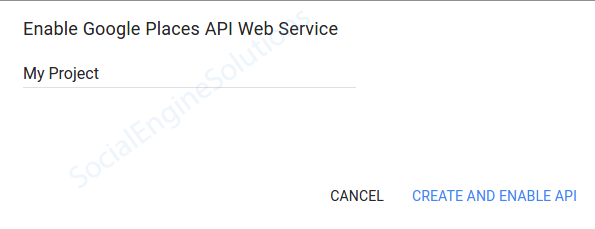
- On “Enable Google Places API Web Service” pop up, select or create a new project and click “Create and Enable API” button.
- It will give you “Your API Key”, copy this and keep it saved somewhere, and click the “Finish” button.
- Next, click on the “Google API Console” link shown in the screenshot.
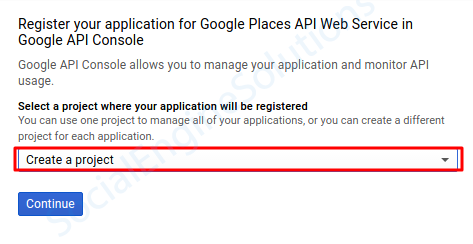
- To enable API, you need to choose your project name from the dropdown and click on “Continue” button.
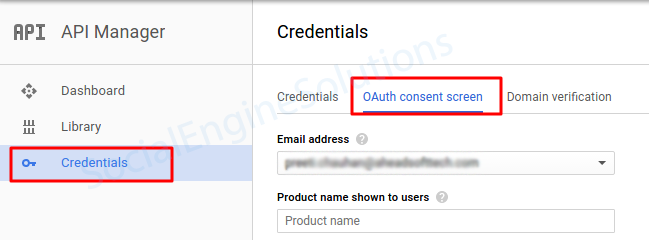
- Click on “Credentials” in the Left Pane and then click on the “OAuth consent screen” Tab.
- Now, enter details under the “OAuth consent screen” form and click the “Save” button.
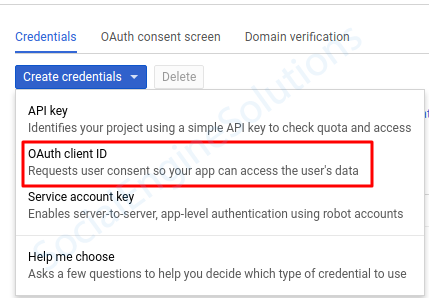
- After this come to “Credentials” tab and select option “OAuth client ID” under “Create Credentials” dropdown.
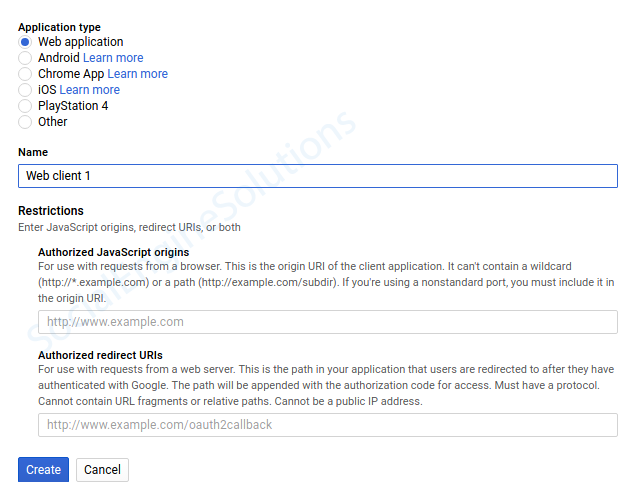
- Now choose your “Application Type” then enter “Authorized JavaScript origin” and “Authorized Redirect URIs” and click “Create” button.
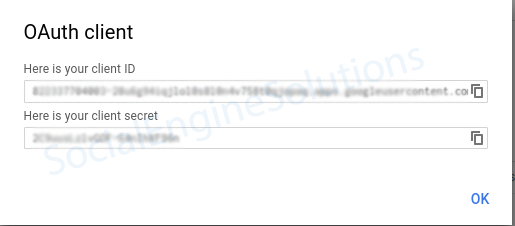
Authorised redirect URIs: www.yourwebsite.com/sesmediaimporter/auth/google. Put http or https, whatever your site supports. - Now, you will be having with Client ID and Client Secret. You need to copy them and paste in your Admin Panel, so login to your SocialEngine admin panel and go to the Admin >> Social Photo Media Importer Plugin >> Google Tab >> “Google Client ID” and “Google Client Secret” fields.
If you already have an app, view your API keys from here.


At this point, you have completed your App Configuration, and photo importing via Google should work!
